In this tutorial, I want to show you how to create an interactive 3D model in Google Slides. I think that Google Slides is a number one tool for educators and people like me who want to create presentations easily and for free. You can make your presentations looks beautiful without any design skills. The key of creating awesome presentation is how well you organize your information, interact with your audience and add visual elements.
Adding pictures and images to your Google slide can make your presentation interactive. This is especially true when you add a 3D model. You can use this model to create an interactive presentation to create more engagement for your audience.
3D models, which are quite different from 3D effects, are multi-dimensional objects that are included in the update of Microsoft Office for PowerPoint 2016. These objects can be rotated in the three special axes to describe a specific feature of the object.
In this article, we will look at ways in which you can add an interactive 3D model to Google slides to help with your presentation.
- Go to the Insert option at the top menu and then click on 3D Models.
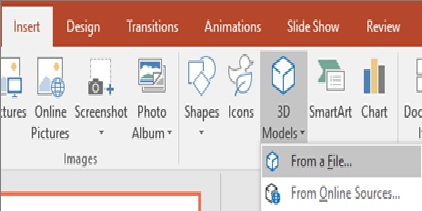
- You will be given options form where you want to retrieve your image. Click on the From a File option to get your image from a local file.
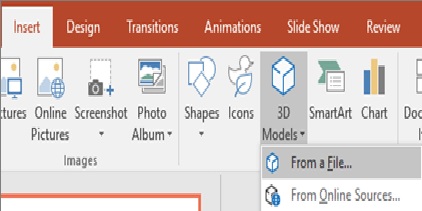
- Alternatively, you can select From Online Sources to get your picture from the internet. When the search pane appears, type the image that you want to use and select from the options provided. Then click Insert.
- This will prompt the chosen image to appear on the selected Google slide.
How to Format the 3D Model?
Now that you have inserted the image, the next step is to manipulate it using the 3D controls. You can format your 3D model in your Google slideshow. Here is how:
- To tilt or rotate your 3D model, use your mouse to click, hold and drag the model.
- Just drag the handles that appear around the image to either make it smaller or larger, depending on what you want to achieve.
- If you want to rotate the image clockwise or anti-clockwise, make use of the 3D rotation control. Nonetheless, you can still achieve this using the rotation handle.
How to Change the Appearance of Your 3D Model?
It is possible to alter how your 3D model will look in your Office file. When you open your Office file, you will see the 3D Model Tools. Under this menu is a tab called Format that comes with numerous controls for customization purposes. These controls allow you to crop, shape, resize, adjust, and do much more on the image.
- 3D Models View
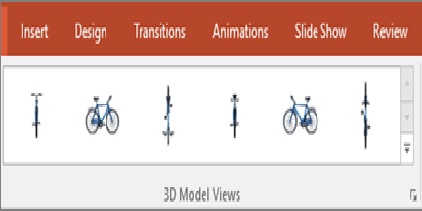
To get a view of how your image will look, go to the 3D Models View. Here, you will find a collection of the different ways your image will appear and you can just pick one based on your preference.
- Selection Pane Tool
You are likely to experience difficulty selecting an image if you have numerous 3D models. In this case, go to the Selection Pane to get the list of objects so you can easily choose the one you want.
- Pan & Zoom
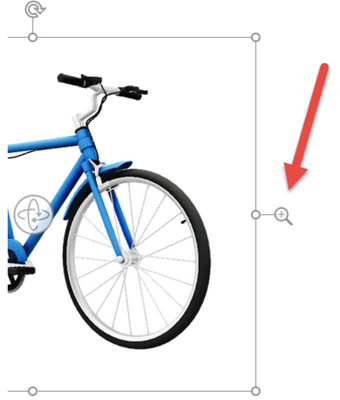
You can use this tool to control how your image will appear in the frame. To do this, simply select the Pan & Zoom button and then click and drag your image to the frame that you want it to fit in. Usually, a zoom arrow will appear on the right of the image. Use it to enlarge or make the image appear smaller.
- Align
The Align tool is useful for placing your image at the top or side of the slide.
Summary: Add an Interactive 3D Model in Google Slides
- Open a Google Slides presentation and click Insert, select 3D Model.
- Click Choose from a model and search to find a model that is relevant to your presentation. Here I searched for house.
- Click Select and the model will appear in your slide.
- To rotate the model, hold down the mouse button (as shown on screen) and then move the mouse to rotate the model around its axis. Clicking on the arrows will cause it to rotate around the other axis.
- To change the view of the model, click on the drop-down arrow to the right of Model Options and change it from First Person View to Free Roam or Camera View. You can also change the color of different elements, if applicable (the Model Color option).
- Adding interactive 3D models as part of your presentations can help students better understand concepts being taught in class if done correctly.
Conclusion
Inserting 3D models in Google slides has never been this easy. Follow the steps above to insert a 3D model in your slide to enhance interactivity. Besides, you can use the different 3D model tools to enhance your images and make them more exciting.
