How to connect to Amazon WorkSpaces Web Client? Need some help connecting to Amazon WorkSpaces Web Client? If so, you’ve come to the right place. In this article, I’ll be telling you how can you connect to the Web client and I’ll also cover some issues I had with it. Let’s get started.
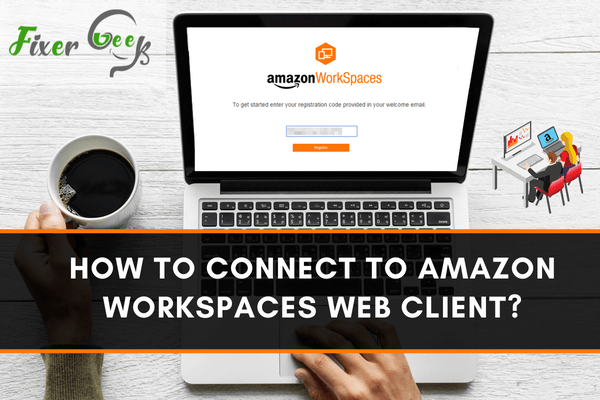
AWS workspace is a virtual desktop that can be operated by the application on several operating systems. Now you can also access it from the browser and it called the Work Spaces Web Client.
Web Client is more comfortable with the application version.
The process to configure Work Spaces
- Go to https://aws.amazon.com/ and log in to an AWS account or simply sign up if you don’t have any.
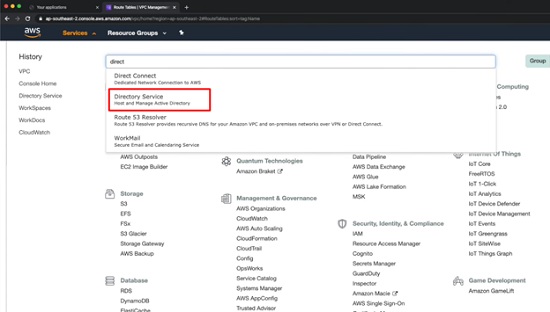
- First, make an AD (Active Directory) to make Work Spaces into it. Now search directory on the search bar is at the top of the page and choose ‘Directory Service’ from the suggestion list.
- Now you will be sent to the directory page. Click on the ‘Set up directory’ button located on the top right corner of the page.
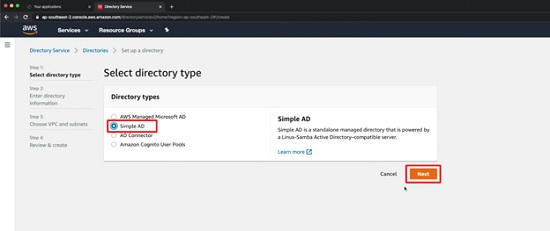
- On this new page, you will be found four options of directory type. Click on any of those four options and click ‘Next’ to continue to go to the next page.
- Fill in the directory information on this page. At first, choose the directory size from the two types one is Small and another is Large. The cost differs with the size.
- Now give the DNS name of your directory.
- Provide the Directory NetBIOS Name or simply skip this box in the next step.
- Create the administrative password and confirm it.
- Enter the description of the directory and click next to go to the VPC & Subnet page. The description is unavoidable.
- On the VPC and Subnet page choose your VPC name from the list you created before. If you don’t have any click on the ‘Create New VPC’ to create.
- Then, choose two subnets from the list. You can click on the ‘Create New Subnet’ for creating a new one. Now click on the ‘Next’ button.
- Now review your entry from Review & Create page. After review click on the create directory button. It will take about ten minutes to create a directory.
- After the directory status becomes ready click on the Directory ID of the newly-created directory.

- Scroll down to the new page to select the ‘Amazon Workspaces’ to activate the service.

- After that, mark the directory and click on the ‘Actions’ menu then the ‘Register’ button.

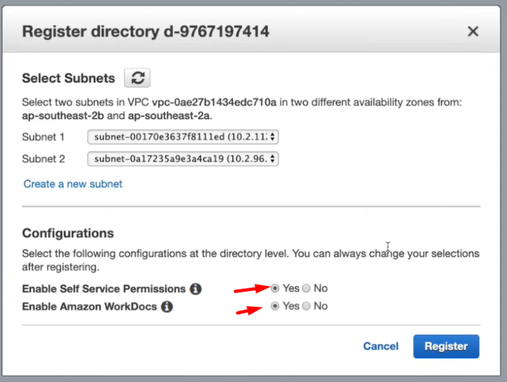
- Choose two subnets and choose the configuration and then click on the ‘Register’ button.
- Next, choose the ‘Workspace’ option from the left navigation bar. Now click on the ‘Launch Workspaces’ on the top left corner.
- The first step to create the workspaces is selecting the directory. Then click on the ‘Next’ button.
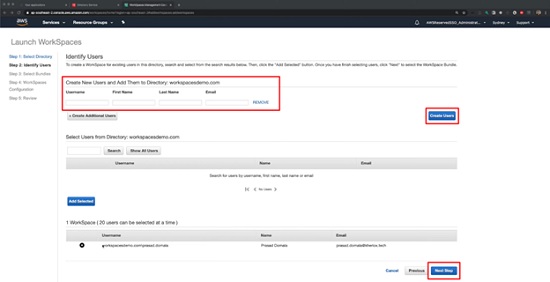
- Now fill the users form and press create and add up to 20 persons. Then click the next step.
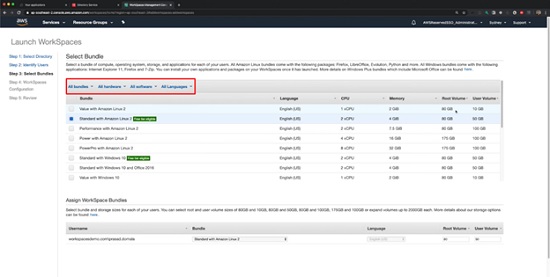
- Select Bundles, Hardware, Software, and the preferred language from this page as your requirement.
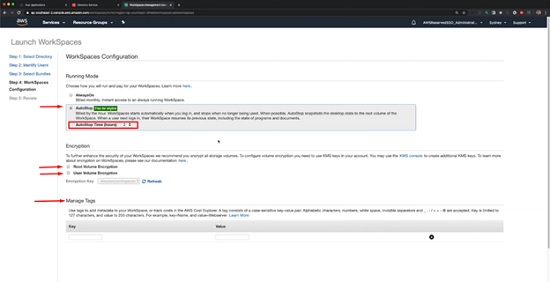
- On this new page, you can configure your workspace to decrease the cost. Choose the Auto Stop option and time if you don’t need the service for a long time and set your encryption & tags below the Running Mode option. Click ‘Next to go to the final page of the setup.
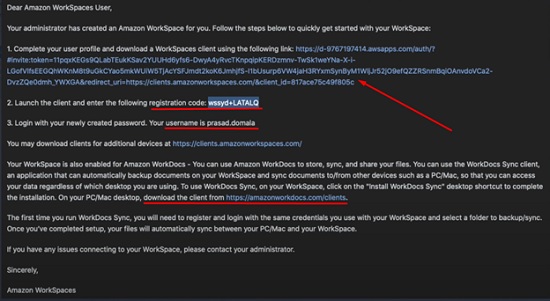
- Now preview the workspace and click on the ‘Launch Workspaces’. About twenty minutes later you will receive an email with your password setup link, registration code, and user id. Click on the password registration link to set a new password indicating by the arrow in the image.
- Now set the password and click on the ‘Update User’.
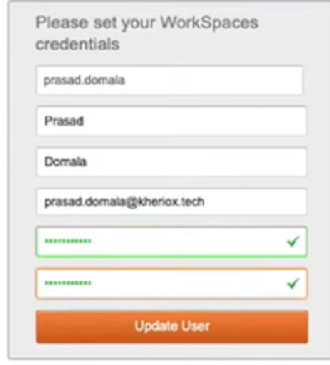
Your Work Spaces is now ready to use.
Process of connecting the Workspace to the Web Client
- At first, go to https://clients.amazonworkspaces.com/
- Now choose ‘Web Access’ or directly go to https://clients.amazonworkspaces.com/webclient#/registration and skip step 1.
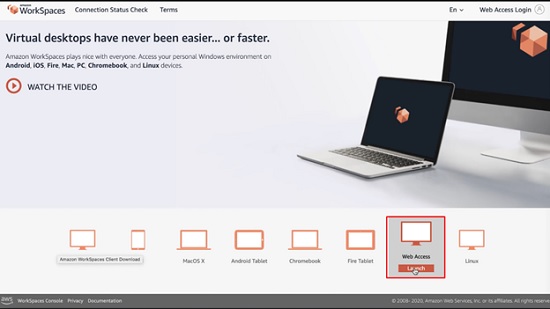
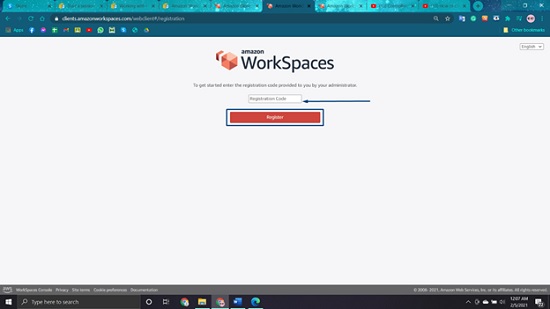
- Here enter your Registration code and press ‘Register’.
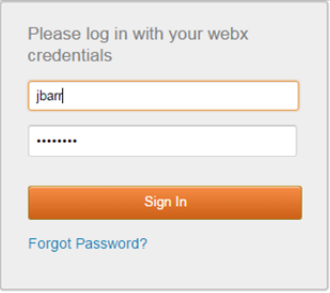
- Now give your username and password to sign in.
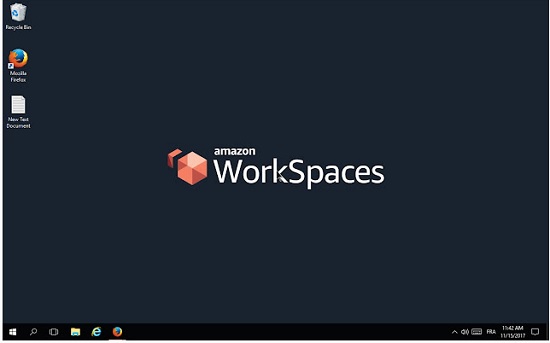
- This is the final look of the AWS Work Spaces Web Client in the browser.
Summary: Connect to Amazon WorkSpaces Web Client
- Connect with the web client.
- Use the web client to sign in to your WorkSpace.
- Download the web client compatible browser.
- Install and run the Amazon WorkSpaces web client.
- troubleshoot the connection process.