Workflow is one of JIRA's most powerful and most used feature. The power of using workflow can help your organization to do certain things better, such as planning and execution. But with that said, it can be hard to get used to using workflow efficiently. It isn't always clear what you should be doing and how you should be using the workflow concept. Through this article, I hope that I can share a few tips on getting started with the basics of JIRA workflow.

Nowadays many organizations are using JIRA for issue tracking and project management all over the world. So what is JIRA? It is a commercial software product to track issues and bugs of a project. So for managing a project and issue tracking you have to know about JIRA. Here, in this article, we will show you how to create Workflow in JIRA.
Before You Get Started
First, you should know about what is the workflow in JIRA. A JIRA Workflow is some statuses and transitions to group members to have the most precise information anytime, anyplace. Before creating a workflow, you have to ensure these things:
- Remember that the workflow you are creating on JIRA should reflect an existing workflow inside your team.
- It is a visualization to remind your team to work according to and help to follow that workflow.
- You have to figure out a way in which your team can go through the whole project.
- You have to know what your stops and steps are in the project.
After figuring out these things, you are now ready to create a workflow in JIRA.
Creating Workflow in JIRA
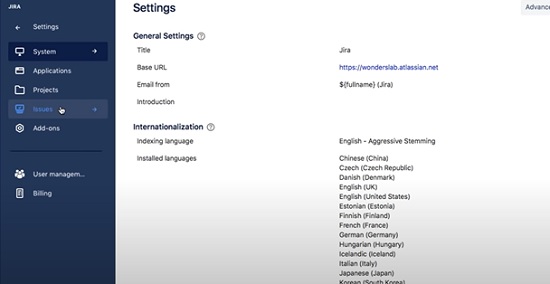
- First, open JIRA and choose “Issues”.
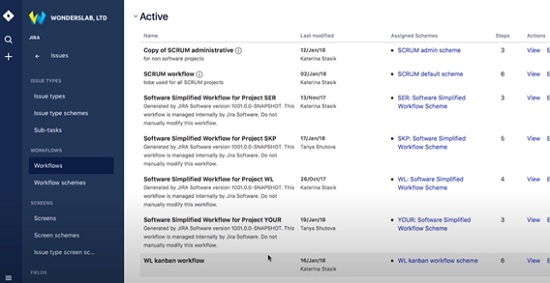
- Then select “Workflows”. JIRA Workflows window will appear on your screen. There are some Active workflows that other people are using and Inactive workflows that nobody is using.
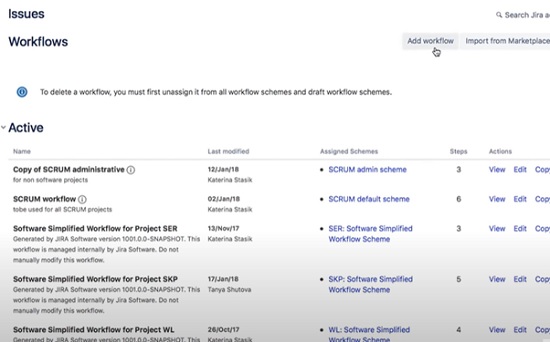
- Click “Add workflow” to create a new workflow.
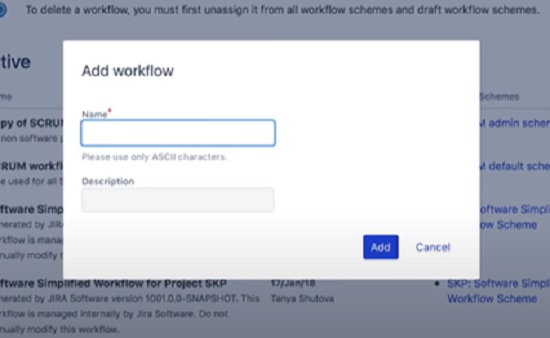
- Then, name your workflow as specific as possible.
- Now your workflow window is created. There are two options to make the workflow. With “Diagram” or “Text”. The diagram is comparably simple.
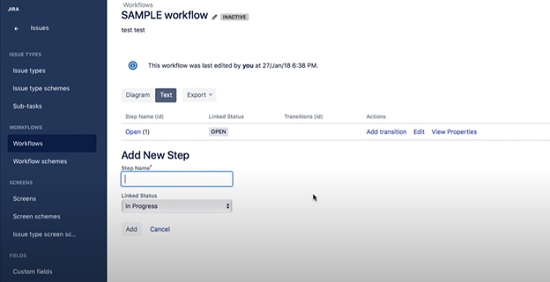
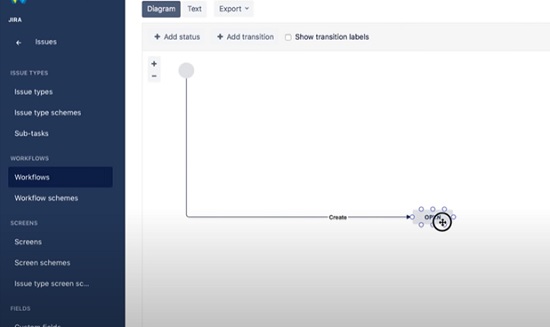
- Then you can see there is already a Start point and an “Open” status. There is also a transition from Start to Open, called Create.
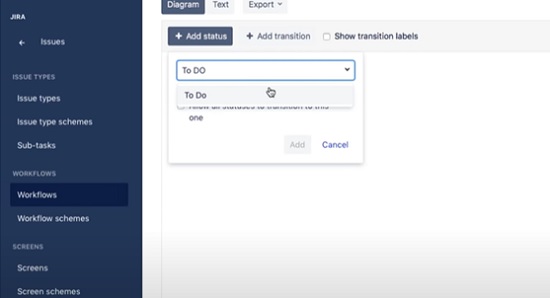
- Then you can add more status by clicking the “Add status” option.
- After adding status, then you have to add the transition to them. You can add transitions to them by clicking “Add transition”. Also, you can connect them by clicking and dragging the mouse from one status to another.
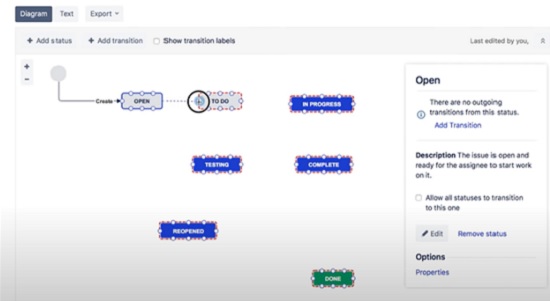
- When you add a transition, a new window will appear. There you can name your transition.
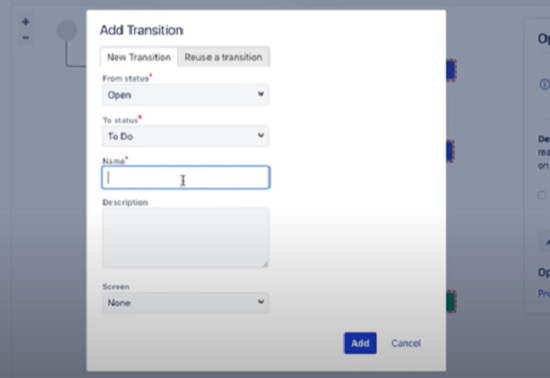
- You can also add the transition in both ways and add them as you fit.
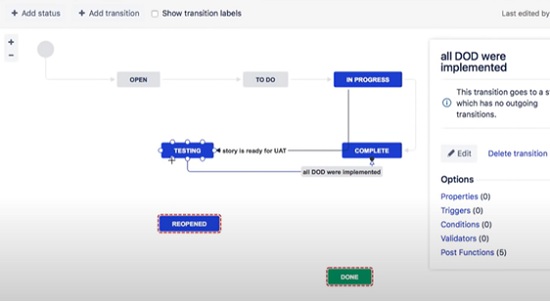
- Your workflow is almost ready. You can use your workflow in projects now. Before that, you should add workflow schemes to your workflow.
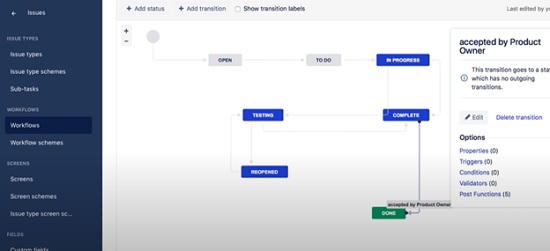
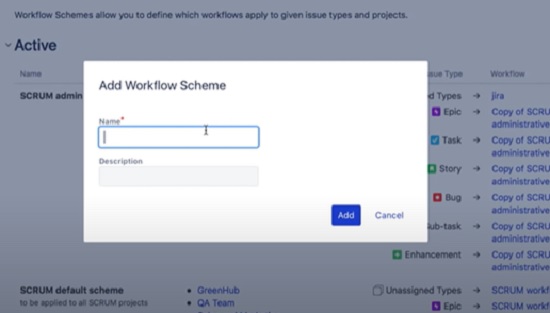
- Go to workflow schemes and then click “Add Workflow Schemes”.
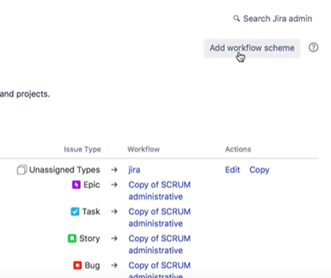
- The workflow schemes window will appear. Here, you can bring together the workflow you have and the issue types you are going to use in your project.
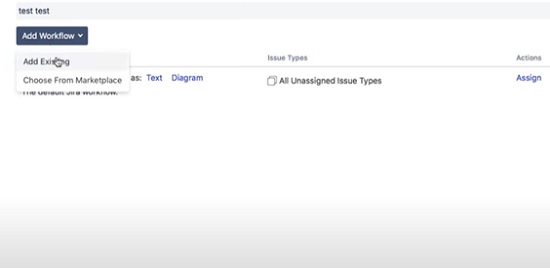
- Then click “Add Workflow” and then “Add Existing” to add your created workflow here.
- Then you have to choose your Issue Types.
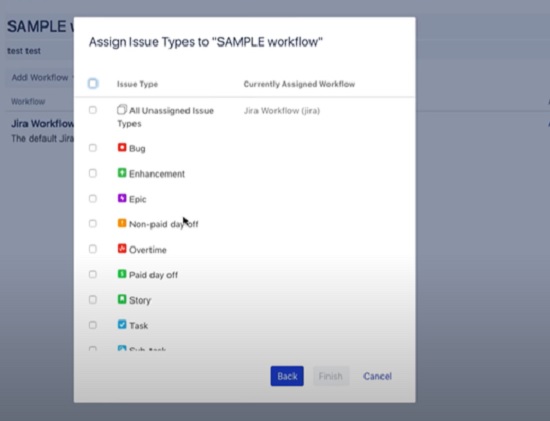
- After choosing Issue types, your workflow is now complete.
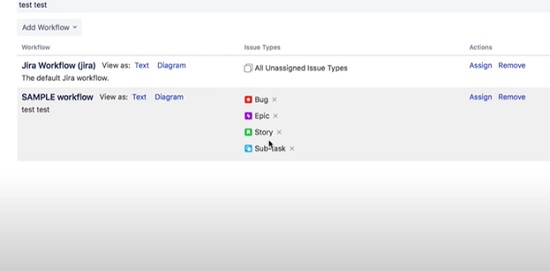
- Finally, you can add your project to the workflow schemes and use it to manage and track your project.
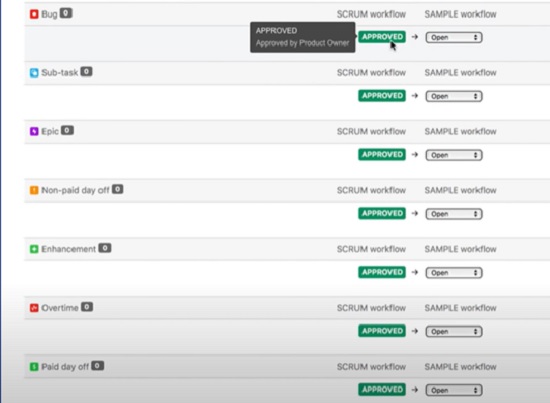
So, following the above steps, you can easily create workflow in JIRA.
Summary: Create workflow in JIRA
- Log into JIRA.
- Click on the workflow drop down and select create workflow.
- Give your workflow a name and description.
- Save your workflow by clicking save in the top right hand corner of the screen.
- Click Workflows again then select Add status to workflow. (You will not see this option until you have saved the draft)
- Rename the new status to something like "unreviewed". You can use the pencil icon next to the status name.
- You should now see your new status at the bottom of the list. Drag it above "To Do".
- Click Create transition between two statuses.
- Select To Do and unreviewed in their respective drop downs then name the transition. eg from unassigned to unreviewed.