How To Disable Media Sharing Feature In Latest Version Of Windows Media Player?
462 Views
The Windows Media player has always been a favorite application for me, as it let me share media files easily. Generally you can use the “Home Sharing” feature to share media files with other computers that are running the latest version of Windows Media Player. However, in the latest Windows Media Player version 12 and above, the “Home Sharing” feature is disabled by default. I am writing this article to tell you how to enable that feature, so that you once again can share your media files easily with others.
Media sharing through Windows Media Player wouldn't be possible if it weren't for DLNA servers and UPnP. But if you want to disable that feature, here are tools you can use to do that:
Jellyfin
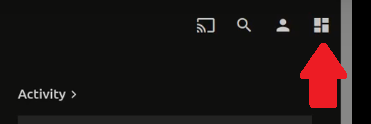
- Click on the Settings icon on the upper-right corner.
- On the left sidebar, click on Devices and click on DLNA.
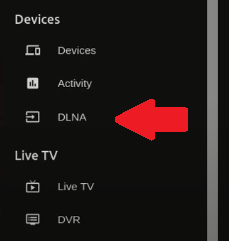
- Untick "Enable DLNA Play To", "Enable DLNA to debug logging", "Enable Dlna server", and "Blast alive messages" under the Settings tab.

- Click on Save afterwards.
Kodi
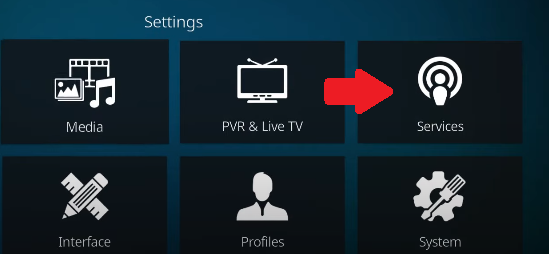
- Above the left sidebar, click on the Settings icon.
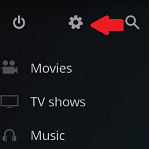
- Under Settings, select Services.
- Click on UPnP/DLNA on the left sidebar and switch on "Share my libraries" under General. This should also enable "Announce library updates" to switch on.
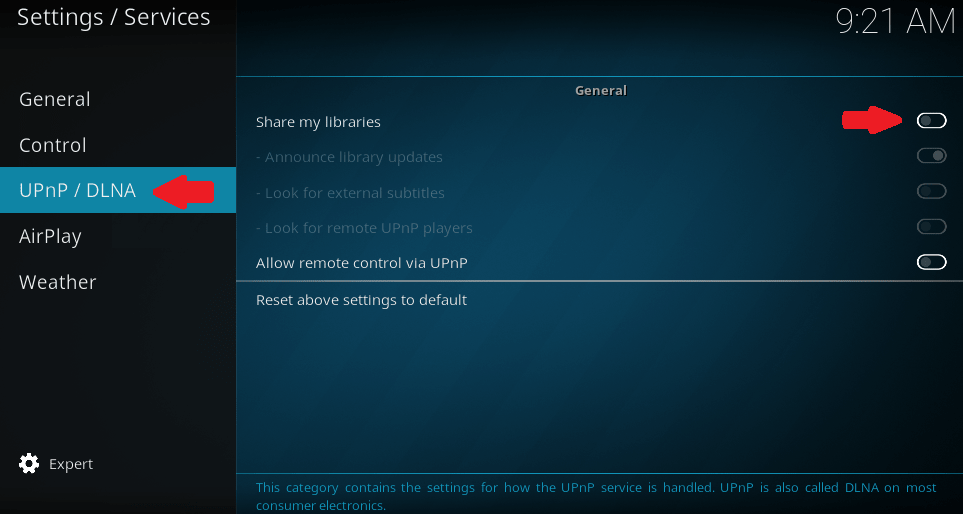
- Right-click on your mouse to save your changes.
5KPlayer
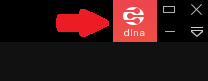
- Click on the dlna icon on the upper-right corner.
- On the left sidebar, click DLNA under Settings.
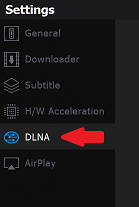
- Under DLNA, switch off "DLNA service" and "DLNA client".
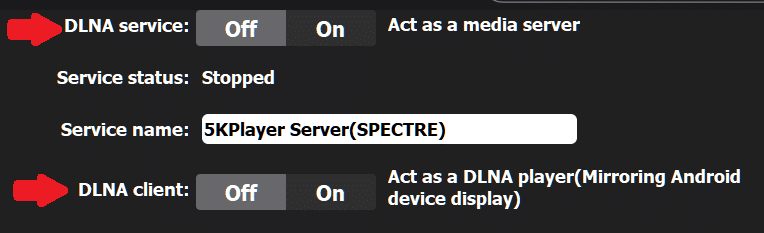
- Click on Save to apply changes.
VLC Media Player
- Click on View on the menu bar and select Playlist.
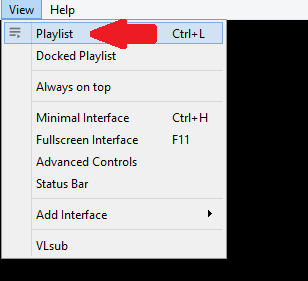
- On the left sidebar, look for Local Network. Right-click on Plug'n'Play, then select Disable.

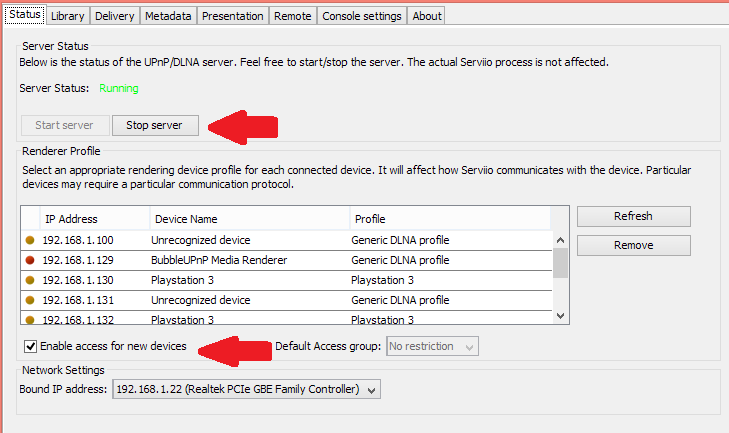
Serviio
- Go to the Status tab and untick "Enable access for new devices" under Renderer Profile. Click "Stop server" under the Server Status, then click Save.
QNAP
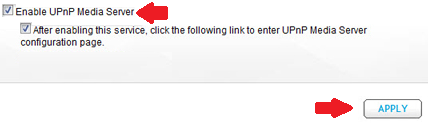
- Click on Applications on the left sidebar and select UPnP Media Server.
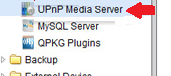
- On the right sidebar, untick "Enable UPnP Media Server". This will automatically untick "After enabling this service, click the following link to enter UPnP Media Server configuration page". Click on the Apply button.
Twonky Media Server
- On the left sidebar, click on Multi-User under Settings.
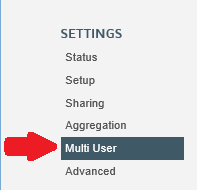
- Untick "Enable Multi-User Mode" on the right sidebar.

- Click on Save Changes.
TVMOBiLi
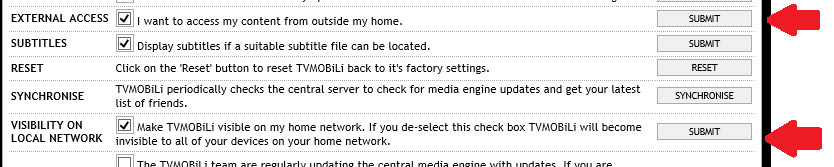
- Click on the "My Computers" icon at the top.
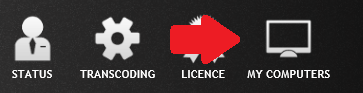
- Under Advanced Settings, untick "External access" and "Visibility on local network". Click on the Submit buttons afterwards.
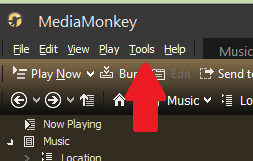
MediaMonkey
- Click on Tools and select Options from the drop-down list.
- On the left sidebar, click on Player.
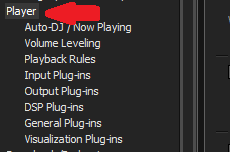
- Under DLNA Settings on the right sidebar, untick "Accept input/control of MediaMonkey player via UPnP/DLNA". Then click OK.

Plex Media Server
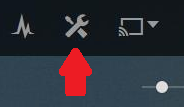
- Click on the Settings icon on the top-right corner.
- On the new window, click on Server on the top-right corner.
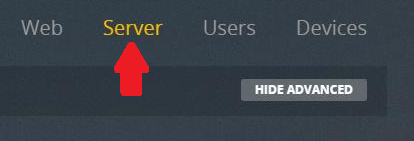
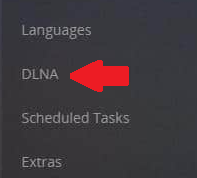
- On the left sidebar, click on DLNA.
- Untick "Enable the DLNA server" and "DLNA server timeline reporting"
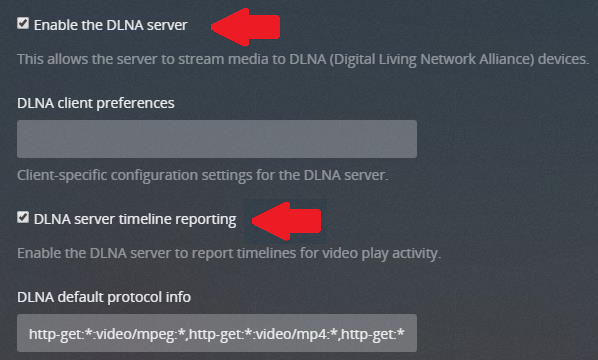
- Click on Save Changes.
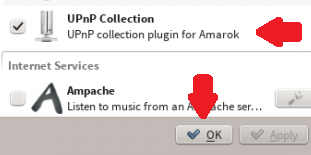
Amarok
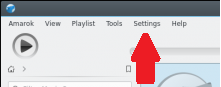
- Click on Settings on the menu toolbar and select Configure Amarok.
- In the Configure Amarok window, select Plugins on the left sidebar.
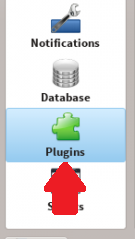
- Untick UPnP Collection on the right sidebar, then click OK. You can also click on Apply if it's not greyed out.
DivX Media Server
- Hover your mouse to the "Cast" icon on the lower-right and select Settings.
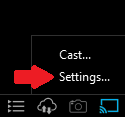
- Alternatively, you can click on Tools and select DivX Media Server.

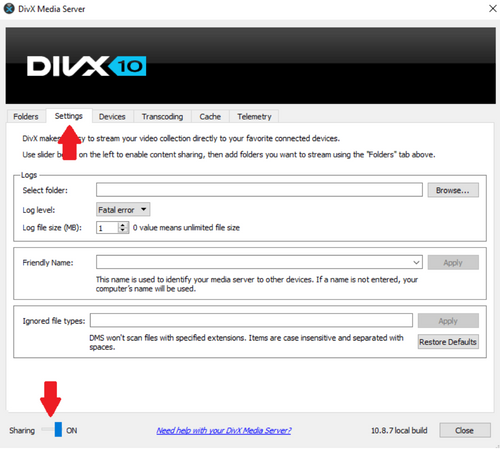
- Go to the Settings tab, then switch on Sharing.
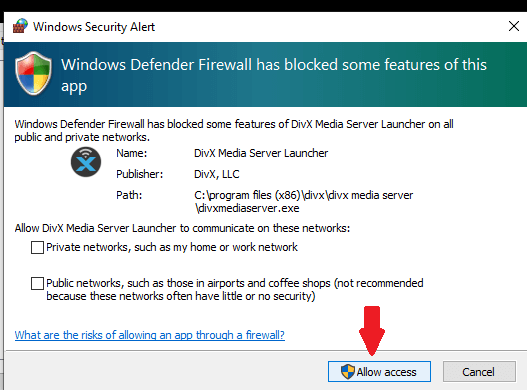
- If there's a Windows Security Alert window, click "Allow access".
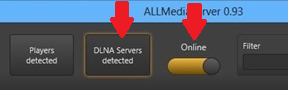
ALLMediaServer
- Select "DLNA Services detected" to see if there are any servers found. If there are, move the Online slider to the left until it's not yellow. Then close ALLMediaServer to apply your changes.
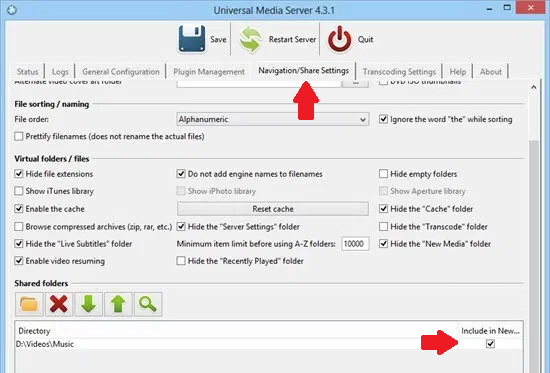
Universal Media Server
- Go to the Navigation/Share Settings tab. Under Shared folders, untick or delete everything that's in the Directory list.
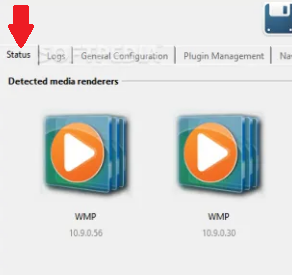
- Go to the Status tab and check if Windows Media Player isn't included under "Detected media renderers". Click Save afterwards.
OpenMediaVault
- Click on Services on the left sidebar, then select DLNA. Under General settings, switch off Enable and click Save.

- Remember to disable your computer's DLNA server or UPnP to prevent media sharing. Otherwise, someone else might view the same media that you have.
Summary: Disable media sharing feature in latest version of Windows Media Player
- Open Windows media player.
- From the top menu, click the library tab.
- Select Media Sharing option from the drop down under share my media to.
- In the devices section, select windows media player from the drop down list.
