You are familiar with the term subscripts and superscripts, but how do you type them in Word on Mac? Sometimes your Mac keyboard gives you a hard time when you try to add subscript or superscript. They may even disappear from your screen. In this article, we will talk about subscripts, superscripts, and how to make subscripts on Mac with Word 2011

When you find a word, number, or letter written slightly under the text baseline, it is a subscript.
For example:
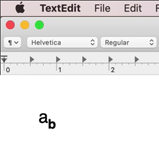
In the image, the letter ‘b’ is subscripted. Subscripted text is used in many places. Students use it for assignments in different subjects like chemistry, physics, mathematics, etc. Writing different chemical equations also requires subscripted text.
The process of writing subscripted texts in Mac is a little complicated. But it’s nothing you can’t handle. There are a few methods you can use to write subscripted text on Mac. In this article you will find all those methods about how to do a subscript on Mac.
Using the TextEdit App on Mac
In this method, I will show you how you can use “TextEdit” to write subscripted text.
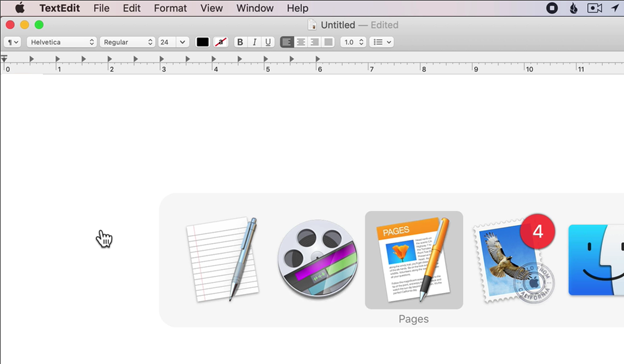
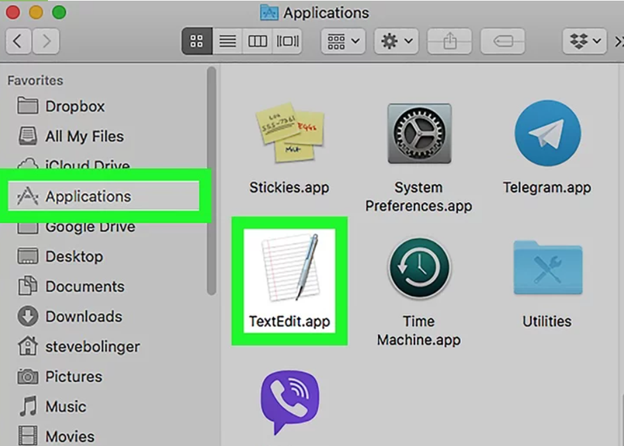
- Go to “launch Applications” and then click on “TextEdit” to open it.
- Create a new document by clicking the “New Document” button. (Note that your “TextEdit” application has to be in the “Rich Text” mode).
- Type your desired letter or number that you need to make subscript on the new document.
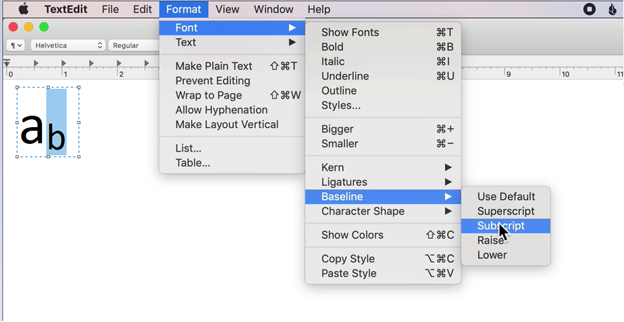
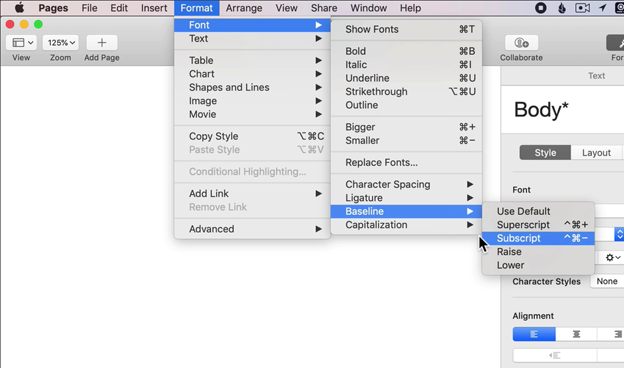
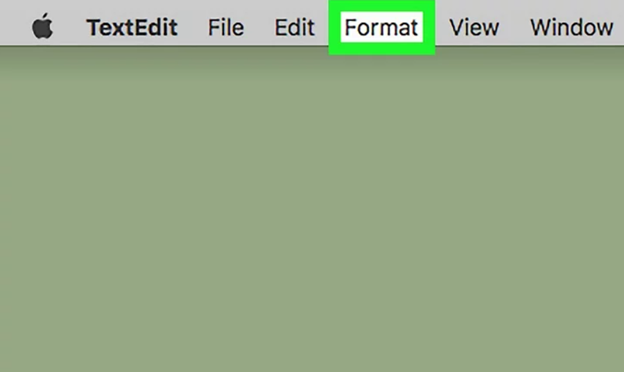
- Select the letter by dragging the mouse over it, then go to “Format” on the top menu. Then go to “Font” and select “Baseline > Subscript”.
- To make the subscripted text bigger or smaller, you can adjust its size from the “Font Size” option.
Using Special Character
Another way is using special characters in Mac to make a text subscripted. Follow the steps below to do it.
- Open a "New Document" on the TextEdit app or any other app where you want to write.
- Press “Command (?) + Space Bar + Control" on your keyboard at the same. This will open a pop-up window where you will find emojis and other special characters.
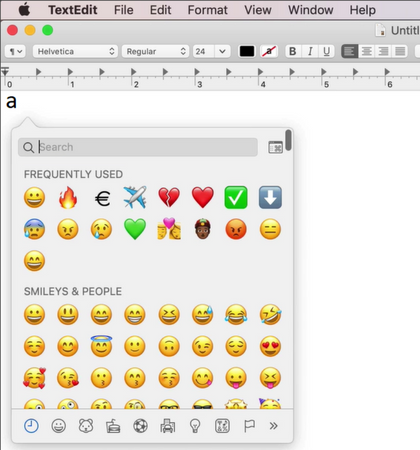
- In this window, you will see a search field. In the search box type "Subscript".
- You will see a list of subscripted characters that can be enter.
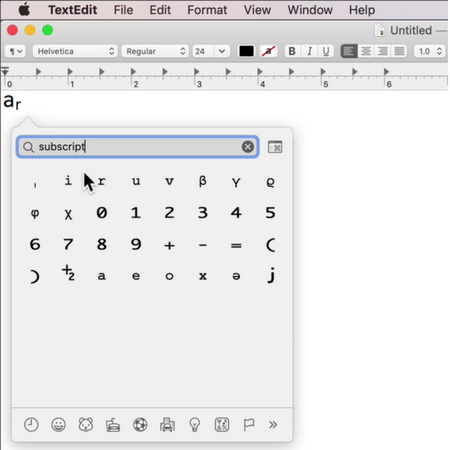
- Choose a character from there and it will be added as a subscript shown in the image.
- There is a limitation in this method. You can only use the characters in the box as subscripts using this method.
Using the Pages App on Mac
There is another advanced way of doing a subscript on Mac. This way involves an app name “Pages”. You can get this app from the “Apple Store”. After installing the app follow the procedure below.
- Open the “Pages” application. You will find the user interface (UI) of “Pages” quite similar to the UI of “TextEdit”.
- You can go to “Format” on the top menu and then just like the “TextEdit” app you can use “Font > Baseline > Subscript” to make your written letter or word subscript.
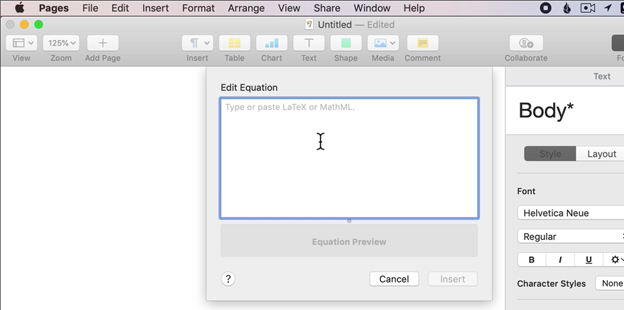
- You can also use the "Insert" menu and open the "Equation" box to write a subscripted letter or number.
- Open the “Equation” like the image below.
- The equation box will look like this. Here you have to write your desired word, letter, or number in the "Edit Equation" box.
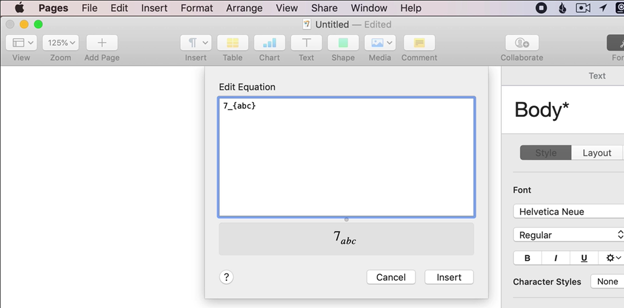
- To make a letter or a number subscript, simply add an “Underscore (_)” in front of the letter or number. (i.e. 7_a, or 7_2).
- To make a bunch of letters, numbers, or a word subscript do this > 7_{abc}. Whatever you type inside the bracket, the whole text will be subscripted.
Summary: Do Subscript on Mac
- Select the text you want to make subscript.
- Click Format on the menu bar at the top of your screen.
- Scroll down to “Font” and click it.
- Click the button that says “Baseline” or “Baseline Offset”.
- Select “Subscript” and you're done!
The subscript is frequently applied in writing the science and math notes, text, and books. It generally displays as a reduced and minimized text under the main text. For writing equations and formulas, the subscript is needed. So, for writing a science or math document, you have to know about applying it. Here, we will give you a complete idea about how to do subscript on Mac.
Before You Get Started
There are two approaches to apply subscript on your Mac operating system. Which are:
- Applying Subscript on Mac using Pages and TextEdit application.
- Applying Subscript on Mac using Microsoft Word.
In this article, we will tell you about both ways of doing subscripts. So, follow us along.
Applying Subscript on Mac using Pages and TextEdit
- First, you should have the Pages and the TextEdit application on your Mac. TextEdit is given on your Mac by default. If you do not possess Pages on your Mac, you may download it from here – Download Pages. The icon of both apps is consist of a pen and paper.
- Locate the “Finder” option on your Mac operating system. Select the “Applications” option. Then, find the TextEdit or the Pages application from the given list of installed software. Launch the application.
- There you will see the “Format” option at the top toolbar of the window. Select it.
- The Format options list will come out. Hover your mouse over the “Font” option.
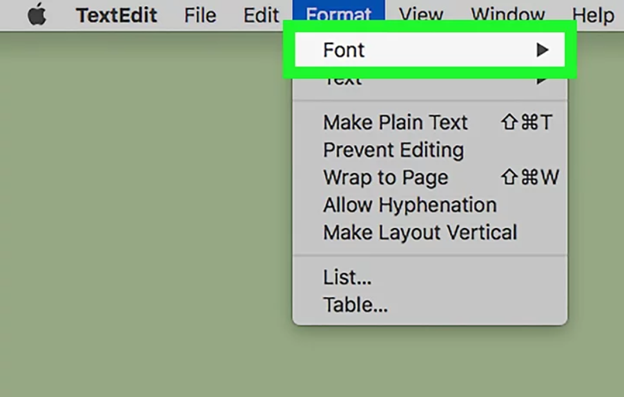
- It will open a new drop-down list of options on the screen. Locate the “Baseline” option from the list. Select it.
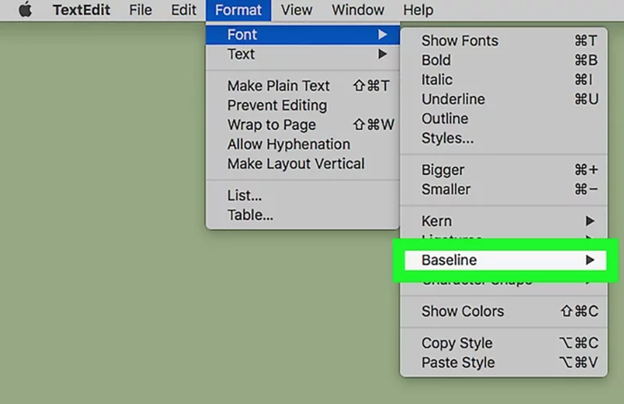
- It will launch another options list where you will get the “Subscript” option. Choose it. After choosing, all the things you write down will be put as a subscript.
- You may also launch the subscript option by hold down the “Shift” key and hit the “Command” and the “-“ key together. If you wish to close the subscript option, again go to the “Font”, proceed to the “baseline” option. And, choose the “use Default” option.
Applying Subscript on Mac using Word
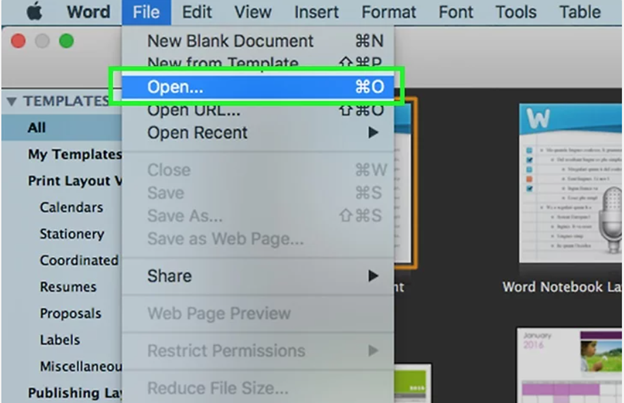
- Launch Microsoft Word from your Mac operating system. The Word home window will appear. There you will see some options at the top toolbar.
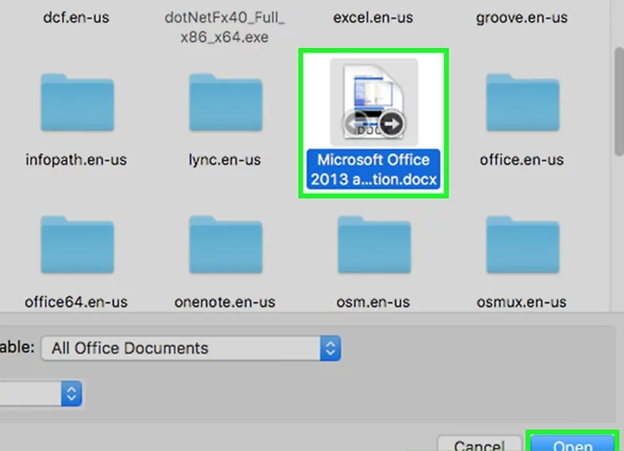
- Select the “File” option from the toolbar. Choose “New”. It will launch a fresh Word document. You may also select the “Open” or “Open Recent” option to access an already stored Word document on your device.
- Select a document and launch it by selecting “Open”. For making a fresh Word document, choose a “Template”. Then, go for the “Create” option.
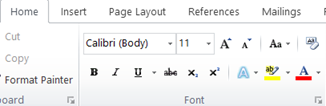
- After launching, locate the “Home” menu from the top left side of the window. Various options regarding the “Font” will come out in a window beneath it.
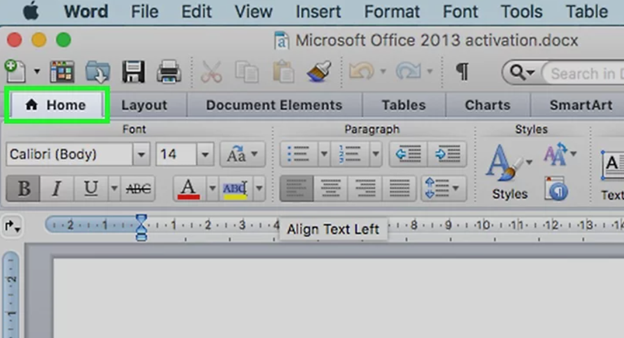
- Locate the “X2” button on the menu bar. Click on it. And, it will permit you to write in subscripts. For closing the subscripts, select the options again.
- You may also launch the subscripts by holding the “Command” button and select the “=” option on the keyboard.
So, following these instructions given above, you can do subscript on Mac.
