While it's possible to set up JIRA from scratch there are way too many steps involved. Moreover, if you make a mistake you may have to create a new JIRA instance and start all over again. That's why it would be better to follow our step by step guide and save yourself some time and effort.

You want to keep track of your project and team’s work, but you don’t know how to do it? Don’t worry. JIRA is here to help you. JIRA is software for issue tracking and project management. For using JIRA you have to install it. You can install it using Scratch. Scratch is a free programming language. In this article, we will show you how to set up JIRA from Scratch.
Before You Get Started
- First, you have to set up the VM.
- Then Install the OS.
- Use what OS you know. Here, we will show you how to do it on Linux.
- If you want to do it on another OS, you can migrate from one OS to another with some operations.
- Your system specifications should be at least 4 GB RAM, 2 GHz Processor, 30 GB Root Hard drive, 50 GB Extra Hard drive.
- Then setup MySQL Database. We will install MySQL using the MySQL Yum Repository. Then Connect JIRA applicants to MySQL 5.7.
- You have to check which Databases and platforms are compatible. Here, we use Version 8.1.X.Aft
setting up these things, let's move on to setting up JIRA.
Setting up JIRA from Scratch
- JIRA has two primary directories: the Install Directory and the Home Directory. The files that make JIRA run live is the Install Directory. You should not modify anything here. Home Directory makes JIRA instance unique lives.
- Then get the installer from JIRA Download Page. There navigate your target version and select “Linux 64 bit”.
- After downloading, modify the permission using this command:

- Now to start the installer, type in the file into your command line.
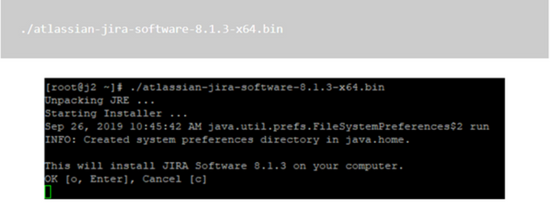
- Then it will confirm if you want to install JIRA here. Hit “Enter” to confirm.

- It will give you three options: Express Install, Custom Install, Upgrade, and Existing JIRA install. We selected the second option. Then it will confirm if you want to keep this default. Hit “Enter”.

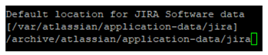
- After this, the installer will confirm the location of the home directory. Choose and click “Enter”.

- Next, you will choose which ports you want to use. Keep to defaults here.

- Then click “Enter” to run JIRA as a service in sudo or root.
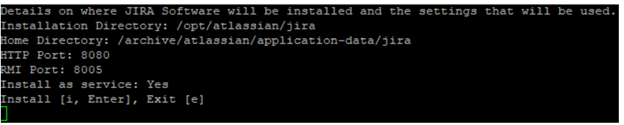
- Again, confirm all the settings you wanted by hitting “Enter”. After installing everything, this window will appear:

- Type “n” and then click “Enter”. Now the installer run is complete.

- After this, you have to install the MySQL JDBC connector into JIRA. Choose and download from the MySQL page. We downloaded a compressed TAR Archive.

- Then decompress the file using this command:

- Copy the extracted file into the JIRA Install Directory.

- After this, you can start JIRA on the server.
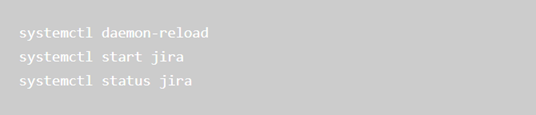
- After “systemctl status JIRA” comes clean, run this command:

- You can follow JIRA as it boots up using this command:

- You have to bypass the firewall using this command as sudo or root:

- After that, the JIRA setup window will appear. Select the second option.
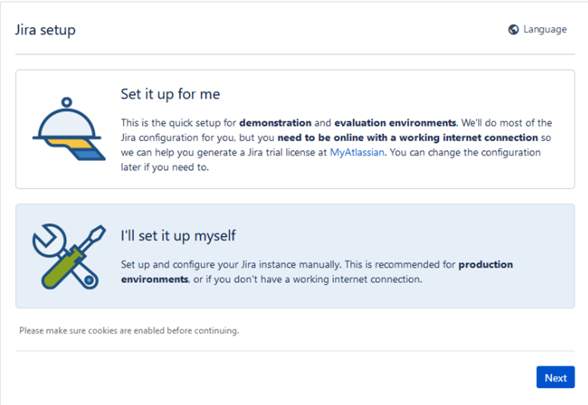
- Click “Next” after selecting the second option. The next screen will confirm some more about the database.

- Hit “Test Connection” and make sure everything is ok. Then hit “Next”
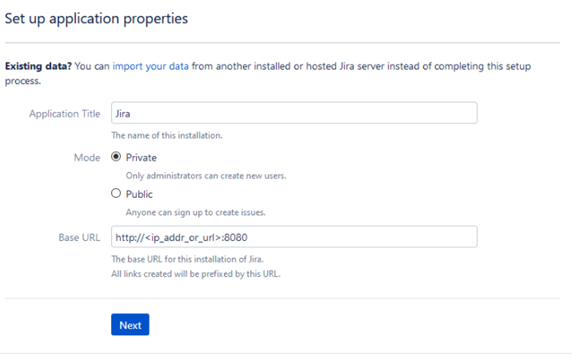
- The next screen shows some more customization. Put a base URL that works.
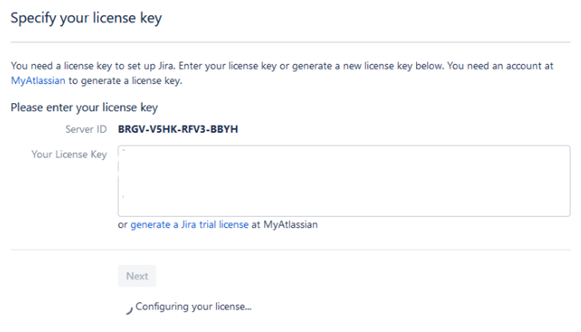
- Copy the license key from Atlassian and hit “Next” to proceed.
- Set up your administrator account.

- After setting up an account, you can set up a mail server now or do it later.
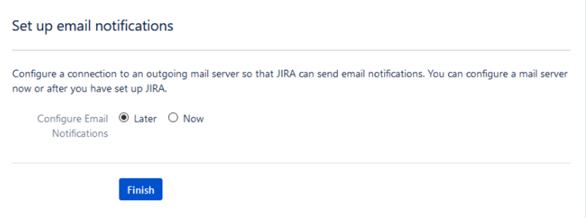
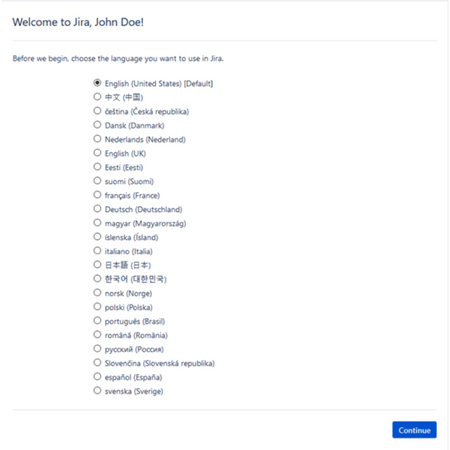
- Click “Finish”. Then choose your appropriate language.
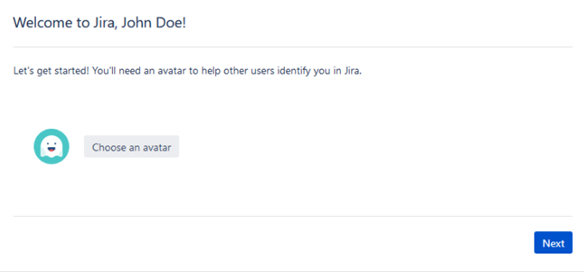
- Then you can choose an avatar now or do it later.
- Finally, your JIRA setup is complete. Now you can set up your project.
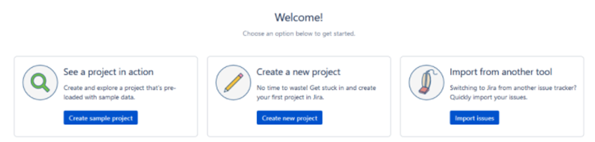
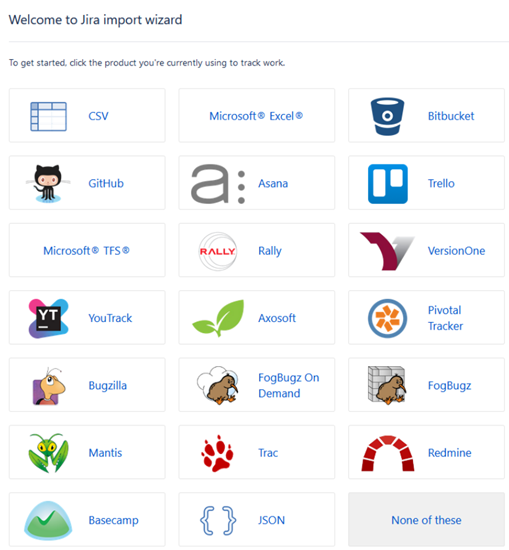
- You can also Import from another tool if you want.
So, following these, you can set up JIRA from Scratch.
Summary: Set up JIRA from scratch
- Install JIRA on your own server.
- Configure JIRA instance.
- Import existing data.
- Add additional users.
- Configure issue types for your teams’ needs.
- Create a workflow for each issue type.
- Set up notifications and subscribers.
- Configure access rights and roles.
- Integrate with other tools such as Confluence, Bitbucket, Crowd and so on.
