How To Sign A PDF File In Windows 10?
431 Views
If you are not sure of how to sign a PDF file in Windows 10 and if you want to learn some amazing ways, then you must have read the below article. It will help you in many ways.
With ever-advancing technology, doing things digitally has become more and more common. While before you needed to send a document via snail mail, nowadays, all you need to do is email the document to your intended recipient.
Similarly, signing documents can now be done digitally, eliminating the need to print and send over a physical document. These days, you can now digitally sign documents that are formatted as PDF files.
With that said, how do you sign your PDF files in Windows 10?
Signing PDF files using Adobe Acrobat
The easiest and fastest way to sign a PDF is by using a program called Adobe Acrobat which you can download from their official site here. Adobe Acrobat has both free and paid versions, with the latter offering more features such as converting and exporting PDF files.
However, their feature for signing PDF files is also available for their free version so if that’s what you need then there’s no need to pay to use it.
With that said, here’s how you can sign PDF files using the program Adobe Acrobat.
1). Open your PDF file in Adobe Acrobat
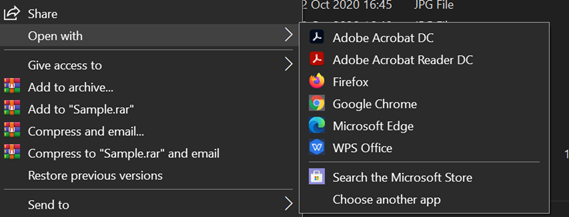
If the program’s not the default yet for opening PDF files, you can right-click the PDF file and select ‘Open with’ from the drop-down menu. Your computer will suggest several programs to open your PDF file with.
From the list, choose “Adobe Reader” as the program you want to open the file with.
2). Choose the “Fill & Sign” option
To sign your PDF file, you need to select the “Fill & Sign” option which you can find on the control panel on the right part of your PDF file.

This will prompt you to choose whether you’re signing the document yourself or requesting someone else to sign the document.
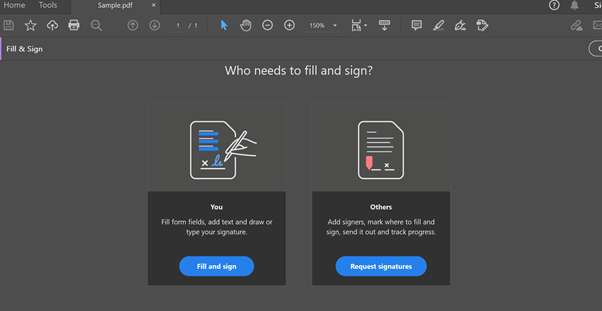
Click the “Fill and Sign” button to indicate that you’re signing the document yourself. This will then open the toolbar for signing the document.
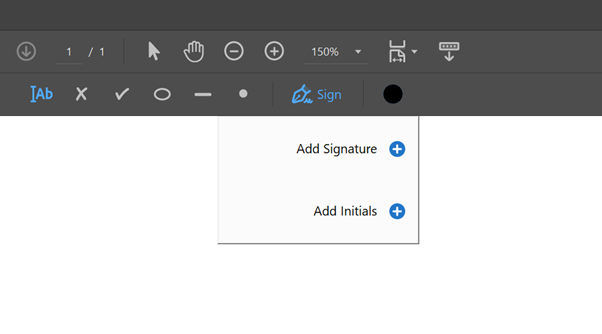
Select the “Sign” option from the toolbar where you can select which way you prefer to sign your document. This will prompt a drop-down menu where you can either “Add Signature” or “Add Initials” to sign your document.
Adobe Acrobat has three ways of allowing you to digitally sign your PDF file.
By default, Adobe Acrobat selects the “Type” option so it opens a text box wherein you can “sign” by typing in your name and converting it to a signature. However, this won’t look like your regular signature so the best way would be one of the two other options.
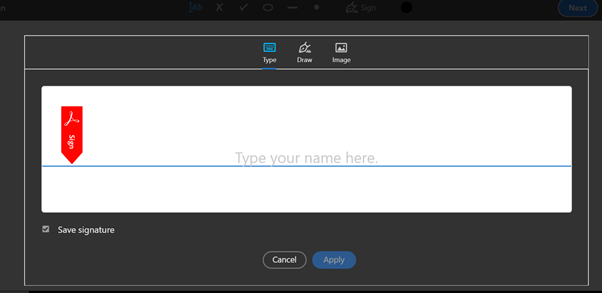
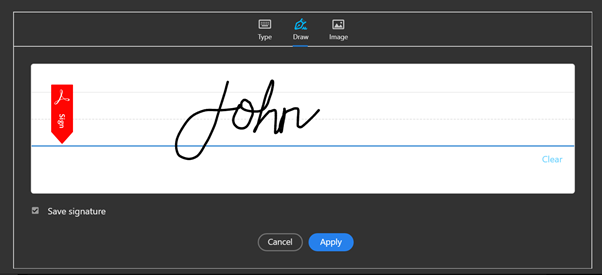
The second option is to “Draw” your signature using your mouse or by signing using a touch screen. If you have a scanned image of your signature on paper, you can select the “Image” option to add that image and convert it into a digital signature.
Whichever option you choose, once you’re done signing the document, you need to click the “Apply” button to apply the changes. There’s a small checkbox on the lower left side of the window where you can save your signature for future use.
Once you’re done, you can move your signature to the location where your signature is needed.
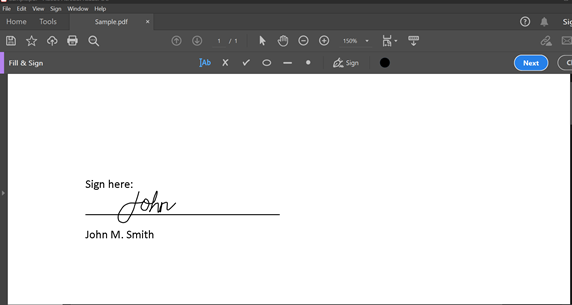
If you’re satisfied with how it looks like, save your PDF file to ensure that your signature on the file isn’t lost.
Summary: How to sign a PDF file in Windows 10?
- Follow the mentioned below steps to sign a PDF file in Windows 10.
- Go the document which you would like to sign and open it in the Adobe Acrobat Reader DC or any other PDF reader.
- Click on the ‘Tools’ button at the top of the page and select ‘Fill & Sign’ option.
- Click on ‘Fill & Sign’ button at right side of the page.
- Select ‘Sign’ option that you want to use; whether its a signature, initial, or any other.
- Add signature or Initials where you want to place it on the document.
- Save document after signing using ‘Save As’ option.
- So, these were some simple steps that you need to follow to sign a PDF file in windows 10.
Final Thoughts
With the help of Adobe Acrobat, you can easily sign your PDF files and send them to your intended recipient. Furthermore, if you have opted to save your signature, you can simply add your signature in the future without having to sign your document again or adding the scanned image again.
