In this post, I am going to show you how to assign Microsoft Planner task to Gmail. It is a very simple way you can do so, just with a few steps. Before we start please take a look at the below picture of default email message and schedule which allows us to know the time period.
Microsoft Planner is used for planning. Assigning or creating various plans or tasks. You can accurately assign and monitor your team tasks with this incredible software. Also, you can send the tasks to your emails to keep track of your works. But it's not that easy to do. It becomes simple if you follow the correct steps.
In this article, I’ll discuss an indirect but automated process if you set it once the process is automated for a lifetime if you don’t have any problem with your Office 365 and Gmail id. But you also need to use an Office 365 app called flow. Don’t worry just follow this brief article to learn how to do it.
Before You Get Started
For assigning a Microsoft Planner task to Gmail or sending it you need multiple steps to follow.
Also, you have to pay attention to some facts and these are:
- You need an Office 365 id and access to it for using the Microsoft Planner software.
- You need an active Gmail id with access for connecting with Microsoft Planner.
- You can learn some basic of Microsoft flow or especially see the example from here to follow along.
- Microsoft flow is a software that makes the manual tasks automated, for this some existing app is available, and if not you have to make one. But in this case, there is an existing app.
Steps for assigning Microsoft Planner task to Gmail
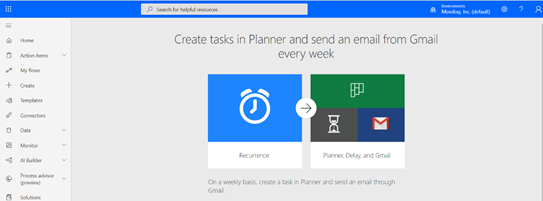
- Visit the site https://cutt.ly/ahCfUJn to access the Microsoft flow app. First login there with your Microsoft 365 credentials. If you manually want to find the app search “Create tasks in Planner and send an email from Gmail every week” in Microsoft flow.
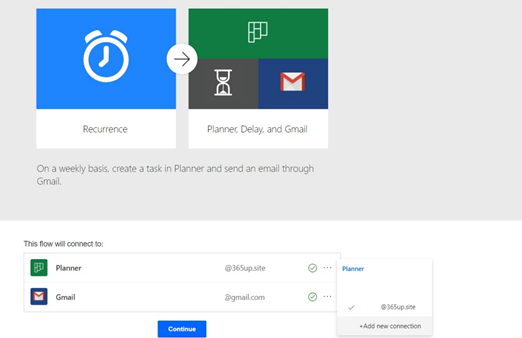
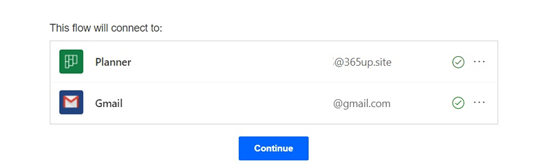
- Under this flow will connect to the option you can see the name Planner and Gmail. You have to connect your Microsoft ID to the Planner section and Gmail id to the Gmail section.
- On the right side of the Planner box, you will see three dots. Click that and click “+Add new connection” and add your Office 365 ID. Don’t forget to give it access it wants.
- And by the same process connect your Gmail which you want to connect to your Microsoft Planner ID.
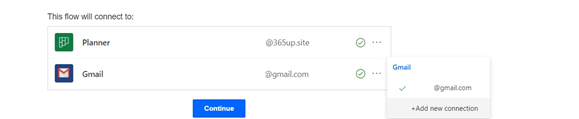
- After successfully connecting both of the Planner and Gmail id You’ll see green round checkmarks, right of each box. If you are sure that you have added the valid ID’s click continue to proceed.
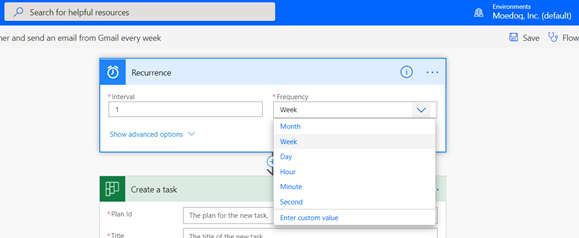
- Now from these options, you can change the recurrence interval and frequency. It means if you want your mail to come daily, weekly, monthly, or e.t.c options are there.
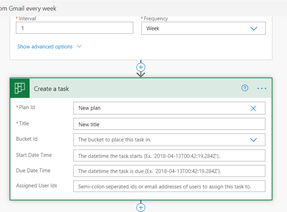
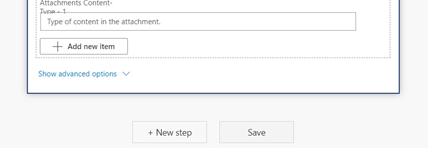
- You’ll find various other options from the Create a task option set also. You can give Plan id, title. Even start date or due dates.
- Also scrolling down more you can find an option name Send an email. Here you can add other Gmail id’s if you want to send the mail in multiple Gmail’s.
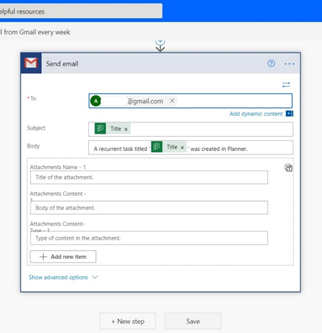
- Click save after double checking all the steps to start the flow.
So that’s how with the help of Microsoft flow you can assign Microsoft Planner tasks to Gmail.
Summary: Assign Microsoft Planner task to Gmail
- Sign in to your Gmail account and navigate to Settings.
- Click on the Forwarding and POP/IMAP tab.
- In the IMAP Access section, select Enable IMAP.
- In Outlook, click on Tools and choose Accounts Setting.
- Right click on your e-mail account and go to Properties.
- Go to Advanced tab and choose This server requires an encrypted connection (SSL).
- On your keyboard, press Win+R keys together. The Run command box will be opened automatically.
- In the Run command box, type regedit and then click OK button. Registry Editor will be opened immediately.
