There are many apps on iPhone which we use daily, but at the same time, there are many other apps iOS users would want to get rid of. For example, what if you downloaded a game that was really interesting for only a week and now is occupying space on your iPhone? So, in this article, we will take an in-depth look at how to clean the iPhone ear speaker.
Your iPhone is with you wherever you go: to an important meeting, to friends meet, and in fact to the toilet. It’s expected that it accumulates on it. Cleaning the screen is just very simple, just wipe it out with a cloth. But what about the ear speaker, no clue? Read this stepwise guide to know how to clean the iPhone ear speaker?
Clean With a Small Soft-bristled Toothbrush
The first method for removing the debris from your iPhone speakers is simply brushing off the accumulated dust on it. You can use kids’ toothbrushes for it as they are compact and soft — though you should double-check it is clean and dry. If you are using an adult toothbrush, then trim the bristles for better control of the strokes while cleaning.
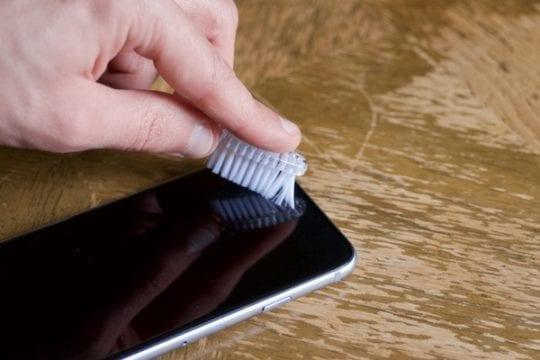
When brushing the debris out, do it in a flick motion on the edges. Don’t escape too hard gentle escapes can do wonders. The procedure will take around 5-10 minutes.
Clean With Painter’s Tape
Commonly known as Masking tape, or painter’s tape available in grocery stores. It never leaves the glue residue on the surface wherever it gets used. This makes it perfect for taking out the stubborn dust accumulated on the iPhone speaker. Be careful while doing because if glue gets stuck in it can worsen the condition and obviously, glue is more deteriorating.
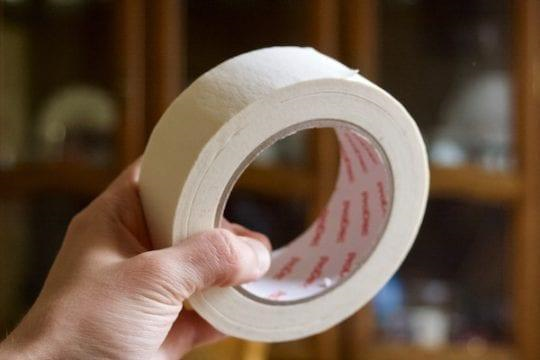
Take a small piece of the tape, but big enough that you can hold it properly.
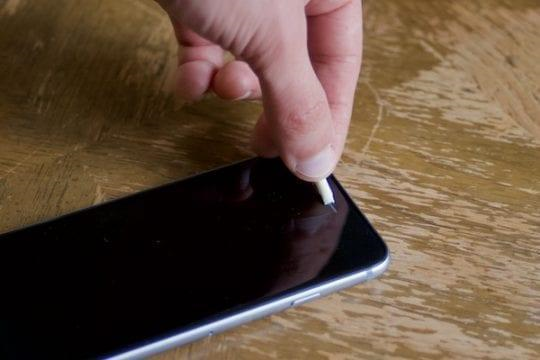
Make a small tight cylindrical shape, adhesive side out, and then with rolling or poking motion on the speaker or microphone space. If tape collects some dirt on it. Change the tape and repeat the same procedure with fresh tape.
Clean With a Toothpick
Toothpicks are handy to clean the dirty iPhone speakers in no time. But as mentioned in the other cleaning procedures, you need to be gentle with this, securing you don’t poke the delicate grille and making it damaged. Toothpicks are small and pointed perfectly to clean the speaker, but sharp enough to damage if not handled carefully.
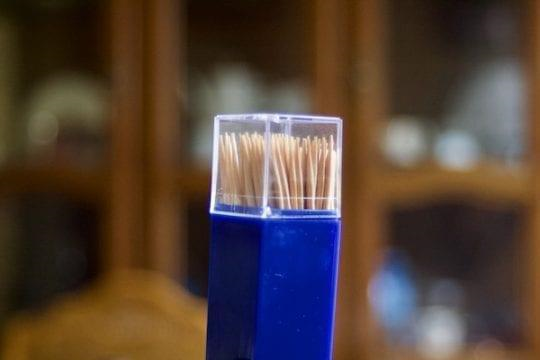
Take the pointed side of a toothpick to lightly scrape along with the speaker, moving any debris to the corners where you can pull it out. You should be able to take out all the accumulated dust. Dampen the toothpick to make the process easy.
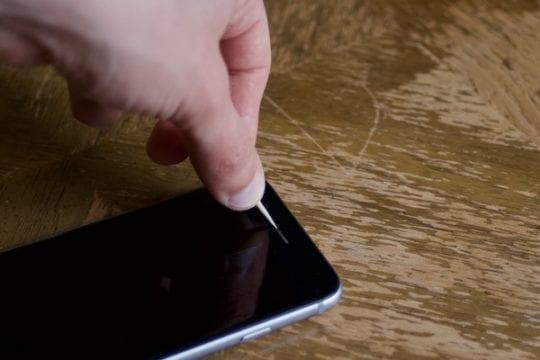
Dampness will cause the dirt to loosen up and would get clean easily. Nevertheless, you have to be notably careful when handling the liquids on it, as this can cause permanent damage to the iPhone if water leaks back into the speaker.
Try these techniques on your iPhone speaker to make it clean and better the sound quality. You can try the new combinations of the above-provided techniques to make your hack to clean the iPhone speaker. If you are still experiencing audio issues please visit the Apple store near you as it might be a software problem that needs technical assistance, they would be able to assist you better.
Summary: Clean the iPhone Ear Speaker
- If your iPhone is less loud than it should be, you may have a lot of dust built up in the ear speaker.
- You can clean the ear speaker without having to take your iPhone apart.
- First turn off your iPhone and make sure there is no case on it.
- Then take a wooden toothpick and gently insert it into the ear speaker, but only far enough so that you can feel an edge of it making contact with the dust inside.
- Then make a light scraping motion with the toothpick parallel to the edge to which you applied it.
- Complete this on all sides of the hole for the ear speaker until you no longer feel any debris coming out.
- Now take a dry Q-tip and swipe it inside the hole for your ear speaker to remove any remaining loose dust from where you just scraped.
- Test your device by turning it back on and making sure the volume is at an acceptable level for you.