Introduction to Procreate
Procreate is a powerful iPad app that allows you to create artwork on the go. It has many features, including the ability to create, edit, and delete brushes.
Benefits of Deleting Brushes
Deleting brushes in Procreate can help you reduce clutter and keep your workspace organized. It can also help you focus on the brushes you actually use and make it easier to find the ones you need. Additionally, deleting brushes can help free up space on your device. Steps for Deleting Brushes in Procreate
- Open the brushes panel in Procreate.
- Select the brush you want to delete.
- Tap the “Delete” icon
Risks of Not Deleting Brushes
Not deleting brushes in Procreate can lead to a cluttered workspace and can make it difficult to find the brushes you actually need. Additionally, not deleting brushes can take up unnecessary space on your device.
Understanding Procreate Brushes
The Procreate app is a digital art software that is available on the iPad. It is a powerful tool that allows users to create and edit digital art with a variety of brushes and tools. Procreate brushes can be used to create different effects, textures, and colors. There are a variety of brush types, such as airbrushes, pencils, and markers. Each brush type has its own unique properties and can be used to create different types of art.
Different Types of Procreate Brushes
- Airbrush Brushes: Airbrush brushes are used to create soft, airy effects. They are great for creating a light and airy look in your artwork.
- Pencil Brushes: Pencil brushes are used to create textured lines and details. They are great for creating detailed line work and shading.
- Marker Brushes: Marker brushes are used to create bold, vibrant colors. They are great for creating bright, vibrant colors.
Way to Access And View Your Brushes
To access and view your brushes in Procreate, open the Brushes palette. This can be found in the top right corner of the app. Once you open the palette, you will see a list of all the brushes you have available. You can tap on a brush to view a preview of the brush and to select it for use.
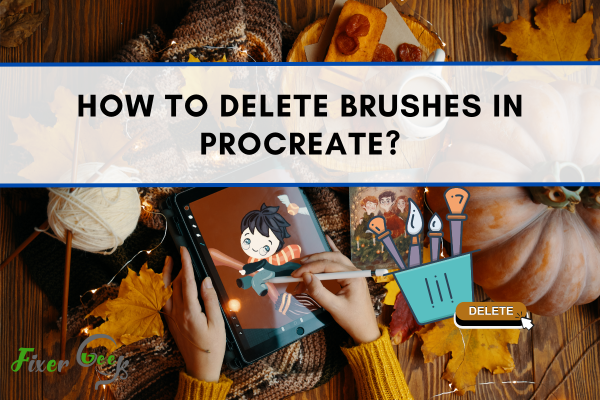
Way to Delete Brushes on Procreate
To delete brushes on Procreate, open the Brushes palette and tap on the brush you want to delete. Once you tap on the brush, a menu will appear with the option to delete the brush. Tap on the delete button to delete the brush.
How To Delete Multiple Brushes At Once
To delete multiple brushes at once in Procreate, open the Brushes palette and tap the Select button in the top right corner. Once you tap the select button, you will be able to select multiple brushes by tapping on them. After you select the brushes you want to delete, tap the trash icon in the bottom right corner to delete them all at once.
How To Restore Deleted Brushes
To restore deleted brushes in Procreate, open the Brushes palette and tap the History button in the top right corner. This will open a list of recently deleted brushes. Tap on the brush you want to restore and it will be added back to your Brushes palette.
Troubleshooting Common Issues
If you are having trouble restoring deleted brushes in Procreate, try the following steps:
- Make sure that you have the latest version of Procreate installed on your device.
- Ensure that the Brushes palette is open and the History button is visible.
- Check to make sure that the brush you want to restore is still in the list of recently deleted brushes.
- Try restarting Procreate and your device to see if the brush is restored.
Additional Tips For Managing Brushes
- Organizing your brushes into folders to keep them organized and easy to find.
- Deleting brushes you no longer use to free up storage space.
- Using the brush library to save your favorite brushes for easy access.
- Backing up your brushes regularly to a cloud-based storage service.
How To Rename Brushes
- To rename a brush, simply tap and hold the brush you want to rename.
- A menu will pop up with the option to rename the brush.
- Tap the “Rename” option and type in the new name for the brush.
- Tap the “Done” button to save the changes.
How To Duplicate Brushes
- To duplicate a brush, tap and hold the brush you want to duplicate.
- A menu will appear with the option to duplicate the brush.
- Tap the “Duplicate” option and type in the new name for the brush.
- Tap the “Done” button to save the changes.
Conclusion
In conclusion, renaming and duplicating brushes in Procreate is a simple process. By tapping and holding the brush you want to rename or duplicate, you can access the menu with the options to edit the brush. All you need to do is type in the new name or duplicate the brush and tap the “Done” button to save the changes. This is a great way to customize your brushes and make them more unique.
Frequently Asked Questions
How Can I Tell If A Brush Is Safe To Delete?
Before deleting a brush, it is important to make sure that it is not being used in any of your projects. To check if a brush is being used, open the project and look for the brush in the layers panel. If the brush is being used, it will be highlighted in the layers panel. If it is not being used, it is safe to delete the brush.
Will Deleting A Brush Delete Any Artwork I Created With It?
No, deleting a brush will not delete any artwork you created with it. The artwork will remain in the project, but the brush will no longer be available for use.
Can I Delete The Default Brushes That Come With Procreate?
Yes, you can delete the default brushes that come with Procreate. To do this, open the Brushes panel and select the brush you want to delete. Tap the trash can icon to delete the brush.
How Can I Recover A Brush I Accidentally Deleted?
Unfortunately, once a brush is deleted in Procreate, it cannot be recovered. You will need to re-create the brush from scratch or find a similar brush online.
Is There A Limit To How Many Brushes I Can Have In Procreate?
No, there is no limit to the number of brushes you can have in Procreate. However, it is important to note that having too many brushes can slow down your device's performance.
