How To Enable Source Code Management In Jenkins?
686 Views
Jenkins is great for rapid application development and building continuous integration. It's also used as a tool for managing source code repositories from a central place. If you're looking forward to setting up Jenkins as a centralized source code control system or want to configure your existing Jenkins environment to manage source code from server, this article will help you know how to enable source code management in Jenkins.

Enabling Source Code Management can improvise the acceptance of any editor tool. Likewise, many DevOps enthusiasts have been using Jenkins.
It’s a versatile platform to create your job with integrated code management. Still, you may want to enable a common tool like GitHub to complete the objectives.
The entire process is incredibly simple to understand prior to practical implementation. And the guide provides a visual demonstration of the task.
Jenkins Source Code Management
The tool allows integration of Source Code Management options like Subversion & CVS. Both come as built-in tools to support the facility.
However, many developers rely on GitHub to handle the coding activities. It’s a larger web-based code repository to help with DevOps.
Facilitation of continuous integration requires an update for the coded frame. And Jenkins lets you use ‘Git Plugin’ to patch your source code.
Installing Git Plugin for Jenkins
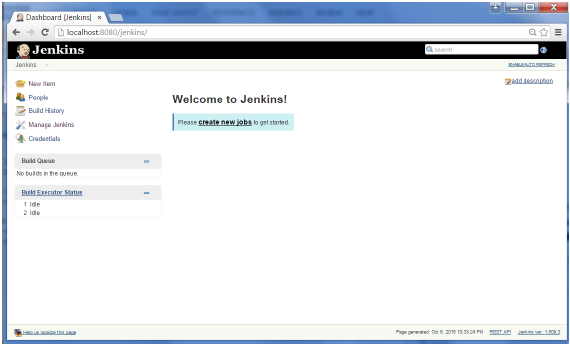
- Log into your account after opening Jenkins. Look at the left panel on your dashboard.
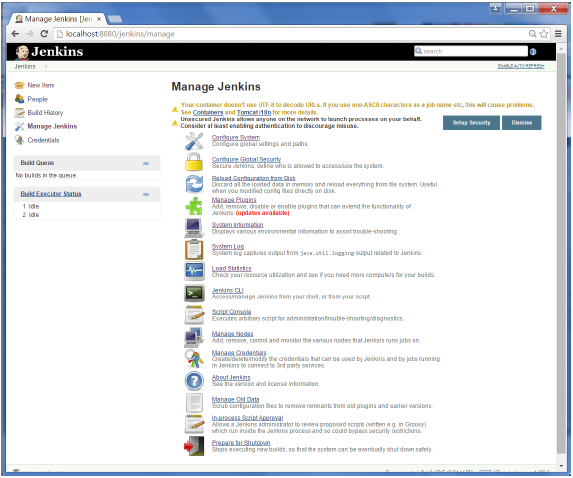
- Find ‘Manage Jenkins’ from the menu. Click on the button to access associated settings.
- Click on the ‘Manage Plugins’ button at the very end of the newly opened window.
- It should open a new tab with checking options & some actions buttons at the bottom.
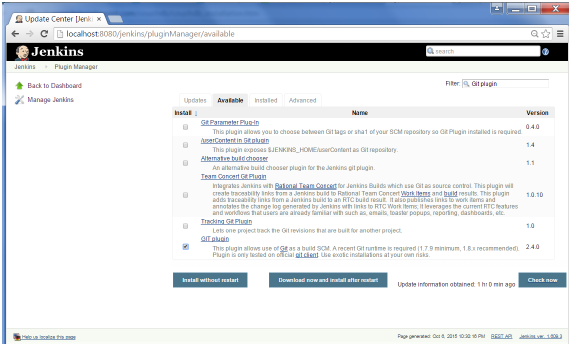
- For a specified ‘No Updates Available’ notification, you have the Git plugin installed already.
- Select or check the ‘Git Plugin’ in the middle to press the ‘Installation without Restart’ button.
- Plugin will start downloading to take some minutes. Installation will initiate automatically.
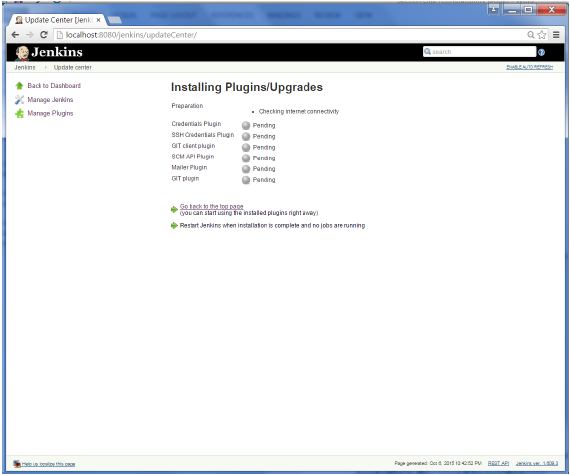
- You can also press the ‘Download now & Install after Restart’ button on the mid-segment.
- Following the setup, access the ‘Manage Jenkins’ to see the full list of installed plugins.
Integrating Jenkins with GitHub
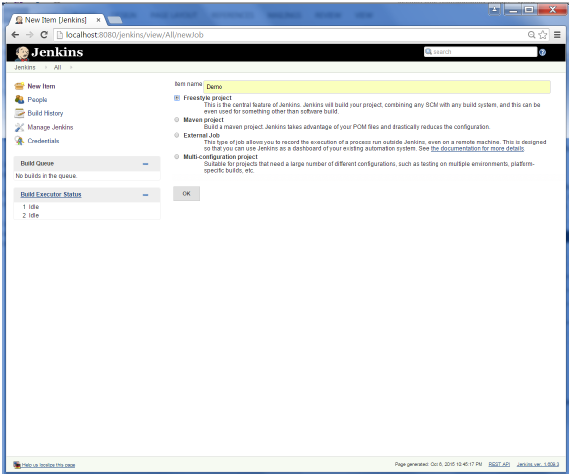
- Open the Jenkins dashboard to click on the ‘Create New Jobs’ button. It’ll take you to a new tab requiring information.

- Enter the information in sequential order - item name & job type. Click ‘OK’ to initialize a freestyle project.
- The project page will get redirected to the project form. On the page, you’re to enter information on the specified task.
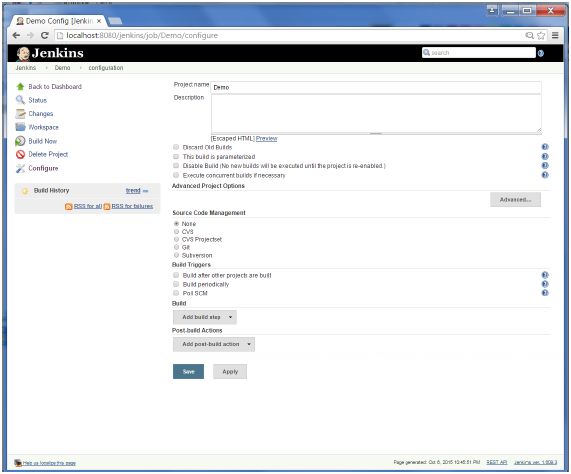
- You’ll get to see checkable options right below the description. Enter Source Code Management on the General’s right.
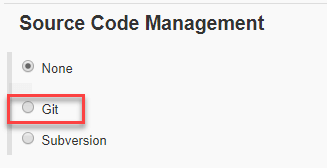
- The options will explicitly include None, Git & Subversion. Check the ‘Git’ box on its left to press enter.
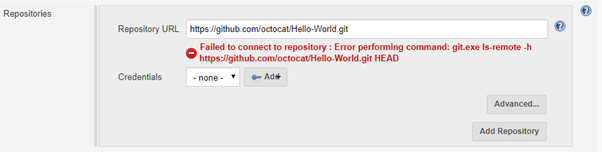
- A new tab will appear, requiring Repository URL for Git. Enter the URL to pull your code from GitHub.
- For a Git plugin no installed in local machine, the URL won’t work. You must install the plugin on the local machine.
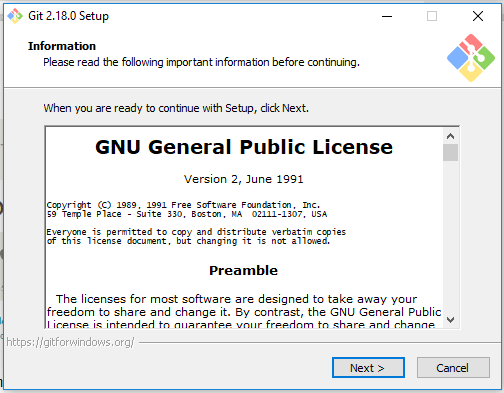
- Download the exact Git file to match your OS. Proceed as per the onscreen instructions to set up Git.
- Execute Git repository following the completion of its setup. Likewise, you should confirm its flawless action.
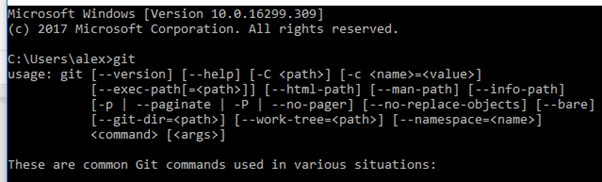
- Open Command Prompt from search options (Windows OS). Type ‘Git’ to press enter. Different options should appear.
Jenkins Plugin Installation
The tool itself features a basic layout, lacking several important features. You’ll have to settle for third-party support to enable the features. And Jenkins allows you to work with some popular plugins, letting you accomplish the ultimate target.
Summary: Enable Source Code Management in Jenkins
- Create a new Jenkins job.
- Choose Git as SCM.
- Add your repository URL and browse branches to find the branch you want to build.
- Select the branches you want to build in the Branch Specifier section.
