Is there a file that shouldn't be in Git? Maybe it's a backup file or an old file you don't need any more. In this article you'll learn how to remove files from Git.
Developers have to add many files to the repository for a project. And some files require immediate disposal to keep the repository from overwhelming.
Though Git file deletion may sound simple, the process requires a careful decision. The article lets you understand the issues to take relevant removal action.
Methods to Delete/Remove File from Git
1). Deletion with Git ‘rm’
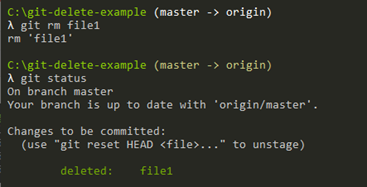
The simplest way to remove a specific file from the repository lies with the command. Execution of ‘git rm’ with a specified file name will accomplish the task.
2). Git ‘rm’ Action on the System
The command ‘rm’ explicitly removes the file from the repository as well as the filesystem. But the command doesn’t delete the file from the Git index. You’ll have to commit the change to remove the file from the index.
- Using the ‘git ls-tree’ command, you can see the current branch tracking of files.

- Execution of the ‘git rm’ command will remove the file from the repository & filesystem.
- After getting the confirmation message, you need to commit the changes.
- Pushing the change to your remote repository should delete the file from the index.
3). Strict Git Repository Removal
There are several files you don’t want to get erased from the filesystem. And Git allows you to delete the repository file, retaining the file in the existing filesystem.
Removal of files from the repository, not filesystem, needs special privilege. After the ‘git rm’ command, you’ll have to add the ‘-cached’ option before file specifications.

4). Recursive Git Deletion
You may encounter a good number of files not necessary for your project. Removing the files individually seems like an old-fashioned idea for developers.
Recursive file removal requires an additional character on the template. There, you’re to add ‘-r’ after the ‘git rm’ command to specify the list of unwanted files.

5). File Removal for Git History
Some files are likely to contain sensitive, private, or confiscated information. You’ll have to remove the very last trace of the file to keep yourself secure.
Deleting any file from the whole Git history calls for an explicit action. Apart from defining the ‘git filter-branch’ command, you need to specify the revision.

As you can realize, the command is somewhat complex for initial users. Looking into the individual segment should help you to understand the code.
- force: It forces the filter-branch to execute the command.
- index-filter: Rewriting of the index, following the file removal.
- Git rm: Execution on history branches, revisions, & commits.
- prune-empty: Automated pruning to avoid empty commit.
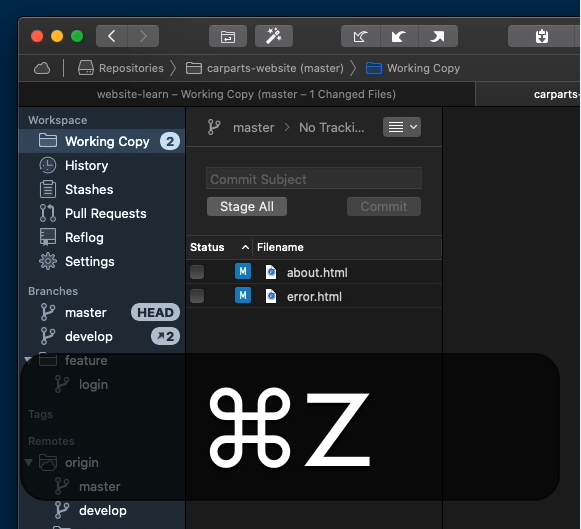
Tower Git Client Removal
For customers to use Tower Git Client, the removal of files is incredibly easy. Select the ‘Move to Trash’ option for any file; Git will automatically mark the file deletion. Hitting ‘CMD+Z’ will immediately restore your files to the previous destination.
Git Status Command
Right before the commit, you may think of running the ‘git status’ command. You can watch the removed file to get added to untracked as well as to be committed files.
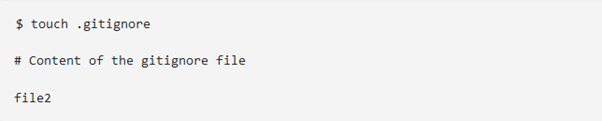
Let the system ignore your removed files to skip the problem. Simply execute the ‘gitignore’ command with specified files to confirm a consistent untracked file list.
--dry-run Command
Apart from the others, you should catch an associated command to influence the file output. Execution of the command doesn’t remove, delete or modify any file. It explicitly removes the file output you don’t need.
Summary: Remove File from Git
- Find the file in GitHub.
- Click on the file to view it's contents.
- On the left side, click on "Edit this file". This will create a new branch for your changes.
- Make the change and save it. Note that "Commit changes" is pre-filled with a message suggesting to delete the file - you can keep that message.
- Scroll down to see a button called "Propose file change". Click on it. This will initiate a pull request for your change.
- Click on the "Create pull request" button.
