Introduction
How to remove the Otter Box from an iPhone 6? For most people, the Otter Box is a must-have accessory. But if you've just purchased your new iPhone 6 and are wondering how to safely remove the Otter Box, fret not. I'll show you how to do this.
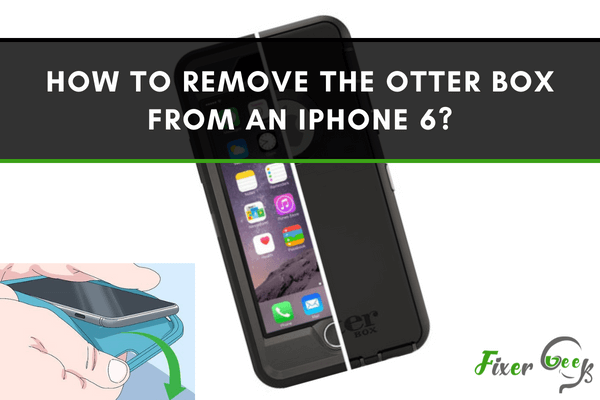
The Otter Box Defender Case is one of the best ways to safeguard your costly and high-priced iPhone 6. They are one of the best and prominent case-makers in the Smartphone industry. The Otter Box Defender series comes with exceptional protection. Even if you drive a car over your iPhone, it will not suffer any form of damage.
This case contains two-layers of protection: a sturdy plastic cover to protect the screen and a well-built outer rubber shell that protects your iPhone from any damage. This defender case is mostly preferable for individuals that demand heavy-duty protection.
However, for any reason, if you want to remove your Otter box, then it can be a bit tricky for you to try for the first time.
What tools do you need to remove the protective case?
This process of removal is based more on the skills of your hands rather than a particular equipment skill. Still, you will need the following things that will help you in the forthcoming procedures:
- A flat-head screwdriver
- You will also need a butter knife or a blunt knife
- An old credit card or any card with sharp edges
What do you need to do?
To remove the defender case from your iPhone, you will have to follow the following steps carefully. The best approach is to first interpret all the moves, understand them, and then implement the protocols.
Remove The Rubber Shell
To achieve this, put your finger between the rubber shell that covers the outer edges and the back of the iPhone, and the plastic shell that surrounds your device. Now slide it around your iPhone to separate the plastic and the rubber shell.
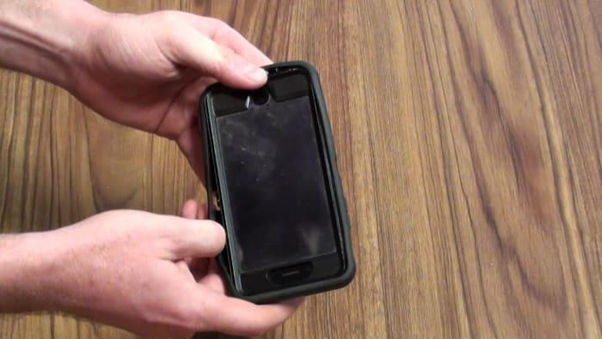
If you are unable to do it with your fingers, you can also use an old ATM card or any card with a sharp edge that could slide into it without much effort. Another approach is to use the butter knife or a blunt knife that could easily slip between them. This procedure helps an individual to remove the rubber shell from the hard plastic case.
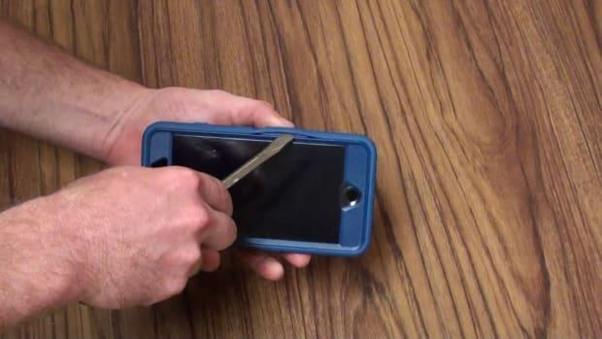
Working With The Clips
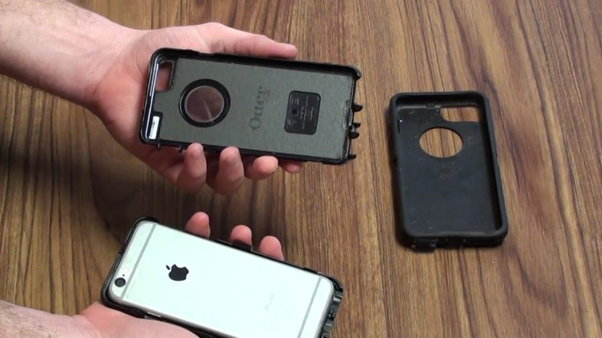
Now, observe the back of your iPhone 6. There you will find seven arrows on the back. Those seven arrows will be pointing to the seven clips connecting the two pieces of the hard plastic case. The distribution of the seven clips is as follows: Three clips along the left edges, three clips along the right edges, and one clip on the top edge of the case. Select any one of the clips of any of the sides to remove them.
If you face any particular problem with a specific clip then move on to the others. Remember not to force your way into it. Repeat this step steadily without any hurry. As these clips are frail and breaking them will result in increasing your difficulty to remove the case.
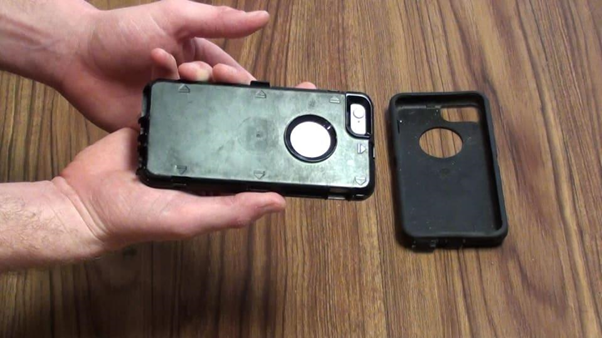
Either uses a screwdriver or your fingernails and places it under the clip. Then slowly pull it.
until you start seeing any separation between the two sides. This task is very clumsy. You have to be extra careful not to put much pressure to avoid any damage to the clips.
The Final Part
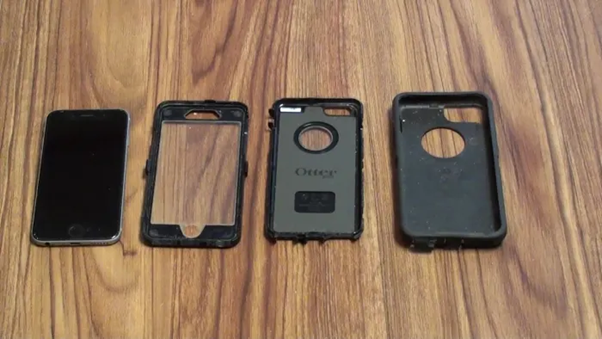
Once your hand is under the back part of the hard plastic case of your iPhone 6, pull the top part of it off of your phone. The only thing that remains is to lift the sturdy hard plastic case from the back of your iPhone 6. Congratulations, you have successfully removed the Otter box from your iPhone 6.
Summary: Remove the Otter Box from an iPhone 6
- Take the phone out of the case.
- Remove the screws on the back of the phone with a small Phillips-head screwdriver.
- Remove the back plate from the phone.
- Take the battery out of the case.
- Take out all of the screws holding the screen bracket in place with a small flathead screwdriver.
- Lift off the screen bracket from under the screen.
- Use tweezers to pull up on each corner of the screen, lifting it off its brackets.
- Remove tiny screws with a tiny screwdriver and remove each piece of the Otter Box until all that's left is your iPhone 6.
Conclusion
The procedure we talked about in this article is to remove the case easily and that too in a less amount of time. So, gear up and be ready to remove the Otter Box Defender Case without much effort.