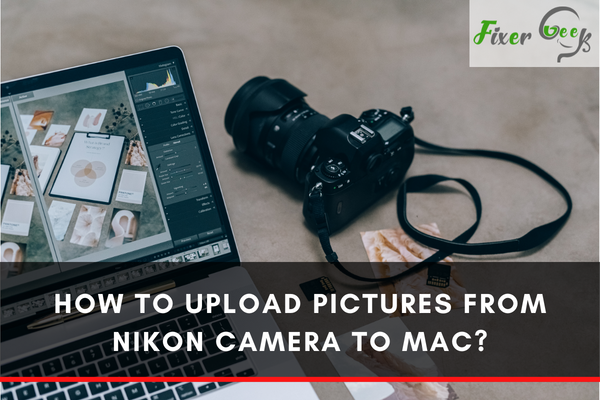
So, you have bought a new Nikon camera and have made a great collection of your photos. Now you want to upload those photos from a Nikon camera to your Mac, but you don't know how. It's OK. Most people want to learn how to import photos from a Nikon camera to Mac.
Importing pictures from a Nikon camera to Mac is easy. There are specific ways to import images from a Nikon camera to Mac. These methods are as follows:
- Import pictures from Nikon camera to Mac by inserting SD Card.
- Import pictures from the Nikon camera to Mac by using a USB cable.
- Import pictures from the Nikon camera to Mac by using Snapbridge.
We will discuss these methods in detail below.
Import pictures from Nikon camera to Mac by inserting SD Card.
Using an SD card to import pictures is the easiest of all methods. Nikon camera uses an SD card to store your photos. The SD card is inserted into the compartment of your Nikon camera labelled "card". To open the case, you need to press it down. After that, when you see your SD card, press it down, and it will come out of your camera. Now, take the card out of the slot.
When you get your camera's SD card, go to your Mac and locate the SD card reader. Usually, the iMac has an SD card slot at its backside, and in MacBook, the SD card slot is on the right side. Maybe your Mac does not have an SD card slot. Then you can use an SD card adapter to insert the SD card into your Mac. After inserting the SD card, you may see the SD card icon on the dock or desktop of your Mac. Otherwise, search your SD card in the finder app under the "Devices" section.
When you find the SD card icon, double-click on it, and it will open on your Mac. Search for the pictures you want to upload to your Mac. Select those pictures, copy them from your SD card, and click on the paste to upload them to your desired location on Mac.
Finally, safely remove your SD card and insert it into your Nikon camera.
Import pictures from Nikon camera to Mac by using a USB cable
If the SD card reader is unavailable on your Mac and the SD card adapter is also not helping solve the problem, then you can use a USB cable to import pictures from the Nikon camera to Mac. You receive the micro USB cable in the Nikon camera box, connect it to the camera and connect another USB cable to your Mac.
Now connect both the USB cables with one another. You will see the device appears on your Mac. You will download and install some software and drivers on your Mac to download photos. To do this, install Nikon ViewNX 2 on your Mac, and it will automatically download all the required drivers for your Mac to import photos from the Nikon camera. After installing Nikon ViewNX 2 on your Mac, unplug the USB cable from Mac and then insert it again. The Nikon ViewNX 2 will then import photos from your camera to Mac automatically.
Import pictures from the Nikon camera to Mac by using Snapbridge
The last method is to upload photos from a Nikon camera to Mac via the Snapbridge app. The Snapbridge app can be downloaded to your mobile device from App Store or Google Play Store. After downloading the app:
- Go to the settings of your Nikon camera and choose Connect to Smart Device.
- Select Bluetooth and tap on pairing.
- Go to your mobile device, and you will see the serial number of your camera, tap on it and follow the instructions on your mobile and camera to pair them.
When paired, tap on "connect to camera" and download photos to your phone one by one or all together. After all the pictures are downloaded, send all your pictures to cloud storage services like google drive. Then go to your Mac and download the pictures from the cloud storage.
Final words
See, that is how easily you can upload pictures from your Nikon camera to your Mac. The first method will mostly work for you to upload pictures, so try to upload your pictures with the first method because it is easier than other methods. If it fails to upload with the help of the first method, you can try the second or third method.
