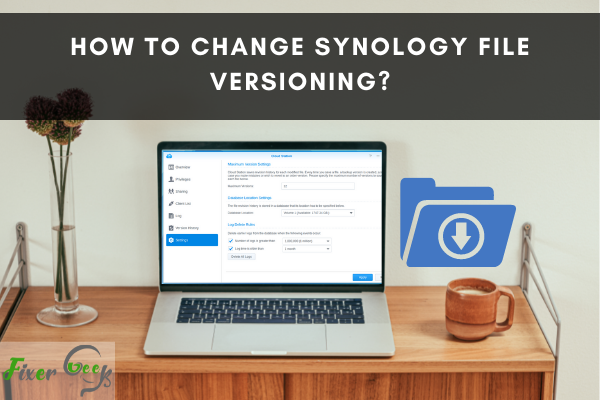
Synology DiskStation is a great server for home and office use, but it’s also perfect for many multimedia purposes since it can support up to 32TB in the latest versions. Creating databases on Synology NAS to store backups or critical data is easy. Synology even allows you to change file versioning settings depending on your needs. In this tutorial, we will show you how to change Synology file versioning without effort.
File Versioning is one great feature to keep online documents protected. Popular storage or cloud platforms allow the premium users to hold the feature.
Even Synology has its reasons to offer a File Versioning facility to the customers. But the feature itself isn’t exactly an integrated layout full of positivity or advantages.
And that’s where changing Synology File Versioning comes into question. The article presents some comprehensive details on the process for all Synology users.
Of course, the official Synology website provides brief guidance on the change. Still, you may need to know everything to address your problems regarding the feature.
Accessing Synology Driver Management
The latest version managed to keep the settings simpler through easy steps. There’s no need to waste time on the older version’s complexity.
- Click on ‘DSM’ to open ‘Synology Drive Admin Console’.
- Find to press the ‘Team Folder’ on the tab’s left menu.
- Select your intended storage folder to click ‘Versioning’.
- Get to ‘Maximum Versions’ to reduce its number value.
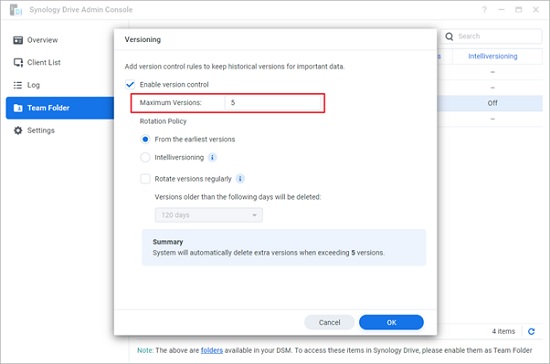
Synology explicitly recommends a lower value than five for Version Number. However, you can disable the facility with no restoration requirement. Unchecking the ‘Enable Version Control’ will immediately disable the feature.
Many users may still prefer the old versions for personal advantages. The available methods appear almost the same, with a slight change in manner. In fact, the process lets you free up spaces to make a notable difference. You can still reduce the space or execute a sweep for the stored database.
Reducing Number of File Versions
When the difference appears notable, you can free up some stuck space. We’re talking about decreasing the space requirement on File Versioning.
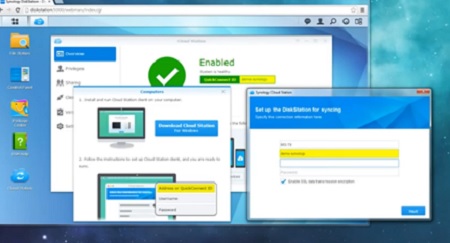
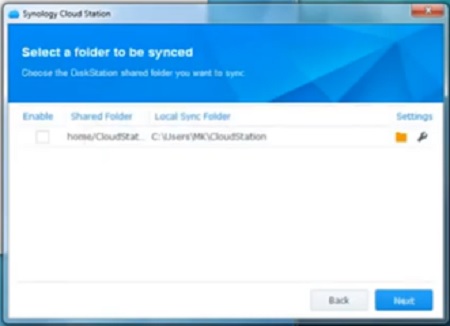
- Access CloudStation server from Synology.
- Find the ‘Settings’ option on the left menu.
- Press on ‘Sync Settings’ from the top side.
- Figure out the folders to use ‘File Versioning’.
- Decrease or turn off ‘Number of Versions’.
Clearing the Version Database
Close proximity requires a complete sweep rather than a mere space freeing task. Cleaning the database can add up the available space to a reasonable extent.
- Open Synology Cloud Station server.
- Find ‘Overview’ from the left menu.
- Press on the button to open ‘Version Explorer’.
- Look into every folder’s left portion.
- Execute ‘Action – Clear Version Database’.
You’re to consider every folder in the database for the task. Also, you can choose some selected folders, using too much space.
Knowing the Space Used by Synology File Versioning
Of course, you’ll have to know the space available or space used on File Versioning. Otherwise, you’ll get confused about reduction & cleanup. Follow the simplified process to reveal the space based on File Versioning uses.
- Simply open the Cloud Station server on Synology.
- Go to the ‘Settings’ from the page’s left menu.
- Click on the ‘Options’ tab from the top menu.
- Press the ‘Calculate’ button to start the process.
- Leave the process for a couple of minutes.
- You’ll get to see the used space by the feature.
The entire process is somewhat lengthy, requiring reasonable time. It’s likely to cost you several hours, at least. The free space will start appearing on the screen after the completion.
Summary: Change Synology File Versioning
- Go to Storage Manager and then click the File Sharing tab.
- Find the shared folder and click Edit.
- Click Advanced Settings.
- Then under General you will find an option for versioning.
- Go to Storage Manager and then click the File Sharing tab.
- Find the shared folder and click Edit.
- Click Advanced Settings.
