Cutting pictures on Mac is easy. Cutting pictures on the computer is one of the most basic; everyone knows how to do so. In fact, cutting pictures is not complicated at all. However, if you are using a Mac, then you might wonder "how to cut pictures on Mac" instead. This article will teach you some simple ways for cutting pictures on Mac and put them into your blog post or presentation slides.
Cutting pictures is one of the basic photo edits that doesn't require much trouble. But if you don't know the easiest technique it might seem troublesome. And talking about editing on Mac it has its own way of working. Do you want to know How to cut photos on a Mac?
If that's the case, You are absolutely at the right place. Here we have brought out the short-cut process of cutting any image on a Mac device. So, keep scrolling and read out the instructions given below to know the editing process.
Cropping Pictures on Mac’s Built-in Editor
You can easily cut your pictures through Mac's built-in editor program. You need no external application to crop your image. Here is how it works.
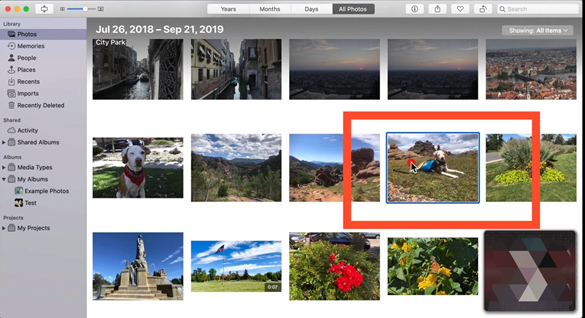
- Click and open the "Photos" from the "Mac Menu Bar".
- Find the photo you want to edit and double click on it to open. You can also "Control Click" on the picture and select "Open" to do the same.
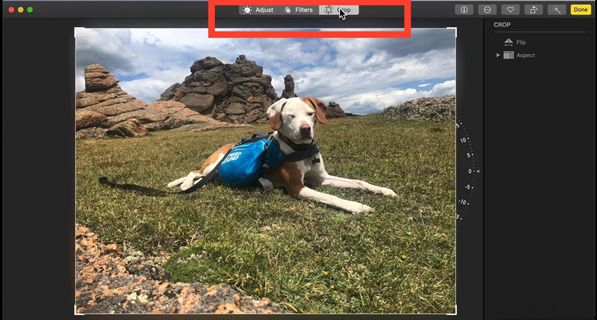
- On the top right corner of the picture there is an "Edit" option. Click on it.
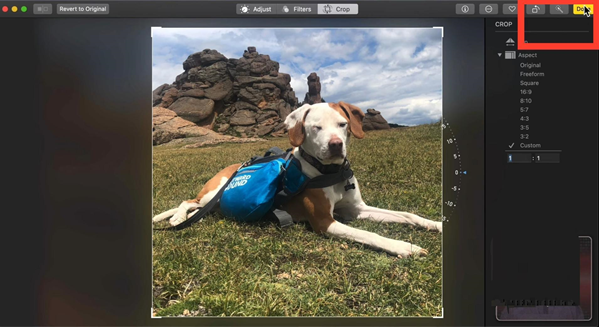
- On the top, you will get the editing toolbar named "Adjust, Filters, Crop". Click on "Crop" for more cropping tools.
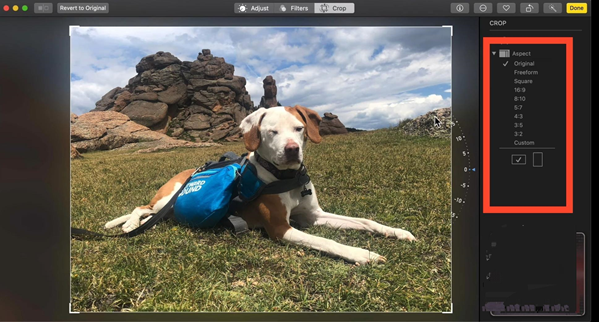
- Now, move the "Cursor" on the picture to cut the image according to the size you want. Dragging the cursor around you can zoom in or out and even free shape the picture in various sizes.
- On the right side of the photo there is an "Aspect" option. Through this, you can see the original size of the photo, crop it in a square, freeform, 16:9, and many other ratios.
- Lastly, click on the 'Done' option appearing in the top right corner and you are all done.
Cut your image in Preview
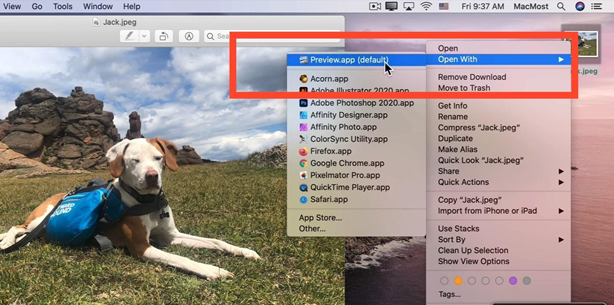
Photos that are not found in the "Photos" folder of your Mac can be cropped easily using this "Preview" option. So, if you want to crop a regular file appearing on your desktop this process is great. Here is the process.
- Double Click" on the photo to open the file. You can also "Control Click" and select "Open in Preview" to open the file.
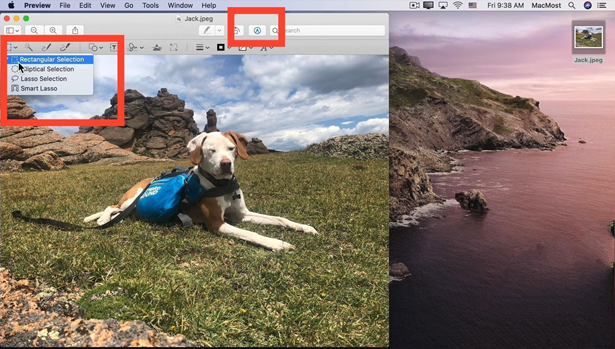
- Drag the cursor and select the photo area you want to keep. If you need to crop it in a particular size like square or rectangular click on the "Mark-up" tool and select the size you want.
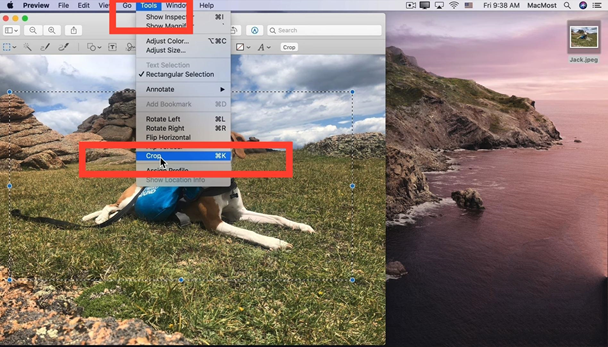
- Select the "Tools" menu from the top and click on the "Crop" option. Now, save the file and you will find it in the "Desktop Folder".
Cut Your Pictures Using External Applications
You can also cut your photos through an external application found in the app store of your Mac device. Here is the procedure.
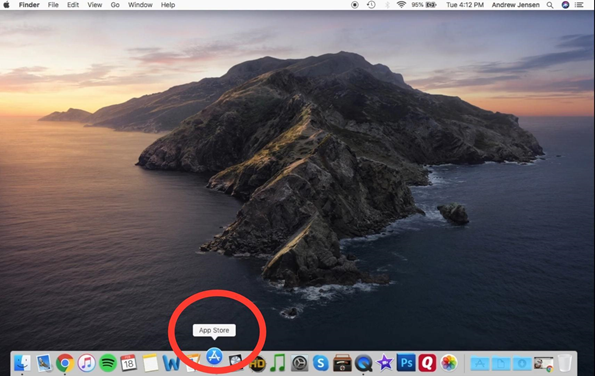
- Open the "App Store" from the "Mac Menu Bar".
- Go to the "Search Bar" on the top right corner and write "Photo Editing Apps".
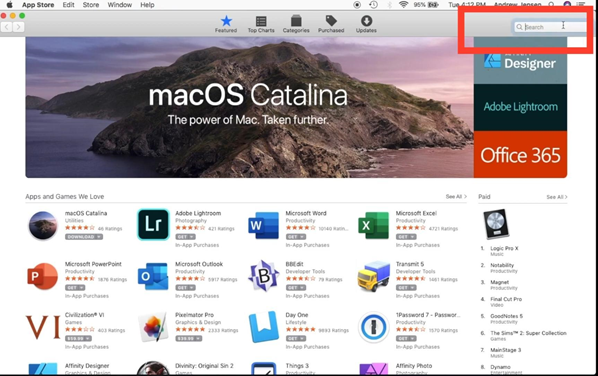
- Select any application having good "Reviews and Ratings".
- Click on the ''Install'' option and download the file.
- Go to the "Application" folder from the "Mac Menu Bar" to find the downloaded application.
- Open the application and go to "Image". Open the picture you want to edit on the application.
- Click on the "Tools" menu and select "Crop".
- Crop the image and download the file. And you are done.
Summary: Cut Pictures on Mac
- Open the image to be cut.
- Use the Crop tool.
- Click and hold on the center of the image.
- Drag the cursor to rotate the picture.
- Choose a new size for your image from the drop-down menu.
- Type in an aspect ratio to crop your image as you like.
- Click on OK.
