Minecraft is a game that was developed by Swedish programmer Markus Persson and released in 2011. The game has become extremely popular, with over 100 million registered users as of 2017. One of its greatest features is the ability to create your own maps and share them with other users. If you want to get specific Minecraft maps, there are two ways to do it. In this article we will be talking about the first way to download Minecraft maps in Windows 10, which involves using the game’s in-built resource manager to download map files.
Minecraft is undoubtedly one of the most popular video games these days. Players from ranged ages are playing it because it is fun and mind-simulating. What’s more exciting when you play Minecraft is you get to customize your game with different maps. This allows every player to access unique templates and invite other people to see and enjoy your creativity level.
If you are currently here reading this, we assume you want to know how you can modify your game into something more enjoyable. Before you go through the step-by-step guide, you may want to know the Map Types you get to download on Minecraft.
Major Types of Minecraft Maps
- Creation Maps - This type of map is accessible through Creative Mode and is built by other players. These maps just exist for the sake of those players who love exploring the Minecraft world.
- Adventure Maps - These are advanced maps that will include puzzles. If you want an exhilarating fun coming your way, download these maps.
- Survival maps - These maps give exciting experiences to players. You get to continue playing the game by keeping your avatar surviving.
How to Download Minecraft Maps?
Now that you know the maps you can download and explore let us get down to business. Before you can install the game on your Windows10 device, you must download it first. Follow the instructions below.
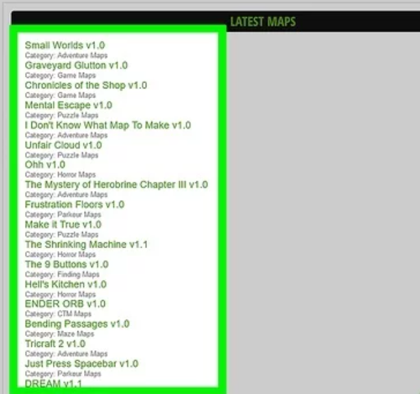
Step 1: Access the Minecraft maps website and choose the map you want to download.
This should not be that hard. You can click the link attached to route yourself directly to the list of available maps for Minecraft. Try choosing one from the many interesting maps you are seeing and click it.
Step 2: Download the desired map.
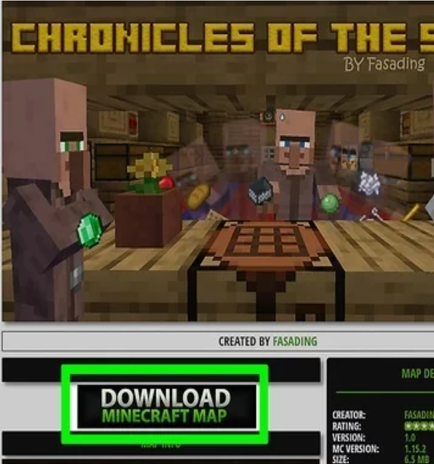
Once you choose and click a specific map you want to download, you should see a huge button that says download. You can click that. If there are other links and pop-up screen prompting, you need to keep clicking the skip button until the download starts.
Step 3: Extract the Minecraft map in the downloads folder.
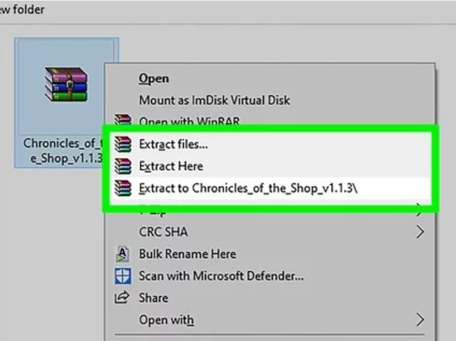
After the download is done, you need to unzip the map in the downloads folder. You can do this by right-clicking the folder and selecting the Extract option from the selection. Don’t forget to copy the folder.
You can now proceed with the installation of maps in Windows 10 computer instruction.
How to Install Minecraft Maps on Windows 10?
Step 1: Launch the map you downloaded.
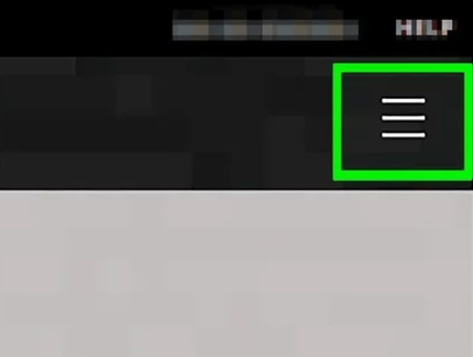
Open the map folder you extracted on your desktop and find the Minecraft launcher in it. Click the burger icon found at the upper-right corner of the launcher window. From there, select the Launch Options button.
Proceed by clicking the grey switch underneath the Advanced Settings. A Java Warning may prompt on your screen; you can click OK to proceed.
Step 2: Make the game directory switch turn green.
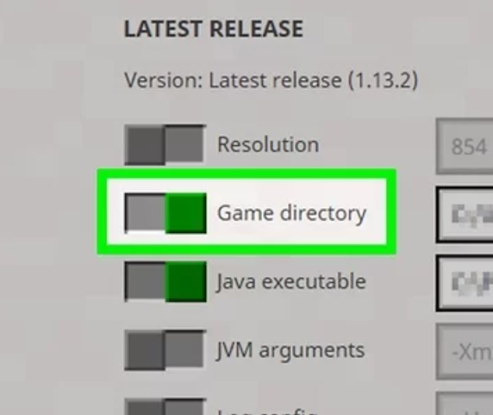
To this, you must click the Add New button. It’s on the top side of your screen. Then, click the Game Directory switch. It should turn green after clicking.
Step 3: Open Minecraft and save the map.
Click the green right-facing arrow. It’s right in the middle of the game directory page. It should route you to your Minecraft game folder.
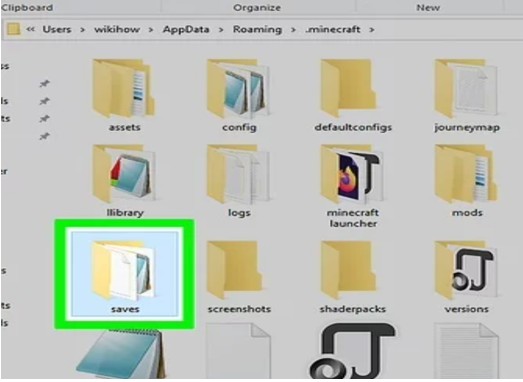
Inside the game folder, you can click on the Saves folder. Right-click anywhere inside the saves and paste the folder you copied. Click Save, and you are good to go.
Final Words
Now that you know how to download Minecraft maps successfully, you can enjoy a more creative game experience. Start downloading and installing all customization you find nice and adventurous.
Summary: Download Minecraft maps in Windows 10
- Go to the search bar, type %appdata% and select Roaming.
- Open .minecraft in Roaming.
- In .minecraft, open saves.
- Download your map from the internet on your computer.
- Copy the unzipped file into the saves folder.
- Open Minecraft and click Play.