Everybody knows about popular antivirus programs like Avast! and Norton which are being used by millions of computer users around the world. Other than them, there is another amazing security software that is used by many people without any hesitation, i.e. Windows Defender and it comes pre-installed in every version of Windows. Windows Defender is the default protection app in all versions of Windows including Windows 10, so today we are going to see how to make Windows Defender default software for protecting your system.
It’s always been given that you need to install anti-virus software, firewall, and other security applications when buying a pc or a laptop. This is done to keep your device safe from malware and different threats that could potentially cause harm to your device and your privacy.
There are numerous options for anti-virus software out there that you can buy or download for free. However, the problem with anti-virus software is that it can potentially slow down your device due to its high consumption of memory or RAM.
But did you know that you don’t need to install any additional anti-virus software if you are using a Windows 10 device? Windows Defender is an effective and built-in antivirus for Windows 10 users.
What Is Windows Defender?
Windows Defender is free anti-virus software that comes with any version of Windows 10. It comes with plenty of good features for free software, which is perfect for the average user. Some of these include malware detection and removal, cloud protection, and analytics.
Another good feature of this software is that there are no distracting ads and notifications, prompting users to buy the “premium” version of their software. In addition, download or installation is no longer necessary since it’s pre-built. Updating the anti-virus works whenever there is a Windows update, and since it’s pre-built, you have total control over all of its features.
But despite all of its good qualities, Windows Defender may still lack the advanced capabilities to accommodate high-level security needs such as protection for a network, especially if sensitive data is involved.
How to Know If Windows Defender Is Running?
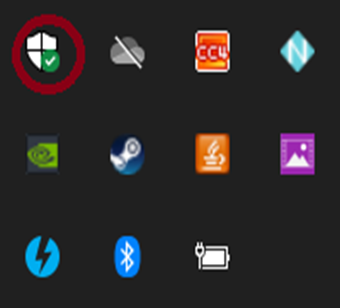
Now that you know what Windows Defender is, it is important to check whether it is running on your computer or not. To know if the software is running, you can view it from the notifications area located on the taskbar.
Once you have opened the notifications area, you’ll see a shield icon with a cross in the middle. That’s the icon for the Windows Defender. If you see a check with a green background on the lower right corner of the shield, then your Windows Defender is active. However, the antivirus is inactive if you see an X mark with a red background.
How to Turn on Your Windows Defender and Make It Your Default Anti-Virus Software?
If, by any chance, your Windows Defender is turned off, here are the steps on how to turn it back on.
- First, type in Windows Defender on the search bar located near the start button. Windows Defender will then appear on the results. Click on the program to launch it.
- If anti-virus software is installed, you’d likely get a message saying “this application has been turned off and isn't monitoring your computer”. To make Windows Defender your default program, uninstall your current anti-virus software via the control panel. Close the Windows Defender window first before proceeding to the next step.
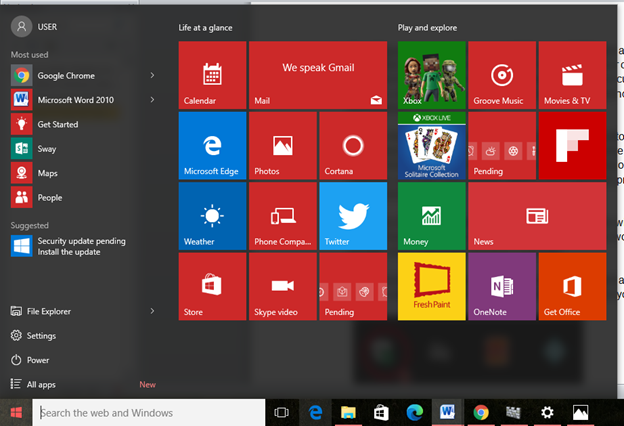
- Click on the start menu, and then click settings (the gear button).
- Click on Apps and then scroll down to find your current default anti-virus software.
- To uninstall, simply click on it first and then click on uninstall. Depending on your anti-virus software, you may have several options, but in general, proceed with uninstalling the software.
- Open the Windows Defender again and this time, there will be a message saying that Windows Defender is currently disabled and whether you would like to turn it on. Accept, and enable your Windows Defender.
- Congratulations! Windows Defender is now your default anti-virus software. You will now see a check on the Windows Defender icon on your notifications tab.
Configuration for Windows Defender on Windows 10
The settings for Windows Defender are already integrated into Windows 10 Settings app. To access the settings:
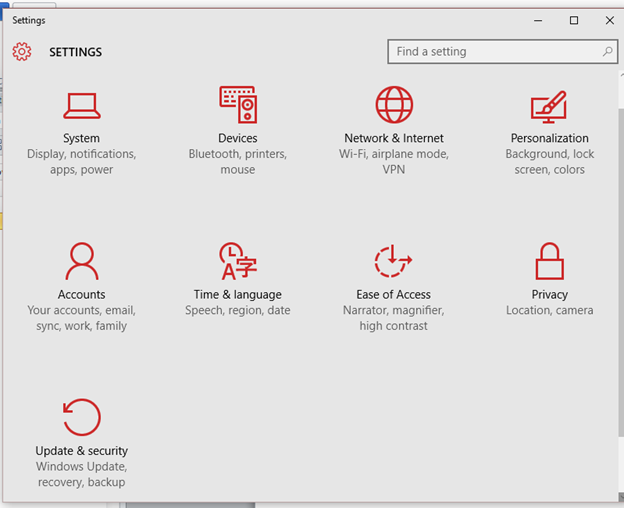
- Go to the Start menu and click on Settings.
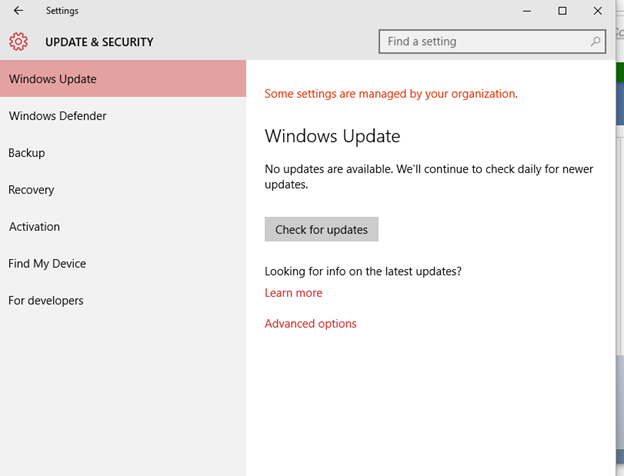
- On the Settings tab, locate Update & Security and click on it.
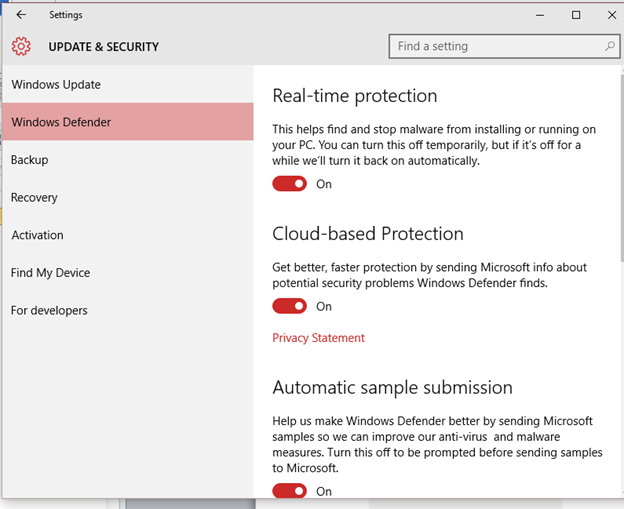
- Choose Windows Defender.
- You can then configure the settings. By default, real-time protection, sample submission, and cloud-based protection are automatically enabled.
Summary: Make Windows Defender Default
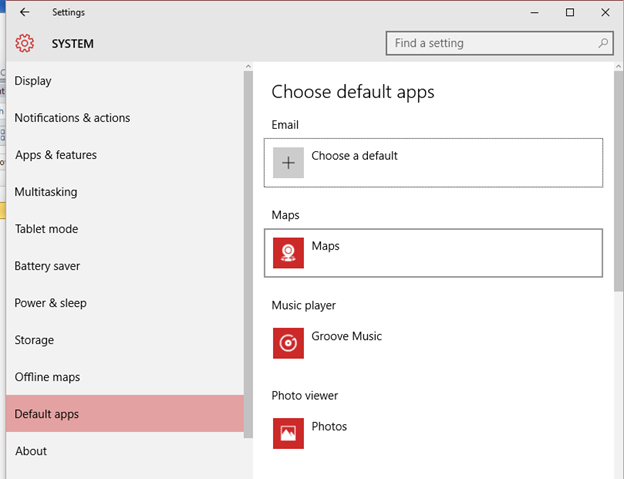
- Go to your search bar and type "Default Programs" and click on it.
- Click on Set your default programs.
- Click on Windows Defender Antivirus and then click on Choose defaults for this program.
- Finally, scroll down to the bottom and make sure everything is selected. Then, click Save.
Conclusion
Windows Defender performs various scans to detect and block any malware on your computer. We hope that by following the above steps, you will successfully make Windows Defender your default antivirus.
