When you connect to a new network, there is always the threat that someone with malicious intentions has already compromised it. This could result in any number of unpleasant scenarios including attacks or data theft. Fortunately, there are ways to hide your computer on a network, which is why I've written this article. It explains how to make your computer invisible on a network in five steps.
You should always observe and practice attentive computer etiquette when connecting to networks in public locations, such as coffee shops and airports. For this specific purpose, Microsoft has designed and added a feature that allows users to hide the visibility of their Windows 10 computers from non-secure networks.
To make the computer invisible on a network, all you need to do is set a network profile that's most appropriate to the network environment. Your device will be secure from unwanted cyber threats. For instance, you can either configure your computer's connection as public to mask its presence in wide-open spaces or disable its network discovery momentarily.
Additionally, when you connect to a trusted network such as your home network, set the connection as private to make your computer visible to other recognized devices.
In this guide, you can follow through the steps of using the Windows 10 Settings app to switch your computer's network profile from private to public or turn off its network discovery.
Note: Your Windows 10 appearance may vary from the details shown on the following screenshots, depending on the edition of the operating system you have now. You will see Windows 10 Home edition throughout this guide.
Changing Your PC Network Profile to Public
Step 1: Click on the Windows logo (Start) button and then the gear icon.
![]()
![]()
Alternately, click on the magnifying glass button, type "settings" without double quotations, and press Enter. Refer to the screenshot below.
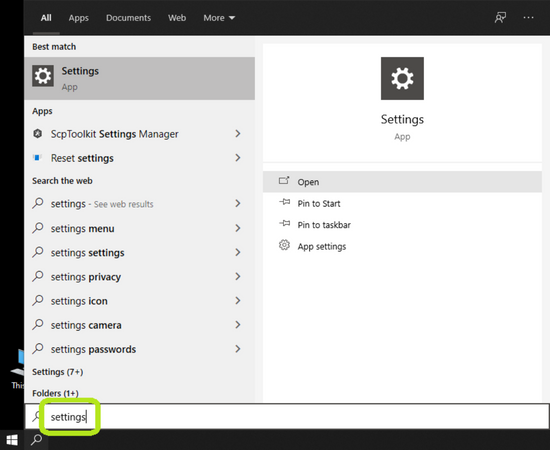
Following either of the procedures above will open the Windows 10 Settings app.
Step 2: On the Settings window, click on Network & Internet.
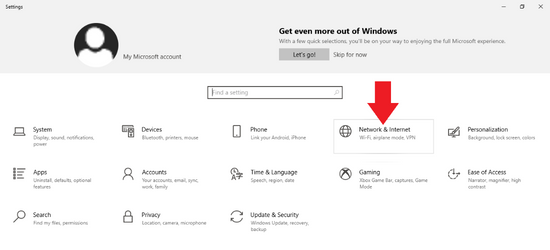
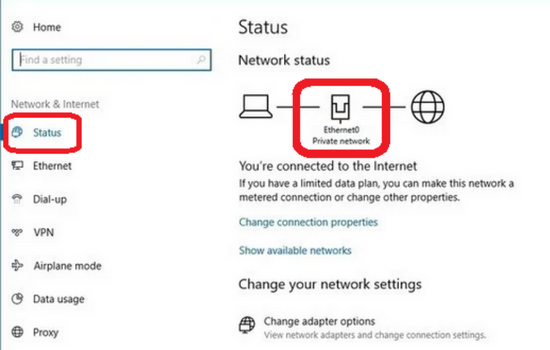
You will get redirected to Network & Internet > Status.

Step 3: With Status on the left pane selected by default, click on the Properties button under your current network.
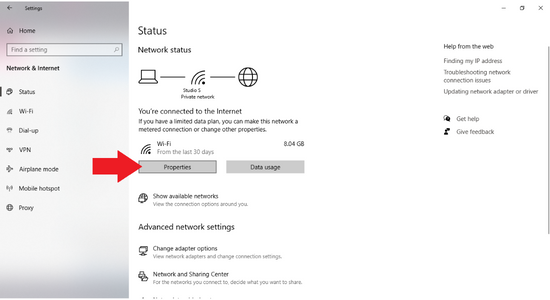
This process applies throughout the guide, whether using an Ethernet or Wi-Fi network.
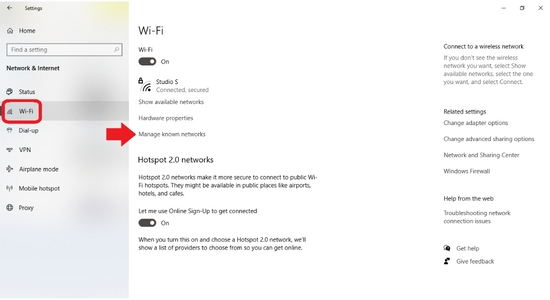
Conversely, there is another way to open the properties of your Ethernet or Wi-Fi network. Going back to Step 3, hover your mouse over the left pane and click on Wi-Fi > Manage known networks > [Your_PC_Network] > Properties.
Step 4: Look for the Network Profile section, which gives you the option to set your network profile to Public or Private.
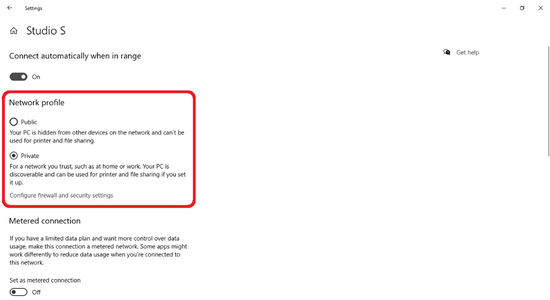
Step 5: Click on Public, and the system will automatically save the change you just made.

The Public network profile, once active, hides your computer from other devices on a network that has less or no security at all. Be aware, though, that once you select this profile, you cannot use your PC for file and printer sharing.

Differently, you can also take advantage of the Windows 10 Network Discovery feature to make your device invisible to other network computers.
Turning Off Your PC Network Discovery
- Refer to Step 3 of Changing Your PC Network Profile to Public, and make sure that you're on Network & Internet > Status.
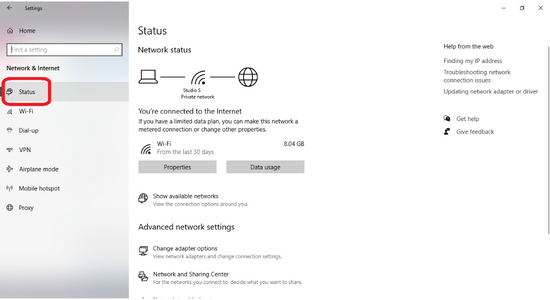
- Click on Network and Sharing Center.
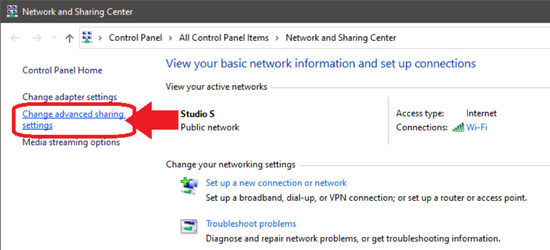
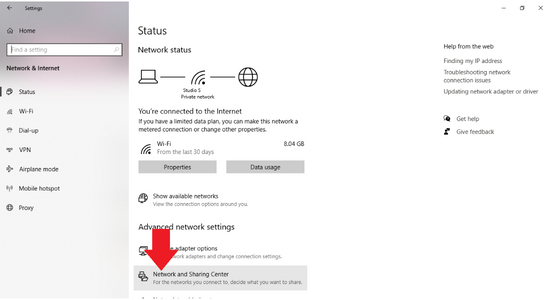 The Network and Sharing Center window will open.
 - Hover your mouse over the left pane, and click on the "Change advanced sharing settings" link.
- On the "Advanced sharing settings" page, look for the section that says Guest or Public (current profile) > Network discovery.
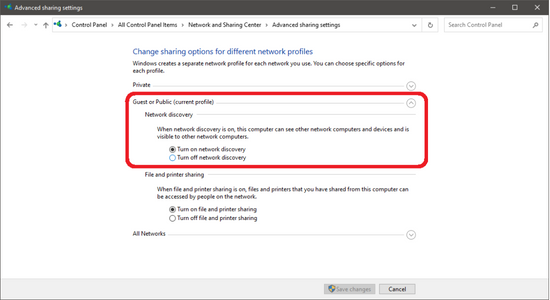
- Click on the "Turn off network discovery" radio option and the "Save Changes" button to apply the settings.

Summary: Make Your Computer Invisible on a Network
- Find the name of the computer running on your network.
- Find the computer's IP address.
- Open Command Prompt.
- Type "net config server /hidden:yes" and hit Enter.[1]
- Type "exit" and hit Enter.
- Open Notepad.
- Type "echo off" on the first line, then press ? Return.
- Type "net config server /hidden:no" on the second line, then press ? Return.
- Save the file as a batch file by clicking File > Save As.
Conclusion
It's vital to know the steps in making your PC hidden, especially on networks with minimal to zero security. Once you get the hang of configuring your computer's network profile or network discovery, you can rest assured that your device is safe from abrupt cyberattacks from virtually anywhere.
