How To Set Multiple Wallpapers As Slideshow In Windows 10?
616 Views
Today, I am going to show you how to set multiple wallpapers as slideshow in Windows 10. Multiple Backgrounds is a cool feature of Windows 10 so you can show different files for wallpaper on your desktop, window, lock screen etc. In this tutorial, I am going to show you how to set multiple wallpapers as slideshow in Windows 10.

Want an inspiring and full of surprises monitor?
Well, having it solved on Windows 8 was easy. Unfortunately, Microsoft added new features in Windows 10, and the original options vanished which made it a bit of a challenge for users to personalize their own screen. With the right instructions, you can do it with no trouble.
With these easy steps and attached images, we will walk you through and have your wallpapers personalized.
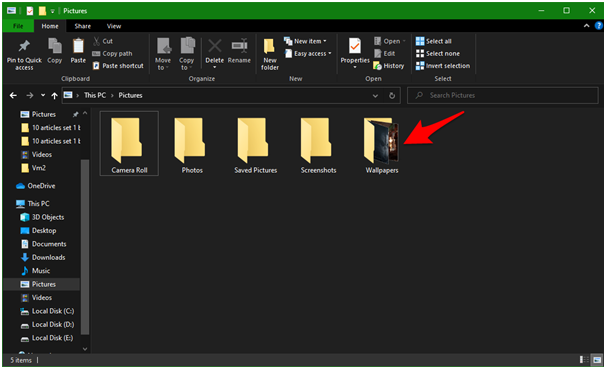
Before starting, it is best if you select, download, or capture several images of your choice and organize it into a folder intended for wallpapers under the pictures folder.
- Right click on the desktop screen.
- Choose Personalize.

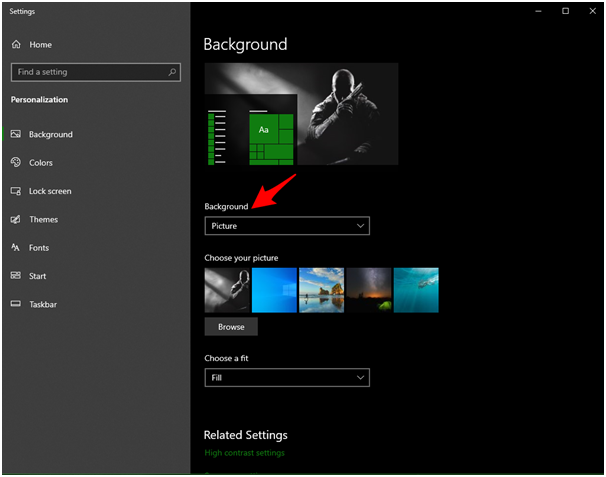
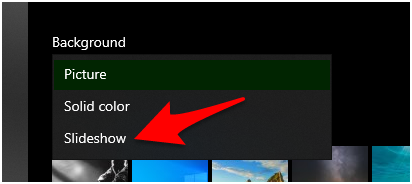
- Choose on Background and select slideshow.
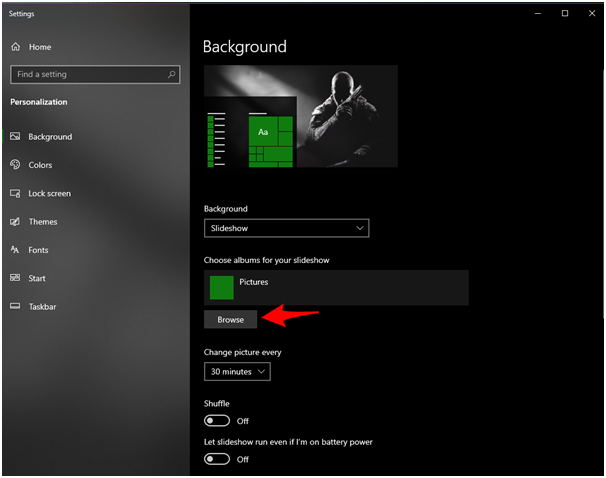
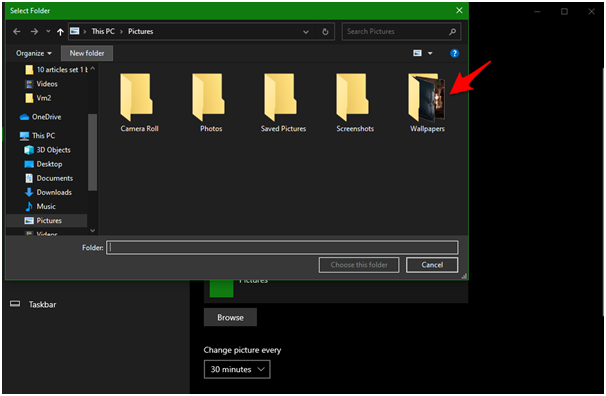
- Select the folder: Click on Browse and choose the folder you created a while back for wallpapers as the default slide show. Then, click the Choose This Folder button.
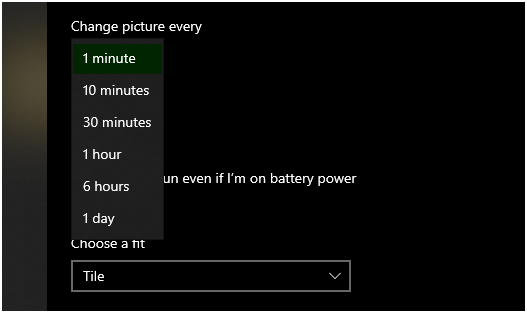
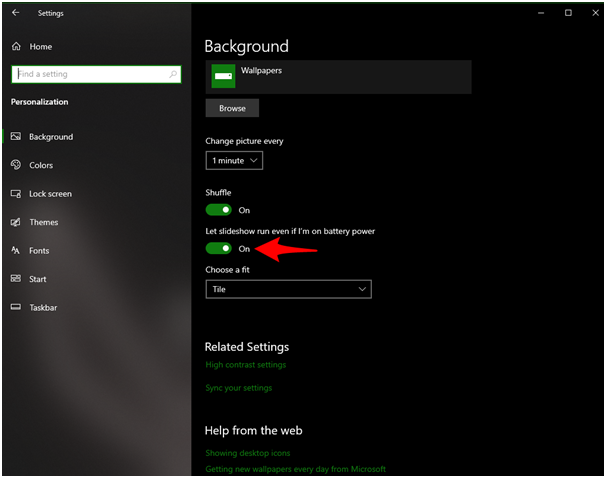
- Setting time intervals: Depending on your choice, the Change picture option allows you to choose from 1 minute to one day for the time intervals of your lovely wallpapers to change. I’ve chosen one minute, and it was cool so far as it made my monitor alive. You may select the 30-minute interval or one day; well, the choice is totally yours. Since this selection is intended for how often the OS auto-interchanges your selected wallpapers.
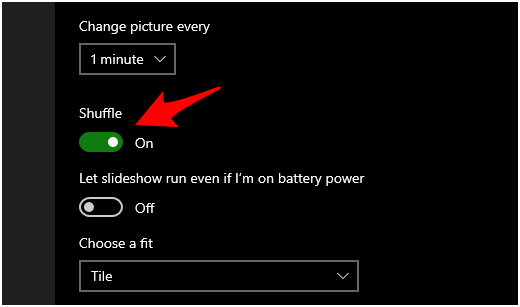
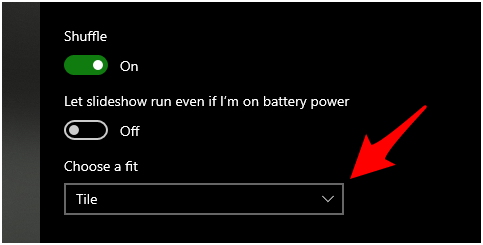
- Shuffle: This shuffle button gives you the choice of whether you want your collections of wallpapers whom you’ve selected a while ago be displayed randomly or not. Just like in your collections of songs on your phone, if you chose to shuffle the songs, it will play randomly. And if you didn’t shuffle, it will play according to how you arranged them either by the title’s letters or date of its download. So, the same thing applies here in the images. If you kept it turned off, it will show off as a slideshow the way you’ve arranged the images in your folder.
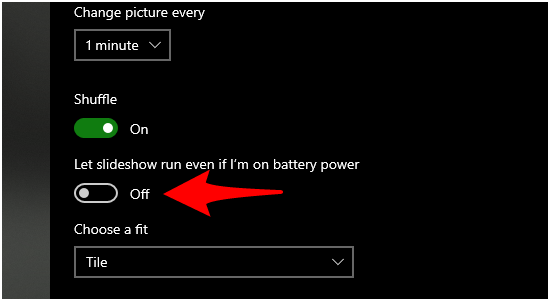
- Let the slideshow run even if I’m in battery power. This button is intended for saving power, of course. It is not clear how much energy the amount the wallpaper slideshow is wasting. But, it is useful when you need to save some battery percentage.
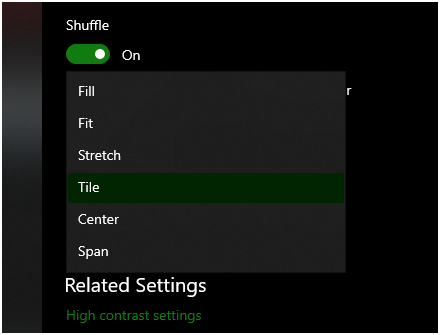
- Choose a fit: Although optional, most people go for the Fit option under this setting. The Grid and Stretch settings are also great for smaller screens. But then, all of this will depend on what you think is best.
How to Enable Slideshow Wallpaper Even When Not Plugged In?
Here are steps on how to keep your wallpapers running even when your PC is not plugged in. The OS (Operating System) has this default setting of turning the slideshows off the moment it was unplugged from a power source.
Before starting, don’t forget to click the On button from the Let the slide show run even if I’m on battery power setting. It is located under the Shuffle option that we just had a while ago while customizing the wallpapers.

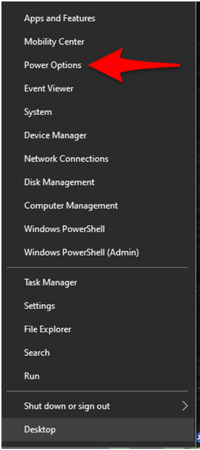
- Right-click on the Start menu. Point the cursor to the start menu, then right-click.
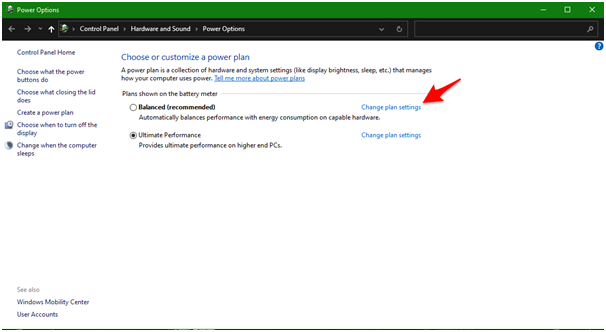
- Click the Power Options.
- Change plan settings: Under Power and Sleep, click the Additional power settings.
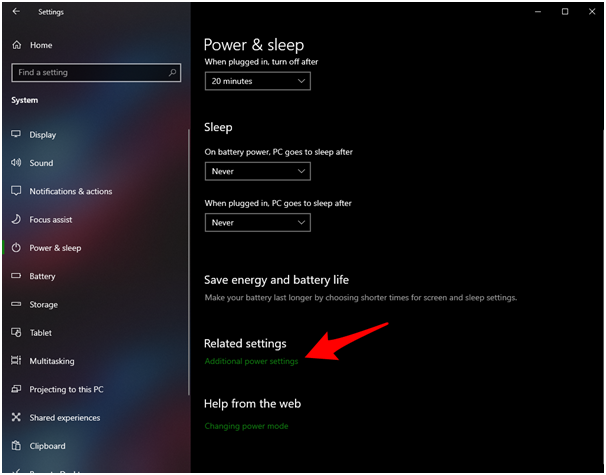
- Advanced: As another set of options open, you will need to select Change plan settings.
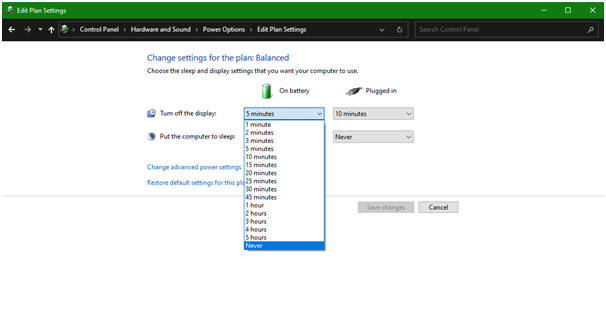
- Desktop background settings: As shown by the image above, focus on the Turn off the display setting under the On battery. The drop-down menu will give you choices on how long will you be keeping the wallpapers live in your screen while on battery mode. In my case, I’ll choose the Never option, and then just turn off the Let the slideshow run even if I’m on battery power option that we just discussed a while ago when needed (refer to the image below). Well, the choice is yours. Finally, click the Save Changes button.
I think that’s all! Now, your Slideshow should be running on your laptop by now regardless of the battery percentage.
Summary: Set multiple wallpapers as slideshow in Windows 10
- Open the Settings.
- Click on Personalization.
- Click on Background.
- Now select the picture that you want to set as your wallpaper from the drop down menu, click on Choose Picture in case if the picture is not among the ones that are shown by default.
- Now, click on Add a folder and select the folder containing the pictures that you want to show as a slideshow.
- Just move to the right again and change how often you'd like this slideshow to change your background, how long each photo should be shown (in seconds) and whether or not you want it to shuffle through them.
