How To Setup POP, IMAP Or SMTP In Outlook, Mail Or Other Email Client?
536 Views
In this article I would like to explain how you can setup your existing e-mail account in Outlook, Mail and other email clients. There are three types of e-mail accounts that you can use on your computer: 1) POP (also known as POP3), 2) IMAP (also known as IMAP4) and 3) SMTP.
If you aren’t familiar with the three most common email protocols used on the internet, POP, IMAP, and SMTP, then you’ve come to the right place. In this article, we’ll look at what exactly these three email protocols are and how to set them up in Outlook, mail, or any other email clients.
Each of these email protocols has a different specific function and the ways they operate. We’ll help you understand the differences between them. Read on to learn more!
What are POP, IMAP, and SMTP?
Before going into how to set up these email protocols, let’s look at the important definitions and distinctions between POP, IMAP, and SMTP.
SMTP
SMTP stands for Simple Mail Transfer Protocol. It is considered as the industry standard protocol when it comes to email sending. SMTP lets you send, relay, or forward your emails from a mail client such as Microsoft Outlook to a receiving email server.
Basically, a sender will utilize an SMTP server to do the process of sending an email message. The key function of an SMTP is to administer the process of sending an email to a receiver. If you’re objective is to enable email sending in your application, then you’ll want to use SMTP.
IMAP
IMAP stands for Internet Access Message Protocol. Being the counterpart of SMTP, IMAP is an email protocol responsible for dealing with retrieving and managing email messages from a receiving server. If you plan on giving your application the ability to receive and manage emails, you’ll want to set up an IMAP server instead of an SMTP.
POP3
In addition to IMAP, another email protocol that deals with receiving emails is the POP or POP3.
POP stands for Post Office Protocol. The number 3 stands for “version 3”, which is the latest version of the protocol and is widely used in the industry. The difference between POP3 and IMAP is significant. POP3 will download the email from an email server and save it to one computer. It then deletes the email from the server it was downloaded from.
On the other hand, an IMAP stores the email messages on the server and synchronizes the data across multiple devices, letting you view them anywhere you like; whether phone, laptop, or desktop PC.
How to Setup POP, IMAP, and SMTP?
If you want to read your email messages on different mail applications such as Gmail, Outlook, etc. you may want to set up the settings for POP, IMAP, or SMTP in your current email service provider. Follow the steps below on how to set up these email protocols in various mail applications.
Enable POP Access in Outlook
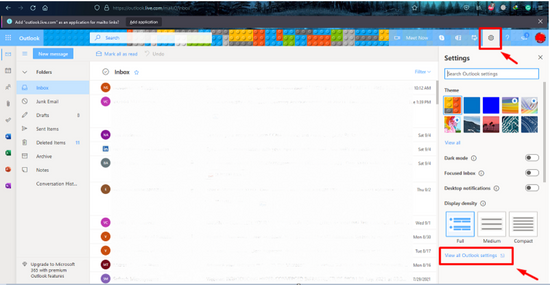
POP access in Outlook is disabled by default, enable it to access your emails from other mail apps in Outlook.
- Navigate to Settings and then head to View all Outlook settings.
- Next, go to Mail and then Sync email.
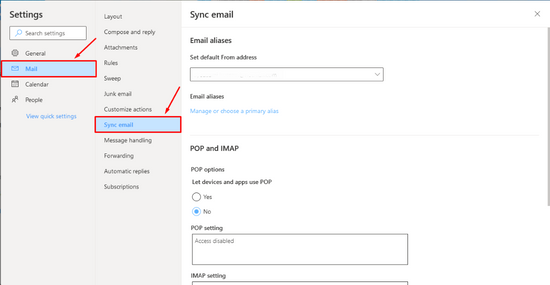
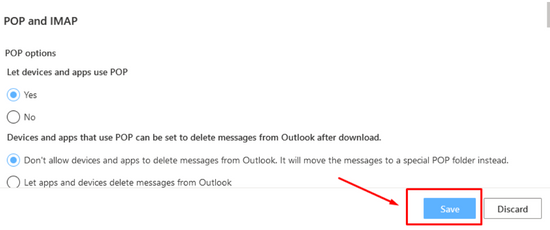
- Under POP and IMAP, click Yes on Let devices and apps use POP.
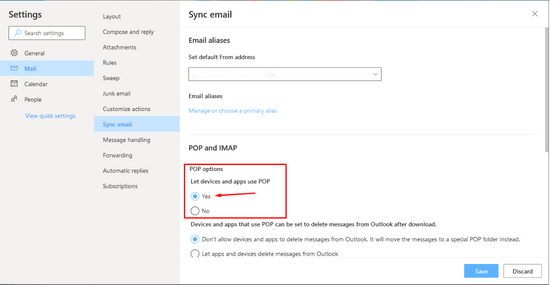
- Click Save to save your changes before exiting.
Enable IMAP in Gmail
Follow the steps below to allow other mail clients to read your Gmail messages
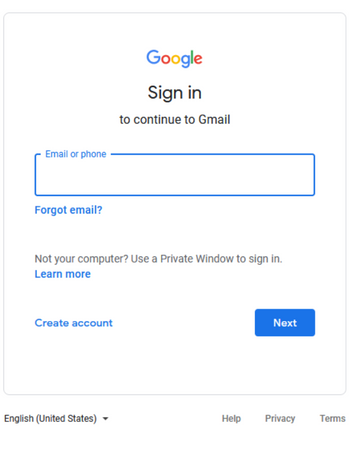
- Open Gmail on your computer.
- Click Settings located in the top right and head to See all settings.

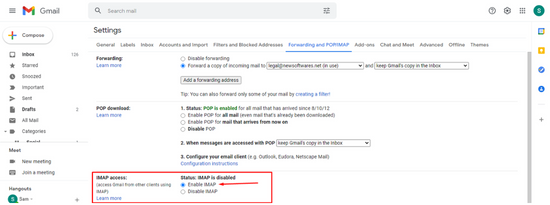
- Locate and click the Forwarding and POP/IMAP tab.

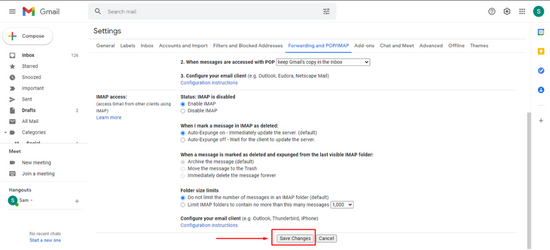
- Select the Enable IMAP option located in the IMAP Access section.
- Click Save Changes once you’re done with all your changes.
Summary: Setup POP, IMAP or SMTP in Outlook, Mail or other Email Client
- Open the program you want to set up your email in.
- Click on the section that says New Account
- Scroll down, and select Email Account (IMAP or POP)
- Enter Your Name as you'd like it displayed in emails.
- In the box marked Email Address, you will type your entire email address (Example: [email protected])
- Type in the password assigned to your email address.
- Select Advanced Options, and enter the following information below:
- Incoming Server - imap.emailsrvr.com or pop.emailsrvr.com (For a detailed explanation of IMAP vs POP, visit our knowledge base article)
- Outgoing Server - smtpout.secureserver.net
- Check off Use Secure Authentication if you want to use SSL / TLS to protect your messages when sending them (you can also enable this after setting up your account if you don't see it here)
- Enter your username and password again if it asks for it, then click Finish! You're done!
Conclusion
That’s it, you’re done setting up POP, IMAP, or SMTP in your email service providers. You’ll be able to view your emails from different clients whenever you need to.
