There are several ways to upload files to GitHub, but most of them require to fetch a file from the server where the code is hosted. Sometimes your access rights do not give you sufficient permissions for uploading files in this way. The other day I had to prepare a folder with about 100 files for GitHub repository, but could't find an easy solution for doing that.

GitHub platform is an open-source project platform where people working together in a team upload their folders or files in a single project in their repositories to express their views and ideas for the rest of the people to see and people can also benefit from their works by downloading it.
You can browse and download public repositories but you can only contribute content to repositories if you have a GitHub account. GitHub repository is a Git repository, where you can upload any file or folder to it using a Git client. A folder can be uploaded in GitHub for others to see, edit and also save for future purpose in two ways.
By selecting files
Selecting folders and uploading them via the web is an easy way to upload in GitHub as it does not require the client application to be installed on your local computer. But you must have a GitHub account to upload folders designated to your account. Otherwise, the files will not upload because only registered users have the option to upload.
- Log in to your GitHub account.

- Select my repository from your account option on the right section of the webpage.

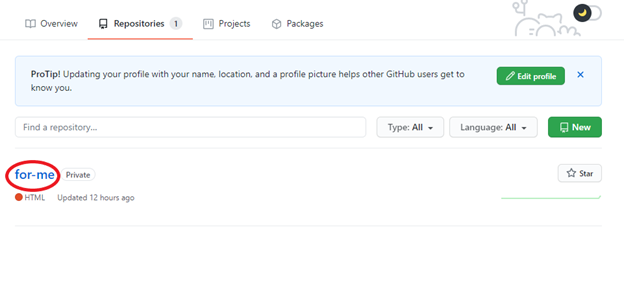
- Select the repository you want to upload your folders into.

- If you prefer a new repository, then click “New [green labeled]” and create a new repository.
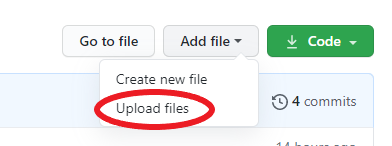
- Click “Add file” on the repository page and then click “Upload new files”.

- You will have two methods to upload the file. Click “choose your files” and browse through your directory and select the file you want to upload. You can also go to your local file storage and drag the file on the upload webpage.

- When you drag a lot of files, GitHub will issue a warning. Try to upload less than 100 files/folders.

- The folder will be uploaded. Wait for the uploading to finish.

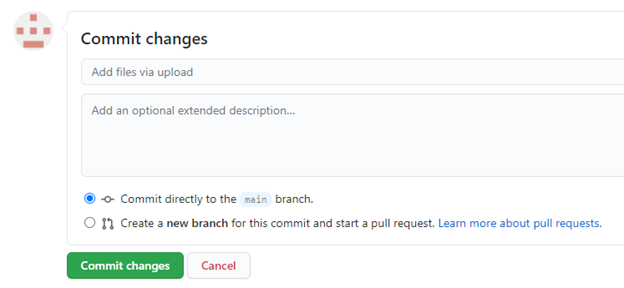
- You can also add a description if you wish in the “Commit changes” section. Click “Commit Changes” to finish the upload.

You will have your folder on the repository page.
By using the desktop interface
To perform this action, you must have a GitHub client installed on your local computer. If you don’t have it, you must download it from https://desktop.github.com/. Install the file and log in to your GitHub account. Then follow the procedures stated below.
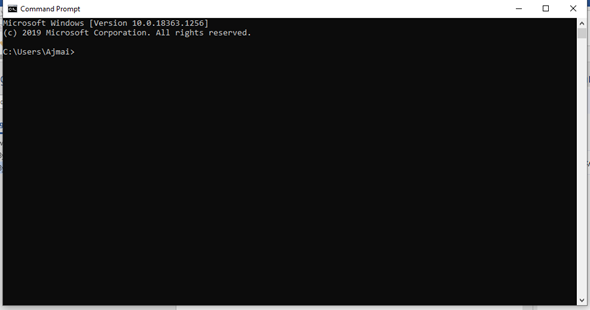
- Open your Command Prompt from Windows or type “cmd” after starting the “Run” application.

- Change the directory to the location of the folder.
- Type the following Commands in your prompt.
git init
git add
git commit -m "Your message about the commit"
git remote add origin https://github.com/yourUsername/yourRepository.git
git push -u origin master
git push origin master - Click “Enter”.
- Go to your desktop interface. Click “My repositories” on the menu section and select the repository where you uploaded your files.
You will see all the files you uploaded.
Summary: Upload folder to GitHub
- Download the GitHub Desktop application and install it.
- Open the GitHub Desktop application.
- Sign in to your GitHub account.
- Go to File menu and click New local repository option.
- Enter a name for your local repo (optional) and click OK button.
- Go to Repository tab and click Add button.
- Click Choose… button on the opened window and select a folder that you want to add to the local repo (for example, C:/users/username/documents/gitdemo).
- Click Open button on the window.