How To Use Family Safety Parental Controls In Windows 10?
429 Views
Sitting next to your child and observing what he/she does when using a PC may sometimes be difficult for you. You think that something inappropriate may happen to him/her, thereby making you anxious. However, you are tired of such an anxious feeling and want to find a solution. The solution you need is family safety parental controls in Windows 10.
With the ton of information available on the internet with just a few simple clicks, parents and some people would like to keep track of the activities children, and other family members do while surfing the net for safety purposes. This is where Microsoft Family Safety comes in.
If you are interested in knowing more about the Microsoft Family Safety feature then you are on the right page. In this article, you will learn about what it is and how to use it.
What is Microsoft Family Safety?
Microsoft Family Safety is a free app designed for parents to monitor children's activities on the internet. This means that you can still give them independent control of surfing the net, albeit you can see what sites they are visiting, you can choose to block certain sites, and you can also restrict the time they spend on the net.
Microsoft Family Safety also filters adult content from appearing in your children's search results. You can get exact reports on your child's activities and app usage. This means that you will have almost complete control of what information your child gets from the internet. Regarding how long they can use the internet, you can choose either a time limit or a schedule.
Key Things to Take Note
Should you decide to use Microsoft Family Safety, you and your kids should have separate accounts. This is so that you don't share the same settings. You will also receive reports of your child's web activities on your account if your child uses his account.
For families with different children, having different accounts for different family members is highly recommended so that you can set up different settings for every family member. It would be illogical to have the same restrictions and time limits for a 9-year-old child and an 18-year-old child.
Prerequisites in Setting Up Parental Controls
The idea here is fairly simple. You need to have two separate Microsoft accounts. One account will be designated as "Parent". The Parent account will have access to the settings, and it is the account that will receive the web reports of the other account.
The second account will be designated as "Child". This is the account that will have all the restrictions and will be monitored. Before setting up parental controls, you need the following:
- Firstly, you would need an internet connection
- You need to have a minimum of 1 Parent account
- Separate Microsoft accounts for every child
- You must have admin privileges on their device
- Lastly, you need access to your child's email account.
Steps on How to Set Up Parental Controls
First and foremost, it's essential to create a child account. Your account or the parent account can then control the restrictions of the child account
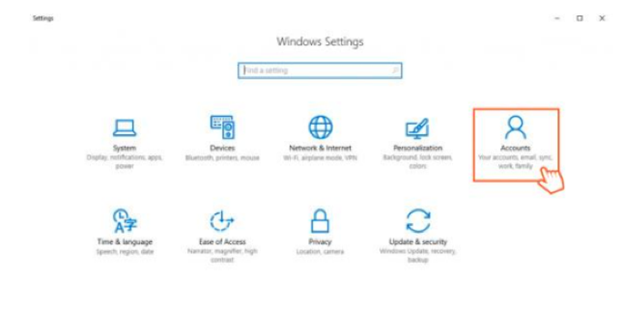
- Select Accounts in the Windows Settings
- Look for Family & Other People in the left-hand menu.
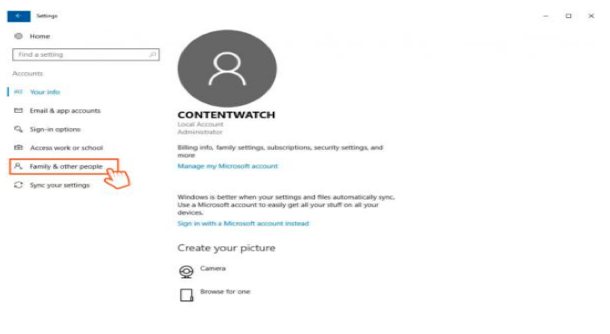
- Choose the "Add a Family Member" option.
- Click the "Add a Child" button. If you don't have a Microsoft account, create one.
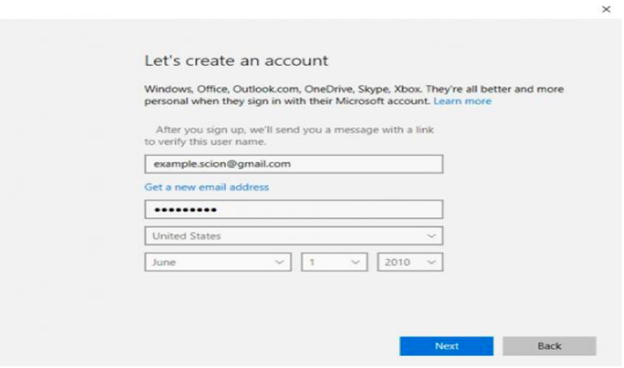
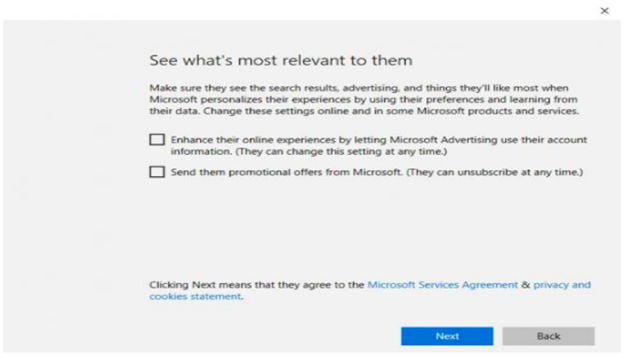
- To minimize junk mail, uncheck the two boxes below.
- To confirm that it is you, Microsoft will ask you to sign in to your account. This is also to make sure that your children cannot make any unwanted changes in the settings while you are not around.
- You are almost done. You just have to confirm that your child can use the account for online access.
- Give your consent to using third-party applications.
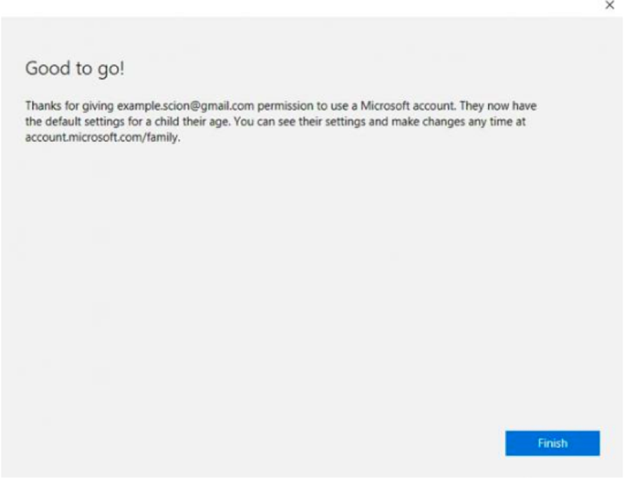
- Then, you can complete the setup.
Summary: How to use family safety parental controls in Windows 10?
- Go to the Windows Start button and select Settings > Accounts > Family & other users.
- Under Your family, click Add a family member.
- Select Add a child or Add an adult depending on the user who you want to add.
- Enter the email address or Microsoft account of the person you want to add and send an invitation.
- On Windows 10, you can also use an account without a Microsoft email address. Just don't forget that this will take the user off the Microsoft family account feature and you'll no longer be able to manage settings from another device.
- Once your child has accepted your invitation, you will get notified of it automatically. Click Get started to set up parental controls for that child account.
- Go to settings as shown above and toggle on "Block inappropriate websites."
- You can also block websites by category including general content, file sharings, social networking, and more.
- If there are specific websites you want to block, enter those under "Always blocked" section. You can block up to 25 sites at once.
Final Words
Setting up parental controls is quite simple. It is an easy way to monitor your child's internet usage and latest social media activities. Now you can feel assured that your child can only view sites and search for suitable and safe things for his or her age.
