Do you want to learn how to use Microsoft publisher? Nowadays, it has become all the rage as everyone is becoming more aware of their online performance. The truth is, this simple desktop publishing tool can attract huge audiences and provide success in almost any industry;
Microsoft Publisher (or simply Publisher) is a desktop publishing application that is also a part of the subscription-based Office 365 productivity suite. It is somewhat like Microsoft Word, but the former focuses primarily on page layout and design and the latter on text composition and proofing.
Publisher allows freelancers, educators, and everyday users to create and design digital content. It also lets small businesses and print publication companies create professional-looking branding and sales material. The app offers intuitive features anyone can use, therefore making it an affordable choice for starters.
Scroll through the details below to find out more about the basics of using Microsoft Publisher, such as choosing the right template, adding text, pictures, and other objects, and reviewing your final content.
Choosing an Appropriate Template
The excellent thing about using Microsoft Publisher for the first time is it comes loaded with several templates for ideas or guidance. Templates are premade layouts that you can use on the fly once inspiration strikes you.
- To get started, open Publisher by clicking on the Start Menu (Windows logo) or Search and typing "publisher" without the double quotation marks on the box.

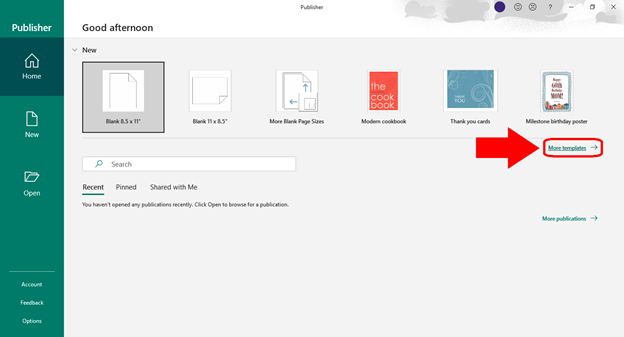
- Once the app shows up, it gives you new publication options ranging from a blank page to a few recommended templates.
- If you want to explore additional templates not shown at the start, click on the More templates link located on the right-hand side.
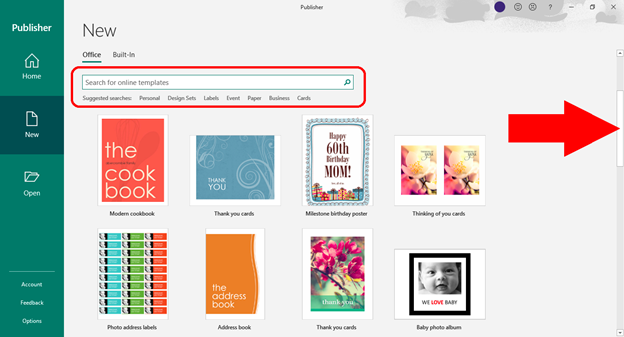
- You may either scroll down to view more template choices or use the search box to narrow down your search. However, searching for a template not included in the app requires an Internet connection.
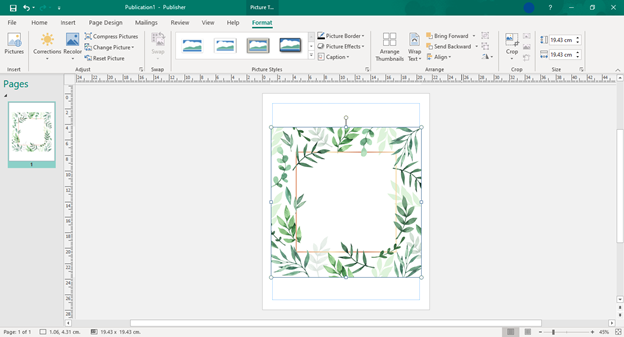
The example below shows a blank publication selected to show how to add an object to the page.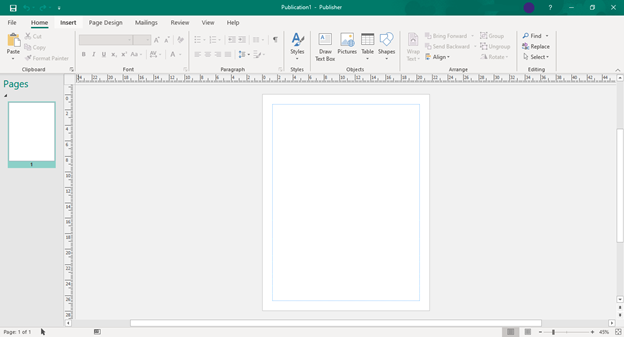
Adding Objects to a Blank Page
Inserting an object into a blank page in Publisher does not work the same way you usually do in Word.
Luckily, you can follow the subsequent procedures for adding text and pictures since these are the most commonly used objects. Once you get the hang of it, you may experiment with the rest of the visual elements.
To add a text to your publication:
- Hover your mouse over Draw Text Box and click on that button.
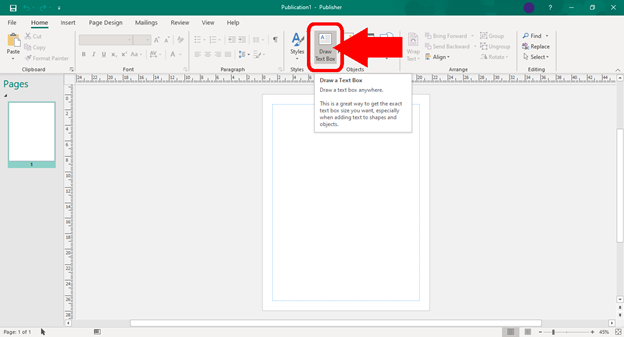 The Draw Text Box button can be accessed on the upper part of the app via the Home tab or Insert tab.
 - With Draw Text Box enabled, click-and-drag your mouse to an empty area on the page.
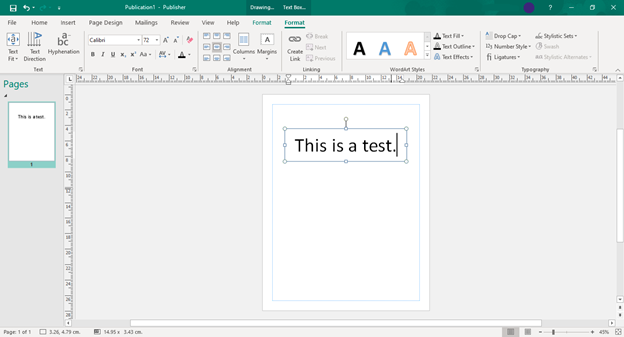
A square box with adjustment nodes will appear, allowing you to resize or rotate the text field. From there, you can type any text, choose a font face, and adjust the font size.
Additionally, whenever you click-and-drag to add a text or select it, the tab above automatically switches from Home to Format. If you deselect the text, the Format tab reverts to Home.
To insert a picture to your publication:
- Hover your mouse over the Pictures button and click on it.
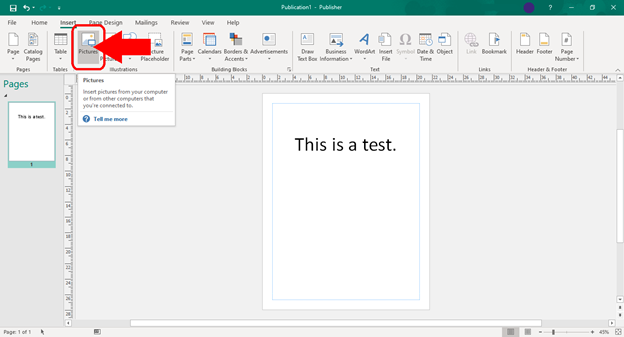 The Pictures button can be accessed through the Home or Insert tab as well. If the Home tab is selected, this button is right beside Draw Text Box.
 - Locate the folder that stores the picture you want to add. Open the folder, and select the item by clicking on it.
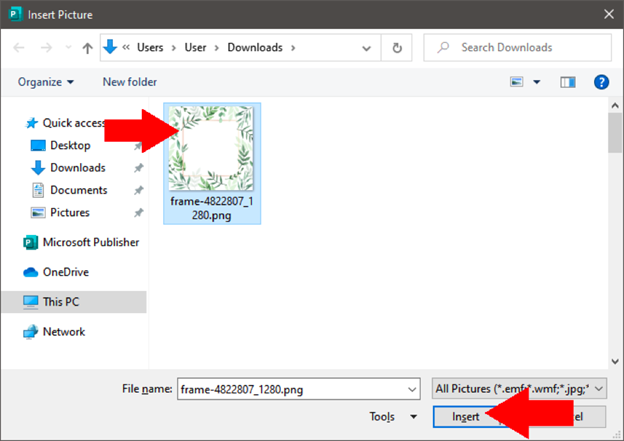
- Click Insert.
- Use the adjustment nodes around the picture to resize it.
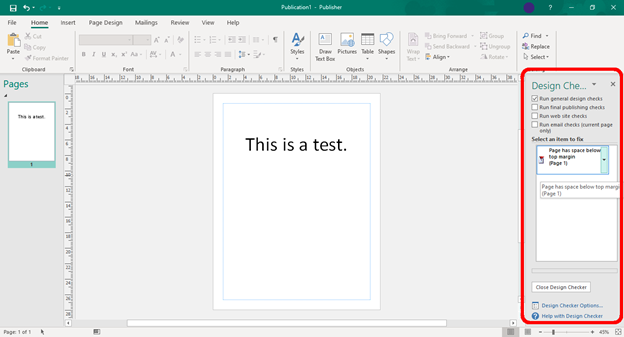
Reviewing your Work with Design Checker
Once your publication is all set, make use of the app's Design Checker tool. Design Checker is useful for reviewing your publication for possible design issues. To access Design Checker:
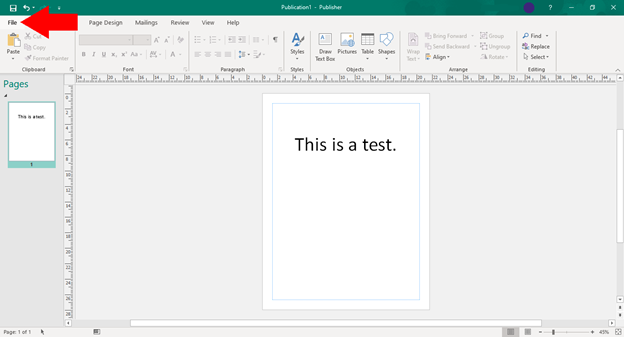
- Hover your mouse over the File tab and click on it.
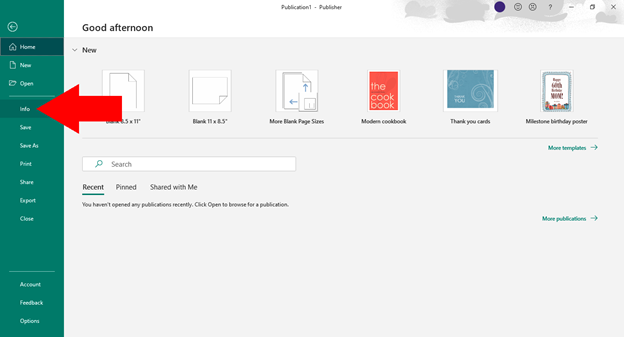
- Click on the Info tab on the left panel.
- Click on Run Design Checker.
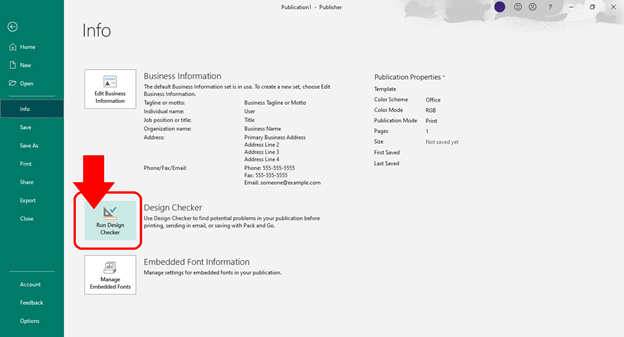
- The Design Checker tool appears on the right-hand side of Publisher. From there, you will see a list of items that require a fix.
Summary: How to Use Microsoft Publisher?
- Open Publisher.
- Click Blank Page to get started.
- Choose a pre-made template from the home window.
- Use the work area to set up your document.
- Start typing to add text to the document.
- Add graphics or photos to your document to make it more attractive.
- Modify the design of the page using offered tools and menu options.
- Use File tab and select Save As option when you want to save your Publisher file in a different format such as PDF, XPS or JPG.
- Learning how to use Microsoft Publisher is quite simple if you follow instructions carefully.
Final Word
Microsoft Publisher has many applications so knowing how to use it will give you a lot of benefit. Hopefully, the steps mentioned above will give you a better understanding on how to use it.
