If you want to set-up a headset on PC in Windows 10, then you came to the right place. You see, Windows 10 uses two different Bluetooth technologies. One is called Direct Mode and the other is called Secure Simple Pairing. We'll cover both of these below so you can set up a headset on your Windows 10 PC.
Headsets turned out to be one of the integral parts of our everyday life. Headphones are a great way to listen to good music and stay away from noises around you.
You may also use headsets when watching TV or a movie or when studying some audio or video lessons. In addition, a headset is useful when you want to edit videos or incorporate sounds in them or accomplish your recording tasks. Put simply, it makes communication easier regardless of where you are.
However, to get the absolute best experience with your headset, you need to set it up correctly. If you own a Windows 10 computer, then here are some tips for setting up your headset.
Setting Up Your Headset on Windows 10
To start using the headset, you first need to plug it in. For this, you need to know the different parts available for audio on PC and hook up the end of the cable on the headset to your PC's available port. You may also have the wireless to get it connected. Here are your port options:
USB
The USB-powered headsets have inline amps and other features such as controls which offer an enhanced experience. The 3.5mm jacks and USB-powered headsets don't vary much when it comes to quality.
3.5mm jack
This headset type is older, more affordable, and usually contains a cable that separates at the end with 3.5mm jacks. The pink jack is for the microphone and the green one is for the headset.
Wireless
Wireless headsets have these USB wireless receivers. The good thing about them is that the cables are eliminated, and you don’t need to use them on your head or the computer. This allows you to move and work accordingly and more comfortably than that of the cabled ones.
Whether you are using a wireless, USB-type, or 3.5mm jack headset, the soundcard located on your motherboard is the essential factor affecting the quality of sound.
How to Check the Sound Output in Windows 10?
First, you need to attach your headphones to your computer. Ensure to plug them in the right connection which usually has an earphone or speaker symbol.
Once you plugged in or connected your headset to your personal computer's port, make sure the sound levels in your Windows are configured correctly. Follow our easy and quick step-by-step guide on how to check whether you’ve selected your headset as the default output device.
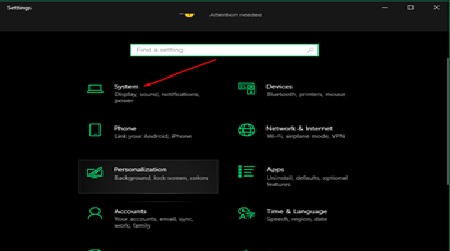
- Click on the Start button on your taskbar and select settings.
- From the Settings menu, choose System.
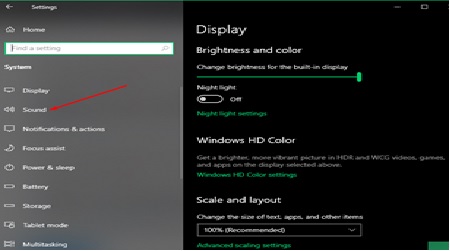
- From System, select sound.
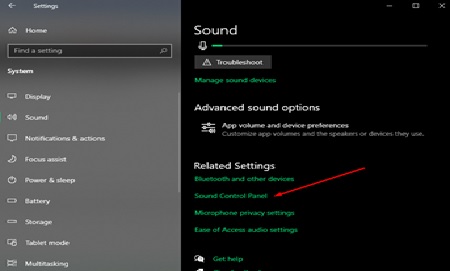
- Under the Sound tab, select the Sound Control Panel option under the related settings.
- Select the headphones which should have a green tick.
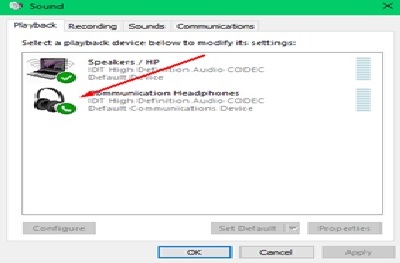
- Then, choose Properties and select the advanced option.
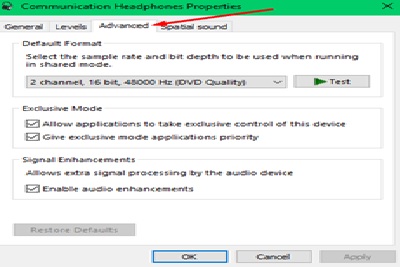
- Then choose the test button.
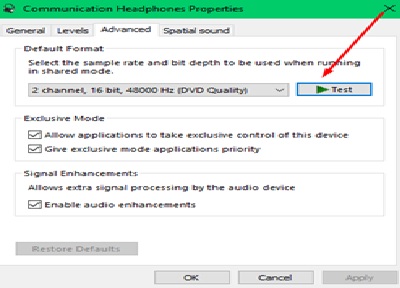
It's time to check your headphones for any sounds. If you don’t hear any sound, double-check if you selected the correct device for the sound output. You may also check if your headset is connected itself.
How to Record Your Own Voice?
After performing these steps above, you need to do the following steps below to select the microphone as the default device and check that the volume is not low at the same time.
- Once again, click the Start button on your taskbar.
- Select Settings then System.
- Under the Sound tab, select the Sound Control Panel option under the related settings.
- Then select the Recording tab.
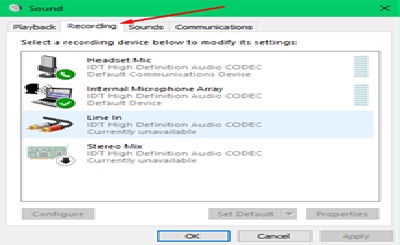
- Choose microphone.
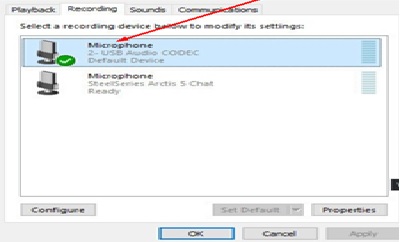
- Select the Set Default option.
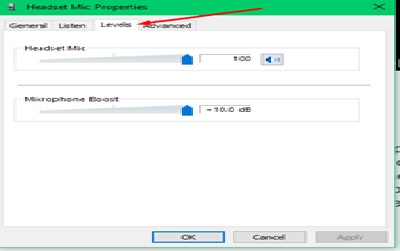
- Open the Properties tab.
- Then go to the Level menu.
- Adjust the volume accordingly and click ok.
Summary: Do I setup a headset on PC in Windows 10
- Here are the steps to setup a headset on Windows 10.
- Detach the headset from its audio cable, and plug it into the microphone port on your computer.
- If you see a green checkbox next to the device at this stage in the configuration process, then you're all set. You can skip the rest of these steps and start using your mic right away.
- If you don't see a green checkmark, right-click on Speakers or Speakers/Headphones and select Set as Default Device. Right-click on Microphone and select Set as Default Communication Device.
- Open up Control Panel and make sure View by is set to Category at the top right corner.
- Click Hardware and Sound, followed by Sound once again. Right-click over Speakers or Speakers/Headphones and select Properties from the menu that opens up.
- It's not immediately apparent, but you need to click the Levels tab first before adjusting anything here.
- Select your microphone from the list of available devices and make sure it is enabled (checkbox next to item), configured properly (green checkmark) and set as default if required. Click OK
Conclusion
We hope that the above steps come in handy if you have decided to attach your headphones to your Windows 10 system. Just ensure that you have set it up in the right port and check for sound output.
