Do you want to know how to stop annoying notifications in Windows 10? In this article, I am going to talk about how to stop all notifications from an app or program on Windows 10 so that you can focus better without any distraction. I am sure that after reading this article, you can stop annoying notifications in Windows 10.
These days, it appears like you will get notifications for nearly everything. Be it a new text message or incoming emails and posts, likes, comments, and direct messages from social media, these notifications hardly ever end.
By default, Windows 10 is designed to send alerts to its users to send updates and information regarding the activities and changes that took place on their computer.
But if you need to get important work done on Windows 10 that requires focus, you should know how you can turn these notifications off to not disrupt your concentration. Fortunately, you can get rid of these notifications from your computer to avoid becoming overwhelmed with non-stop alerts.
Here’s how to turn off these notifications to enable you to focus. You can always respond to those messages and notifications whenever you want to directly from their source.
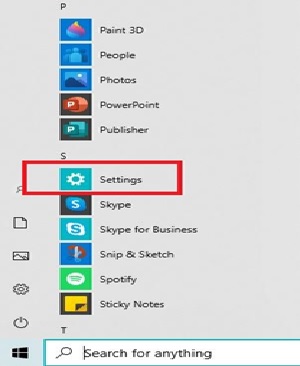
Step 1: On your desktop, click the Window tab on your lower left just beside Search. This is also known as the Start button.

Step 2: After that, a list of desktop applications and programs will appear on the screen. From there, look for the Settings and click on it. This will bring you to another page.
Aside from this, there is also a faster way to go to your computer Settings. On the lower right side of your computer, click the notification tab, the one with the speaking logo just beside the date and time.
Most of the time, you will see this with a corresponding number that specifies the number of notifications you received from multiple applications from your computer or even subscriptions you have that allows a desktop notification.

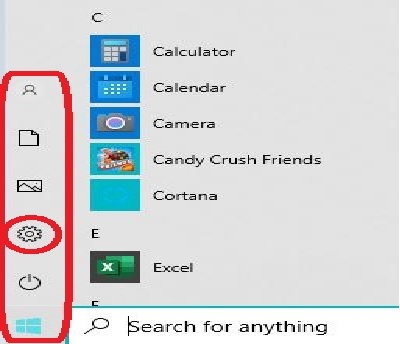
Or, you can click the Windows/Start button. It will show you 5 tabs in symbols. Click the gear symbol just above the power button. It will then bring you directly to the Settings.
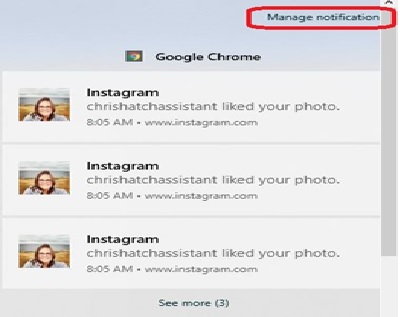
From there, click the Manage Notifications found on the upper right of your computer. This will bring you to the Notifications & Actions page.
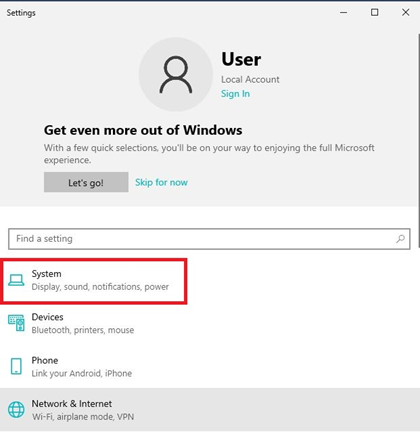
Step 3: Under Settings, click System. You will see this with a monitor logo. You will find it just below the Search tab and above Devices. You can easily spot this since this is the first on the list.
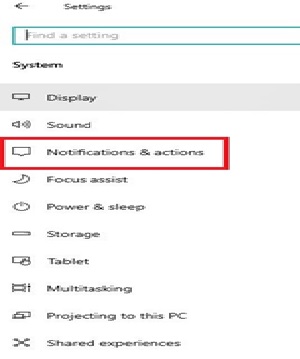
Step 4: Under System, click Notifications & Actions. This will then bring you to a page that shows you the computer activities and application that sends you notifications.
Usually, the pre-installed and installed applications are automatically sending you alerts to keep you updated on the software, but you can choose not to receive these alerts by performing these adjustments on the computer settings.
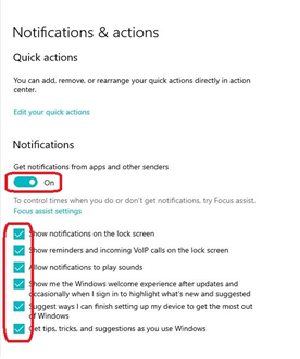
Step 5: Under Notifications & Actions, go to Notifications and turn off the tab below it if you want to turn off all desktop notifications. You can also just un-check selected boxes to stop those unimportant notifications and retain those that are considered important.
You can adjust this part anytime you want depending on your needs. On the other hand, desktop alerts are also important for the maintenance of your computer, especially if they came from Microsoft.
Summary: Do I stop annoying notifications in Windows 10
- Open Windows Settings by pressing the Windows key + I or clicking on the Start Menu and selecting the cog icon.
- Click on Notifications & actions.
- In the Notifications section, scroll down to Get notifications from these senders and turn off any apps you don’t want to receive notifications from by switching their toggle Off.
- Scroll back up to the Quick actions section, and click on the Select quick actions link.
- You can now turn off the notifications you don’t find useful.
- Click on System.
- In the Focus assist section, there are three options for when focus assist automatically turns on, along with an option to turn this feature off entirely.
- Click on Alarms only, then ensure that all four options are deselected under Automatically hide these types of alerts (as shown below).
- Click on Apply and OK, then close down your Settings window.
- It is important to realize that you need control over your computer to get things done quickly and easily.
Conclusion
The notification feature is a default in Windows 10 as a safety measurement to notify the user what is going on with his or her computer. This is also one way to alert the user that the computer is experiencing a problem that needs immediate action.
The purpose of this feature is for the benefit of the user, but sometimes, it can become annoying as you get overwhelmed by the high number of notifications that interrupt your work. When this happens, just go to your Settings to make some adjustments.