Connecting the Brother Printer to your Wi-Fi network requires a very simple process. In order to connect the printer with wireless device, you need to do the wireless settings first. Though there are a lot of ways to do it we have included the easiest one for you below.
Connecting Brother Printer to Wi-Fi
Here is the entire process to connect the Brother Printer to the Wireless network. Have a look.
- Turn on the “Router” and make sure it’s ready to get connected to any device.
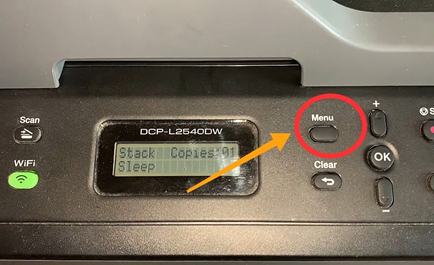
- Tap on the Printer “Power” button on the top. The small display will start working.
- From the printer display panel press the “Menu” button.
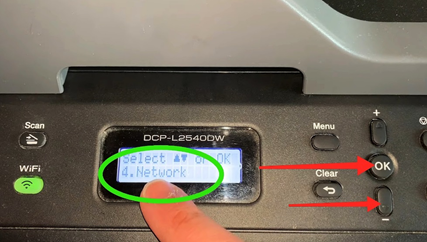
- Keep tapping the “Down Arrow” button from the right to find the “Network” option. Tap the round “Ok” button to select “Network.”
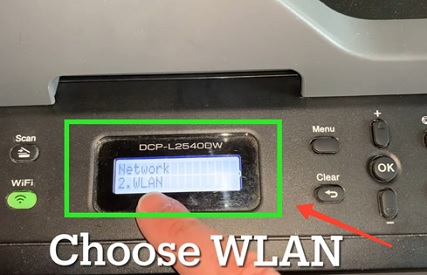
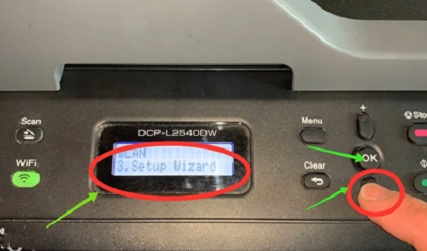
- Scroll down with the help of the “Down Arrow” button and tap on the “Ok” button to select the “WLAN” option from there.
- Scroll down and look for the “Setup Wizard” option under the “WLAN” header. Press “Ok” to select this option.
- It will show you the “Available networks” there. Select the network you are looking for and press “Ok.”
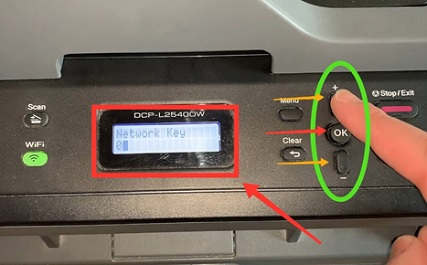
- Enter your “Network Password” now and tap “Ok” again. You can use the “Up and Down Arrow” buttons on the left to type the Wi-Fi password.
- It will ask you to apply the settings. Press “Yes” to use.
- The connecting process will start, and the “Wireless” button will start flashing.
- You will see the “Connected” notification on the printer screen, and the “Wireless” logo will turn green immediately.
Connecting Brother Printer to PC
Follow the process below to connect your Brother printer to your computer. Let’s get started.
- Turn on the printer device and connect it with an available “Wi-Fi” Network. Find the connecting process from the top.
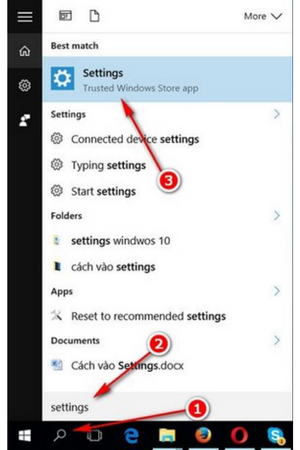
- Click the “Start Menu” from the left corner of your computer screen. Search for the “Settings” option. Click to open it.
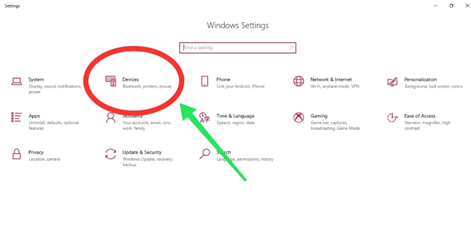
- From “Settings,” look for the “Devices” option. Click on it to open.
- From the left-hand side, select the “Scanners and Printers” option.
- Click on the “Add” button that says “Add scanners and printers.”
- It will start searching for the available wireless devices. When you see your printer name on the screen, click on it and select “Add Device” from there to finish the process.
Connecting Brother Printer to Android
It’s a straightforward moreover convenient option to print any document from android devices. And if you want to do that, here is the process of connecting Brother Printer to any Android phone below.
- Turn on the printer to connect it to a “Wi-Fi” network. Find the connecting process from the top.
- Search and Open “Play Store” on your android. Now, search for the “Brother iPrint and Scan” application and download it. Complete the installation process correctly.
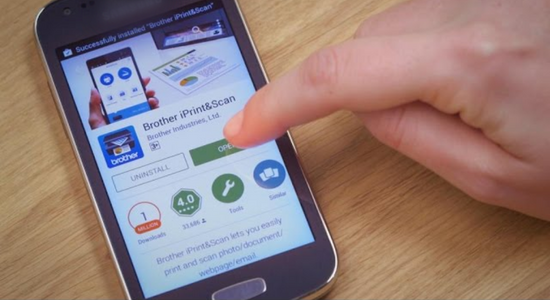
- Tap on the “Printer” icon from below. The application will start scanning to find all the available devices nearby.
- Select the exact “Brother Printer” you need to connect. A small notification will open up on your phone screen, touch the red “Cross” button and close it.
- The printer will get connected to the android device in a minute.
Summary: Connect Brother Printer to Wi-Fi
- Turn On Wi-Fi on the Brother Printer.
- Turn On Wi-Fi on the Router.
- Use a USB Cable to Connect Both Devices.
- Install the Printer Driver.
