Disabling SATA port in BIOS is common task while overclocking, but you can also disable it to recover your motherboard from not working. Most motherboards come with two or more storage controller ports (most of them are SATA II, but some are still using SATA I).Disabling the SATA controller may be useful if something’s going wrong with your hard disk. In this post we’ll show you how to enable or disable Intel Rapid Storage Technology (RST) AHCI/RAID or Device Serial-ATA (SATA) mode on Intel desktop board such as Z170, Z97, Z87, H170 etc.
Hard drives are connected to motherboards using SATA ports, which are sometimes known as connectors. On the motherboard, there are two SATA ports. They use a SATA data cable to transmit information between the motherboard and the storage.
The SATA ports allow mass storage devices to connect with the motherboard. To boot your computer correctly, SATA ports need to be enabled. Otherwise, the drivers on your system won’t work correctly. I’ll demonstrate how you can allow SATA to port in your BIOS settings.
Enabling SATA Port in BIOS
To enable the SATA port in your BIOS settings:
- Restart your computer and press “F2” at the startup screen to open the BIOS menu. The buttons to enter the BIOS menu on most systems are “ESC,” “DEL,” “F1,” “F2,” or “F10.”
- Look for an option that resembles “System Configuration,” as the BIOS menu might look different depending on your motherboard.
- Under the “Drives” tab in “System Configuration,” locate your SATA ports.
- Enable the SATA port you need by marking the checkbox. Click on “Apply” and restart your computer. The SATA port should be enabled.
How to Solve if the ATA/SATA Port is Not Showing in BIOS?
Don’t panic if your ATA/SATA hard disk is no longer recognized by your BIOS or PC. To solve and fix ATA/SATA not detected in BIOS problem and make it pop up in PC and work again, follow the simple fixes and effective methods provided below
Reconnecting the Cable
When the cable on a hard drive becomes loose, the PC may not identify the purpose. As a result, you can attempt the following two methods to get your computer to recognize and retrieve your ATA or SATA HDD straight away
- Reconnect the disk with the same cable or use another one to connect it with your PC.
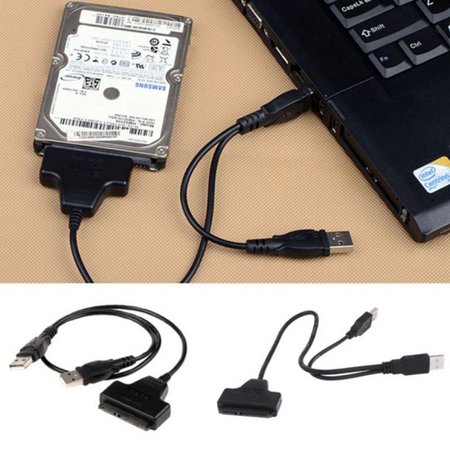
- Connect your hard disk with another computer and check the status.
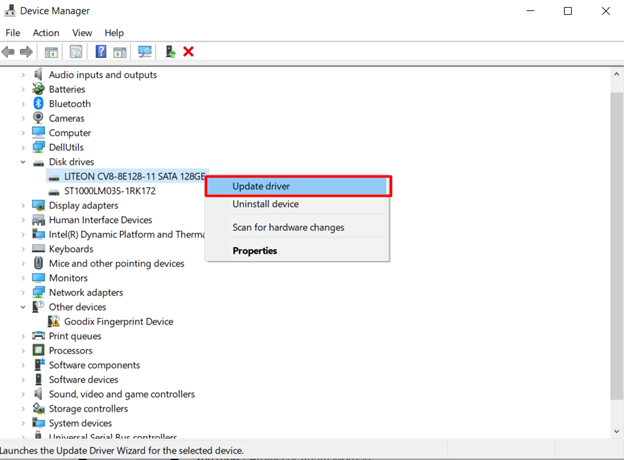
Updating the Disk Driver
The computer will not execute or read data from a hard disk if its drivers are outdated. You can try one of the three alternatives listed below to update your hard disk drivers right now
- Contact the hard drive vendor for assistance, and make sure your hard drive drivers are up to date.
- From the company’s website, download and upgrade the hard disk drive.
- Go to the “Device Manager” and expand the “Disk Drives” option. Right-click on your hard disk’s name and select “Update Drivers.” It will automatically update the hard disk drivers for you.
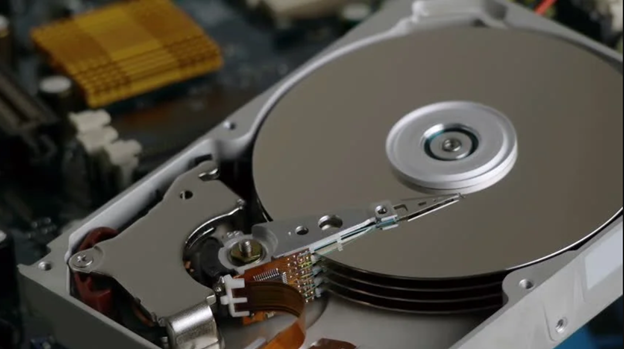
Checking the Hard Disk’s Spinning
To check if your hard disk is spinning or not:
- Disconnect the cable from the hard disk by turning off the computer and opening the computer casing.
- Connect the disk again with the cable and restart your computer.
- Check to see if the hard disk is spinning or not.
- If not, try disconnecting and reconnecting the computer’s and hard drive’s power cords until the hard disk spins up.
- If it still doesn’t work, try to obtain a warranty replacement from the hard disk manufacturer.
How to Format ATA/SATA Hard Disk?
To format your ATA/SATA hard disk
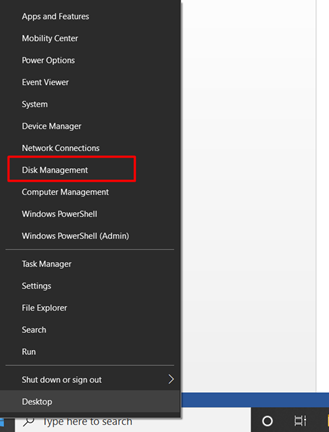
- Right-click on the Windows logo and open “Disk Management.”
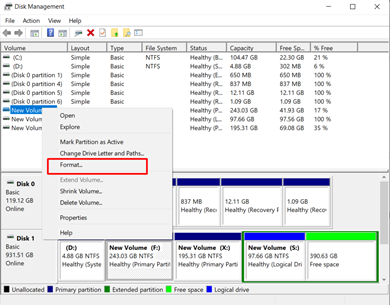
- Right-click on any drive partition you want to format and select “Format” or “Delete Volume” to format the drive partition.
Summary: Enable SATA Port in BIOS
- Power on the PC and press the BIOS key to enter BIOS. Usually, it is F2/Delete/F10.
- Find your SATA mode option, which should be listed in the BIOS under Integrated Peripherals or Onboard Devices or similar.
- Change your SATA mode to AHCI and save.
