How To Fix Something Went Wrong Error When Taking Photos From Camera In Windows 10?
463 Views
How to fix Something went wrong error when taking photos from Camera in Windows 10? When one of the most basic camera operations—taking photos—is getting messed up, you know your problems aren't small. Whether it’s an app crashing, a driver not installing properly, or syncing issues preventing photos from uploading, eliminating these problems should be one of the first things you do when using your camera.
Technology has advanced so far that many computers nowadays have built-in cameras. Even when they don’t, users can always purchase a separate webcam that they can connect to their PCs. With that in mind, Windows 10 has its own Camera app that your PC can use as its default for your webcam.
However, this app doesn’t always work as intended and you may encounter the “something went wrong” error when you take photos with it. With that said, in this article, you’ll learn the various ways you can fix this error and resume taking photos with your webcam.
Fixing “Something Went Wrong” Error
There are several methods you can try to fix this error should you encounter it while taking photos.
Method 1: Change Your Camera’s Privacy Options
One of the most common causes of this error is the improper configuration of your computer’s privacy options. Your computer must allow your apps to access the camera so that you can use it for taking photos or video calls. To fix this error, you need to change your privacy options.
To do this, you need to:
- Go to the Settings menu.
You can access this via your computer’s Start menu on the lower left-most side of your screen. Click on the icon above the Power button to open the Settings menu. - Go to the Privacy Settings.
This will take you to the place where you can modify the app permissions for your camera.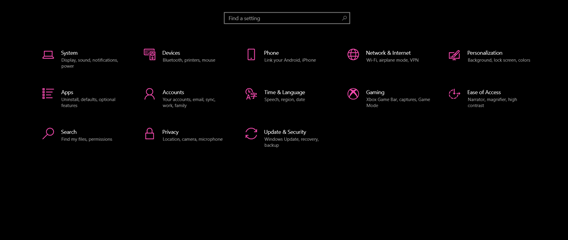
- Click on the Camera app.
Click on the Camera app on the left-side panel and ensure that access to the camera is turned on. If it’s not, click on the Change button and toggle the option to On. This should resolve issues with your Camera app.
Method 2: Update Your Camera or Webcam Drivers
Corrupted or outdated drivers are another common cause of this error, and they can easily be fixed by updating them through the Device Manager.
- Go to the Device Manager.
There are two ways to do so – using the Search option or by right-clicking the Start button. The latter is easier as right-clicking the Start button will give you access to several features of your computer such as the Device Manager.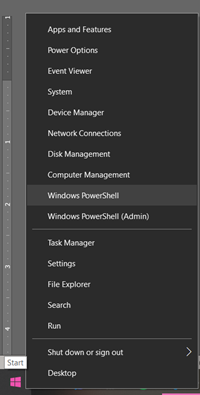
- Expand the Cameras section in the Device Manager window.
This will show all the available cameras connected to your computer such as the built-in one that laptops often have. - Right-click on your webcam and select the “Update Driver” option.
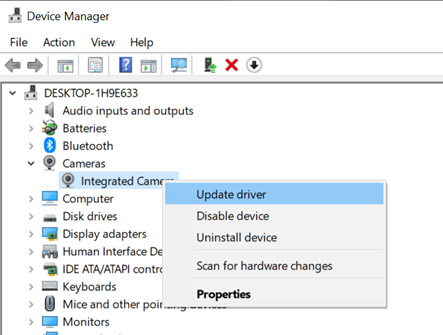
This will open another window where you need to browse your computer for your webcam’s compatible software. You can either select the option Search automatically for updated driver software or Browse my computer for driver software.
The former will scan your computer and install your webcam’s drivers automatically should they find them in your files. The latter requires you to manually locate the drivers on your computer.
Once you have chosen, Windows will install the updated drivers. When it’s finished, exit your computer’s Device Manager and reboot. This should fix your Camera app and start taking photos again.
Method 3: Update the Camera App via the Microsoft Store
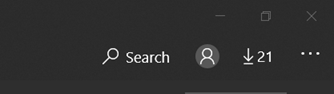
If your app hasn’t been updated in a while, try doing so by going to the Microsoft Store. You can search for the Camera app in the search bar or click on the Downloads and Updates icon on the upper-right part of the window.
If there’s an update available, you will see an Update button next to the Launch button or it will appear in your list of apps you need to update.
Final Thoughts
Webcams have become integral in many people’s computer-related tasks, whether it’s for personal or business use. However, encountering the “Something went wrong” error can be frustrating and problematic.
Hopefully, the aforementioned methods were able to help you find a way to resolve your issue and use your webcam like before.
Summary: Fix Something went wrong error when taking photos from Camera in Windows 10
- If that doesn’t work, click on Hardware and Sound > Troubleshoot audio recording and then click Next to run the troubleshooter.
- Then try using some fixes given in this article.
- Type powershell into Start Menu ->Right-click Windows PowerShell -> Run as administrator.
