Today we will learn how to install an open-source framework called Bootstrap in Visual Studio 2017. I know that a lot of developers are using the Bootstrap framework in their projects. The question is how can you make use of this framework in your existing project? What if you want to create a new website using Bootstrap from scratch? How you can do it as quickly as possible?

Bootstrap is an open-source and free to use framework for developing web-based works like sites or apps. It has a lot of HTML and CSS templates, interfaces and elements to be used in the front-end. It also supports Javascript extensions. So with these features, you can quickly design and customize your projects and for this, it is used globally everywhere. You can download ready to use codes, source files, or examples to make your life easy.
Visual Studio on the other hand is a Microsoft app that is used for coding and developing programs or websites or various apps. The functionality of this app is huge. But the question is if you can install Bootstrap in your Visual Studio 2017 app if you need it. In this article, I’ll show how it is done.
Before You Get Started
You need to ensure a few things before you start the tutorial. So please follow the instruction below for removing any interruption in this process:-
- You need to install Visual Studio 2017 on your PC first before starting to follow the procedures for installing Bootstrap.
- You need to know Visual Studio 2017 basics to use the commands for being successful in installing any new apps inside it.
- You need an uninterrupted internet connection to access the Bootstrap site or check the features if you need them.
Installing Bootstrap in Visual Studio 2017
Follow the below steps for installing Bootstrap in Visual studio 2017 with ease.
- Open Visual Studio 2017 from your system.
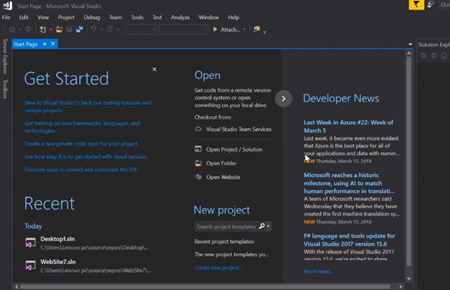
- From the file option on the top left corner select the new option.
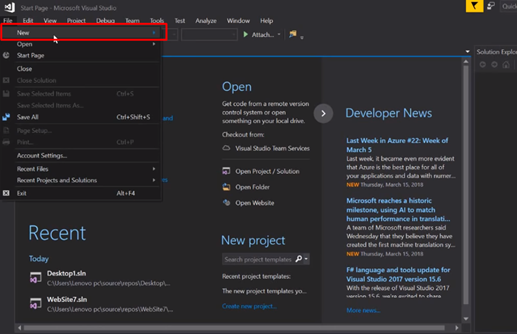
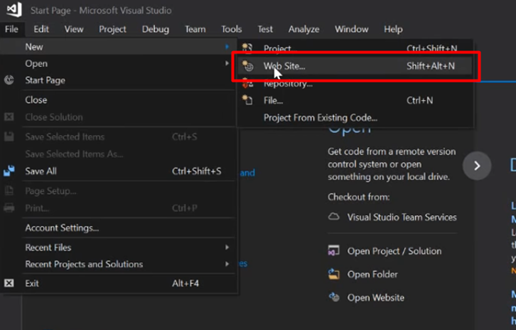
- From the New option select the Web Site option as Bootstrap is for web-based projects or you can click the shortcut Shift+Alt+N for opening Web site project directly.
- From the New Web site dialogue box, you can either select Visual C# or Visual basic as your need. For this example, I’m opening the ASP.NET Empty Web site option. You can open any option from here as suitable for your project.

- Select the location where you want to save the work and click on ok for confirming it.
- And your work will show in the right bar under the Solution as your given name.
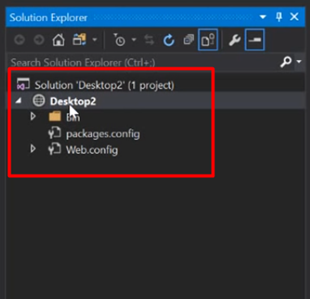
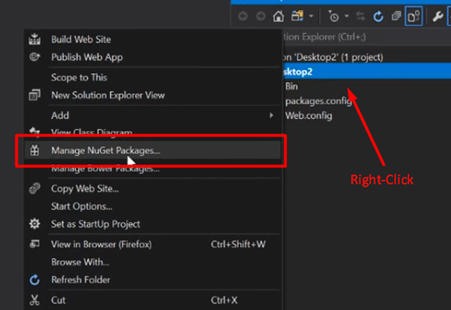
- Right-click on the name of your solution and from the menu click on the Manage NuGet Packages option.
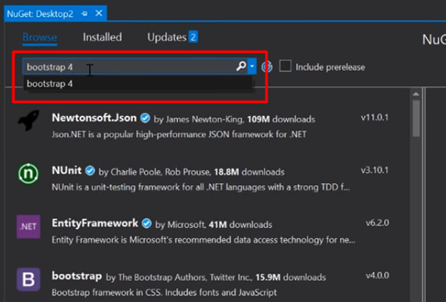
- Now from the options under NuGet select the browse option now.

- Type bootstrap 4 in the search box to find it.
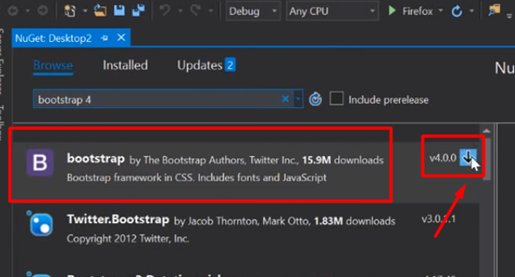
- After searching bootstrap will appear on the top click on the download icon to download it.
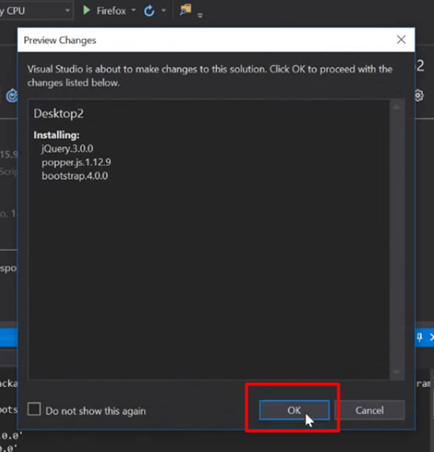
- Click on OK from the pop-up option.
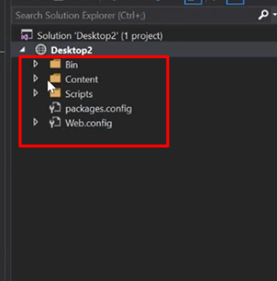
- After your bootstrap is successfully installed you’ll find the Content folder and Scripts folder of bootstrap in the right-side panel of Visual Studio 2017.
So that’s how easy is to installing bootstraps in Visual Studio 2017. You can now use all the Contents and Scripts of bootstrap in your Visual Studio 2017.
Summary: Install Bootstrap in Visual Studio 2017
- Open any project or create a new project
- You will see below screen of Visual Studio 2017
- Now you need to install Bootstrap using Bower. So right click on your project and Click on Manage Bower Packages option.
- It will open a dialog box and by default it will open NuGet package manager. So you need to switch to Bower. So select Bower in right side of the window, you will get the bower packages available for your project.
- Now enter bootstrap in search textbox and you will find it there. If still not found then force refresh icon by clicking on it and then search for it.
- Select bootstrap and click Install. You can see how many files got installed from selected package. Click Close once done with installation process.
