How To Monitor Automatic Ticket Reader Change Management?
441 Views
Have you ever thought about monitoring the automatic ticket reader change in your organization? I know, it sounds silly. Why do you need to monitor something what does automatically? It is simple because you need to check for the automatic ticket reader change. But automation is also a great challenge for everybody to achieve here, because you have some room for mistakes. These mistakes may lead to some chaos and sometimes can cause problem during procedure execution where using ticket management system is used. Read more:
There is some great software for monitoring automatic ticket reader change management. You can create a ticket management system using ServiceNow, SharePoint, PowerApps, etc. It will allow you to monitor your ticket from any of your devices. It is pretty easy to develop a ticket management system. In this article, we will show you how to monitor automatic ticket reader change management.
Before You Get Started
We will use ServiceNow for monitoring tickets. ServiceNow is a software company that helps companies manage digital workflows for big operations. You can track and monitor your workflows through the ticket management system. First, we will give you a basic idea about how to make an incident ticket and then managing them. So, follow us along.
Monitoring Automatic Ticket Reader Change Management using ServiceNow
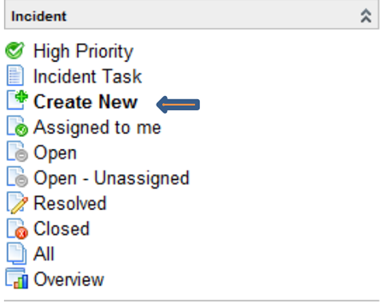
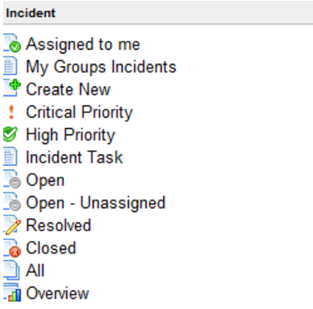
- Open ServiceNow. For creating a new incident ticket, select “Create New”, under the “Incident” Module.
- Fill in all fields. Mandatory fields are assigned with a red box.
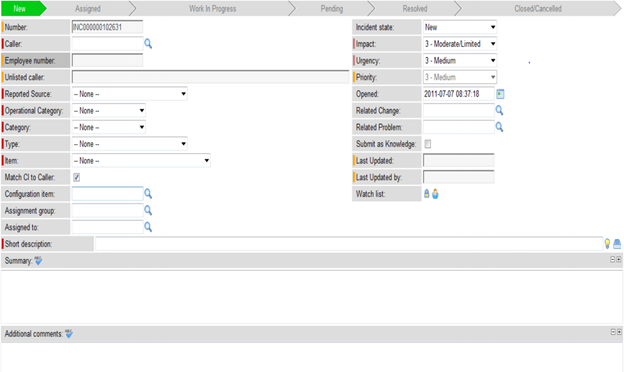
- Then save it by clicking on “Save” or “Save & Exit”.
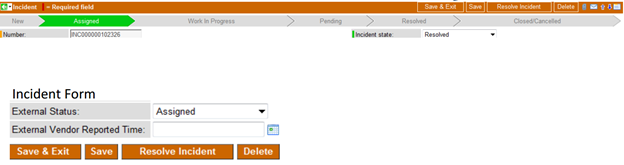
- You can move the thicket to the appropriate “assignment group” and assign it by clicking on “Assigned”. Then again fill all the mandatory fields and save them.
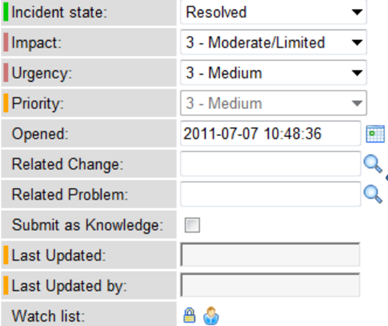
- You can also change the Incident State to “Work in Progress”. Save it.
- Furthermore, you can change its state to Pending, Resolved, Closed, and Cancelled state.

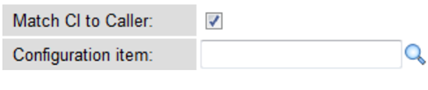
- You may add a Configuration part to the current ticket as well. Click the magnifying glass icon beside the Configuration item field and select the impacted Configuration item. Then, save it by click on “Save” or “Save & Exit”.
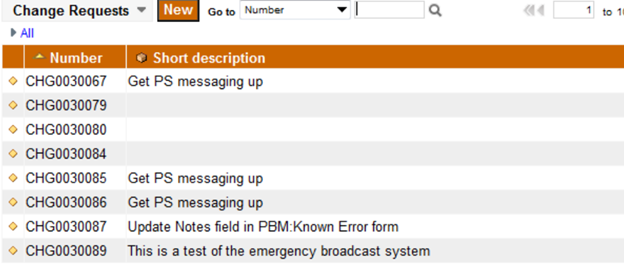
- Then, you can add a Related change request or Problem field on the ticket. Find and choose the Related Change or Related Problem option. And, save it.
- After that, you can check the related topics about the ticket.
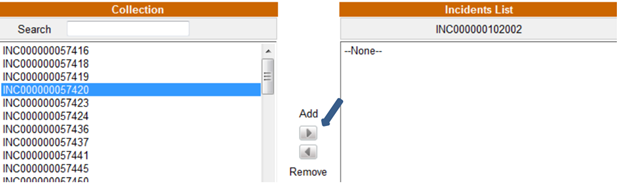
- Then, attach a related incident to the existing incident record. Choose the “Incidents” option. Select the “Edit” feature. Select your required incident number and click “Add”. Save it.

- If you don’t know which number to relate to, you can search for it. Then, add and save it.
- After adding all information, you may choose various features to observe the job appointed to you and others. Everyone on the project can see their respective work too.
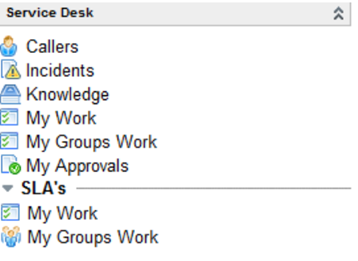
- You can monitor the works using the “Service Desk Module”. The software will automatically monitor all your work, groups work, knowledge, incidents, and many more.
- You can also monitor the incidents added to different types using the “Incident” module. The incidents with high priority, critical priority, resolve, closed, assigned to you, and many more.
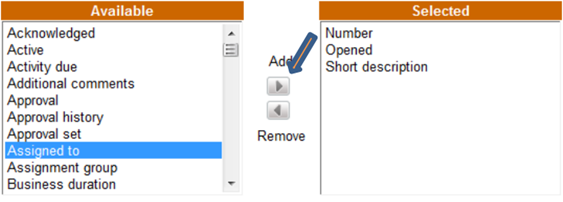
- For assigning a ticket to your team members, click on “My groups” incident under the incident module. Select the “Gear” option. And, focus “Assigned to”. Include it in the “Selected” area.

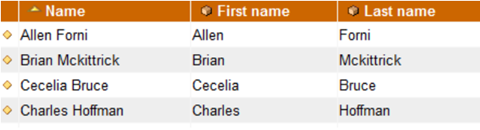
- Then, click on the selected incident and choose the magnifying icon. Select the individual and assign the ticket and save it by click on the green checkmark.


You can also make a change or desire a ticket from an incident. Change the ticket to the proper job category, resolve the ticket.

So, using these features you can easily monitor automatic ticket reader change management using ServiceNow.
Summary: Monitor Automatic Ticket Reader Change Management
- Create a change management process for your ATR system.
- Document all of the processes and procedures that go into your ATR implementation, including the people and teams who are responsible for carrying out those tasks.
- Use a change management solution to manage change orders.
- Make automated change requests to avoid human error.
- Set up monitoring tools to monitor ATR changes.
