Have you recently upgraded your computer to Windows 10? Then, you might have run into the problem when graphical user interface and some drivers simply do not work. Dual boot will probably be present as well, and it can be a little bit annoying, isn't it? If you were trying to remove dual boot, then this article is for you.
When you say "dual boot," there are two OS or operating systems installed on your hard drive. A dual boot computer system allows you to either use one of the two OS you have on your device. So, when you turn on your computer, a boot program shows a menu, giving you an option of which OS you desire to use.
You may ask, "What is an operating system"? An OS is essential software that runs your computer. It controls your device's processes and memory, as well as both its hardware and software. One example of that is your Windows 10. An OS makes you communicate with your computer without having to speak its language. For that reason, a computer is useless without an OS.
So, the next question is, "How do you remove dual boot in Windows 10"? In this article, you will learn how.
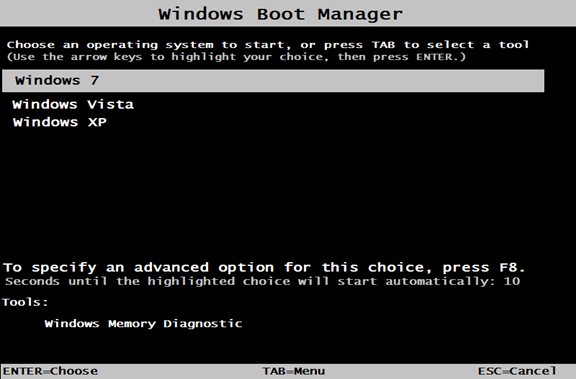
Before we proceed, this is what a boot manager looks like:
Solution 1: Use MsConfig tool
Open the Run command box to open the MSConfig utility. To open the run command box, press the "Windows key" together with "r."
This is the Run box:
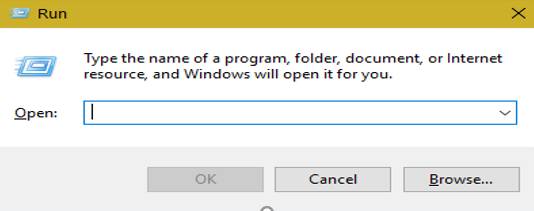
You can use the Run box to open any windows utility tool.
Next is you type the word MsConfig and click "Enter."
The MSConfig tool will allow you to choose which Windows version you would want to use after your computer restarts.
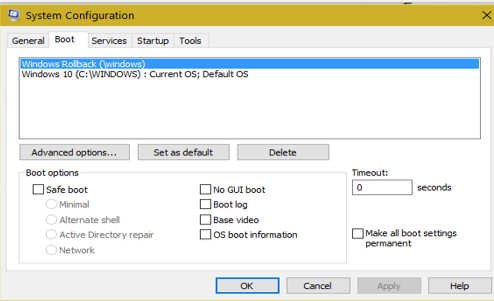
Now, after clicking Enter, you will see the term System's Configuration box.
Follow the steps below:
- Click boot and choose which version of Windows you want to boot into automatically.
- Press "Set as Default."
- You can remove the old version by selecting it and pressing "Delete."
- After deleting the previous version, click "Apply" and then "OK."
- The last step is to restart your device.
Note that if you follow the steps mentioned above, it doesn't mean the old version is deleted. It means that it will no longer show on the Windows Boot Manager monitor.
Solution 2: Utilize EasyBCD
NeoSmart Technologies created EasyBCD to perform several complex computer tasks conveniently. It is a powerful tool that has many usages and applications.
You can obtain one by downloading it or purchasing it from NeoSmart Technologies' website, which is at http://neosmart.net/EasyBCD/. Note that if you are using the tool for business, you must buy its license.
Once you have acquired and installed the EasyBCD tool, you can conveniently remove dual boot on your system. Just follow the steps below:
- Search for EasyBCD on your desktop or your search Windows.
- Press "Edit Boot Menu." That is with a screwdriver and wrench.
- Select or Click the old Windows version.
- Click "Delete." That is with an "X" in an octagon.
You can follow any of the solutions provided for you above to delete dual boot on Windows 10. If one doesn't apply for you, use the other. Use whichever best applies to your device.
Summary: Remove dual boot in Windows 10
- Open Control Panel.
- Click on the "Programs" category.
- Next, click "Uninstall a program."
- You'll see an option called "Windows Functions". Select and expand it.
- Find the option called "Remove dual boot" or something similar, and click on it to launch its uninstall wizard.
- Follow the wizard's steps to remove the dual boot environment. You may need to restart your computer when it's done.
