How to remove header in Microsoft Word is a common question from people who create their resume and cover letter using Microsoft Word. For example, you may want to remove header in MS Word if you don't like the format of your resume after printing it out. Removing header in Microsoft Word is easy once you know how to do it.
Have you noticed that while you read a book, when you felt like you’ve lost track of what topic the chapter was all about, there is a reminder on the top or bottom portion of the page?
The page numbers are also etched on those locations. These are called “headers” and “footers” and basically, their purpose is for the guidance of the reader.
How to Insert Header and Footer in Microsoft Word?
Headers and footers can easily be inserted in Microsoft Word. You can double-click the topmost or bottom part of the page to insert a header or footer. You can also explore more types offered by Microsoft Word located on the “Header & Footer” tab.
However, while editing the documents, the headers can be annoying since as you delete the contents of the documents, the header remains. For frequent Word users, the task is very easy, but for occasional computer users, it can be puzzling at times. To remove a header or footer, take note of the following steps below.
How to Remove Header in Microsoft Word?
1. Direct Removal: This method of removal is applicable to one section or selected sections of the document.
- To remove the header or footer manually, you can double-click the top portion of the document. Highlight the text, delete it, and exit the feature by clicking “Close Header and Footer”. Doing this also removes all header and footer throughout the document if it used only a single type.

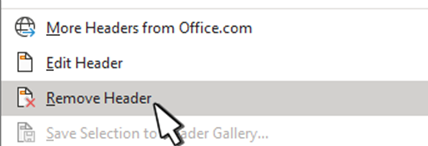
- The method can be impractical for a document with dozens of pages filled with diverse content. You can make mistakes by deleting the wrong header manually. To perform the same function differently, place the mouse cursor on the page section you want to have the header or footer removed. Select the “Insert” tab, locate the “Header” or “Footer” button, and choose “Remove Header” or “Remove Footer”.
- If you want to only remove the header or footer of the first page, double-click the top part of any page for the “Header & Footer” tab to appear and check the box of “Different First Page”. Afterward, close the “Header & Footer” feature so that the change can take effect.

2. Inspect Document: This feature can be used to remove all headers and footers, regardless of what type and how many types are used, and also the watermarks included.
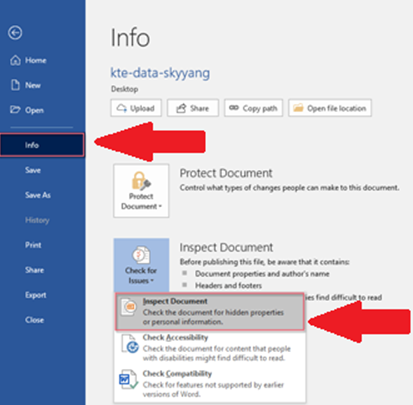
- From the upper-right corner of the Word window, select “File”.
- Then, click on “Info” and choose “Check for Issues” on the right-side panel.
- Click the “Inspect Document”.
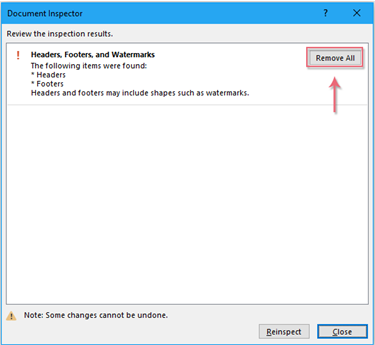
- A dialog box will appear. Locate the option “Headers, Footers, and Watermarks” and check the box.
- Click on “Inspect” afterward.
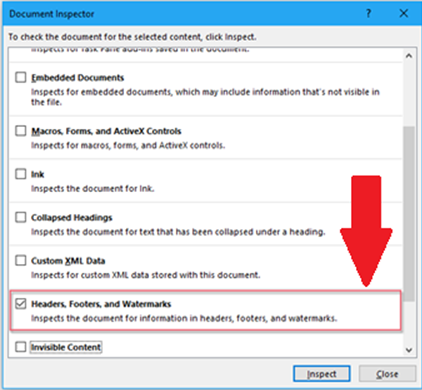
- After the inspection, click the button “Remove All”. Afterward, click “Close” to exit. Observe the changes in your document.
Summary: Remove header in Microsoft Word
- Go to the View tab on the ribbon.
- In the Show/Hide group, tick Headings and Gridlines.
- The headings will now show on screen and you can see where the header ends.
- Click All Pages under Page Setup at the bottom of the window and clear Header from Top.
- Then click Set As Default.
- Click OK to close the dialog boxes, and your document is free of headers.
Conclusion
Removing and replacing headers and footers as well is very easy once you know how to insert them in the first place. Note that their purpose of existing in the document is as a reading guide; therefore, such removal must be reasonable and functional to the document.
