Remote Desktop setting lets you access your desktop from anywhere and anytime. If you are using Windows as your preferred operating system, then go through the following steps to setup remote desktop.

Chrome Remote Desktop is an application constructed by Google that permits an individual to administer other PC through Remote Desktop system. You can work with your required device from anywhere with this application. Here, we will give you a proper idea about how to set up a Remote Desktop.
Before You Get Started
For, using the remote command you have to set up the Remote Desktop to both PC you want to join. You should gain knowledge about sharing your PC with another person or PC before applying Remote Desktop. Because, when you permit another PC to command your PC, it will have the total authorization of your files, documents, contacts, and emails. So, if you are sure about this, then follow us to know how to set up a Remote Desktop.
Setting up Remote Desktop
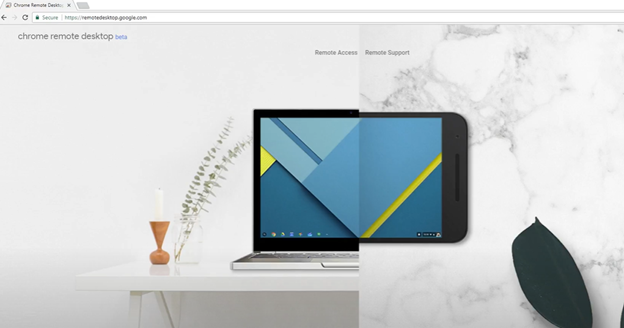
- Access the browser of your computer. Go to the “Chrome Remote Desktop” website. You have to have an account for setting up remote access. So if you do not have a user account, first make a new account by clicking on the “Sign in” option from the top right side of the window.
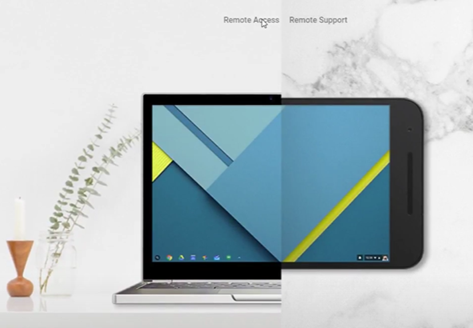
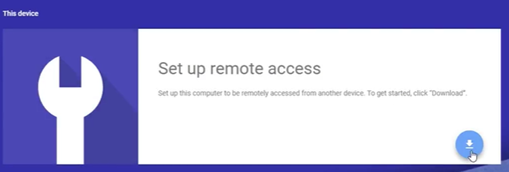
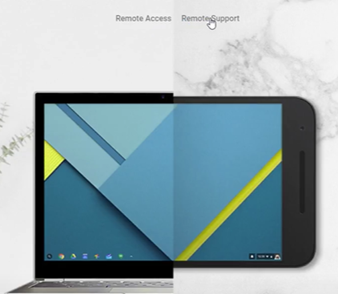
- After constructing your user account, locate the “Remote Access” option from the window. Click on it. From the “Set up remote access” option, go for the “Download” icon. You have to open it from the PC you wish to connect.
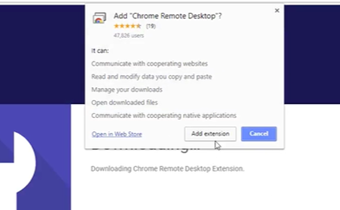
- It will ask you to “Add Extension” after you click on the “Download” option. Select “Add Extension”. Then, it will automatically add the extension and download the file.
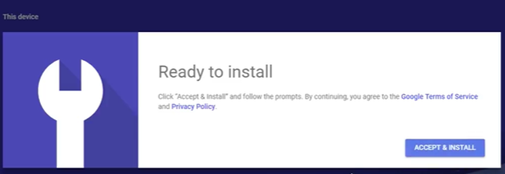
- After finishing the download, a new option “Accept & Install” will appear. Click on it.
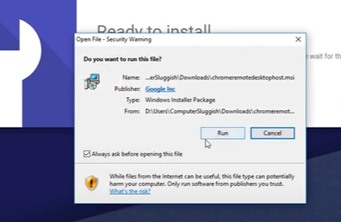
- Select “Run” from the installation window. Then, the application will configure the computer settings from itself. For that, you do not have to employ Chrome to use the Remote Desktop.
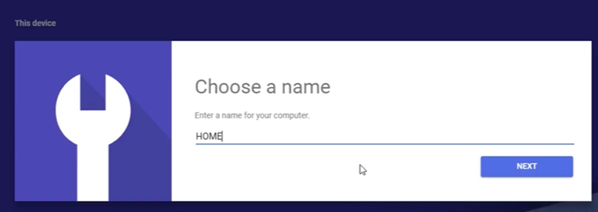
- Advance through the next settings by giving a title to the computer. Click on “Next”.
- Then, select a PIN code for your computer. Recollect the PIN code you are entering, because, without it, you can not join the computer. You may also uncheck the box beside the “Crash reports” option given beneath the PIN code.

- Initiate the Remote access of the computer by click on “Start”. Now, your device is online.
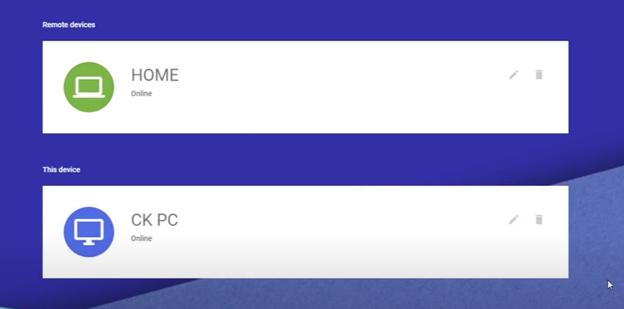
- Again do the same process for the other PC you want to join with this PC. Then, the two devices will appear on the Remote Access window.
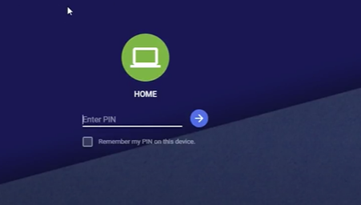
- Now, connect the PC by clicking on that PC icon. It will initiate the connection process and ask for the PIN code. Put in the PIN code and you will join with that PC.
- Now, if the PC you wish to connect to is not in your local area, then you can apply the “Remote Support” option. Click on it.
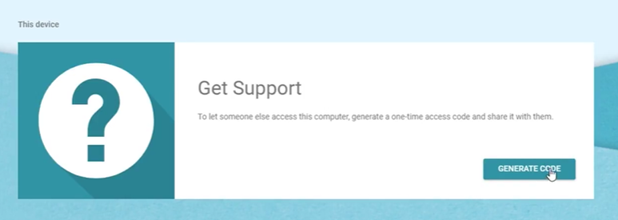
- You will see the “Get Support” option on the screen. Select the “GENERATE CODE” option. Copy the generated code.
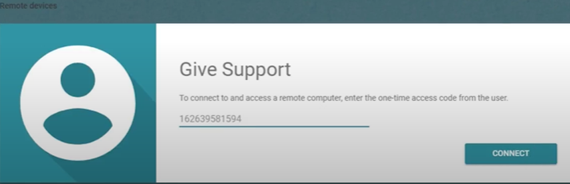
- Then, the other PC will put this generated code in the “Give Support” option. Click on “CONNECT”. Now, you are joined with PC through Remote Desktop.
So, following these steps, you can set up Remote Desktop.
Summary: Setup Remote Desktop
- Go to the Control Panel and open it.
- Click on 'System and Security'.
- Click on 'Allow remote access'.
- Click on Advanced tab.
- Click on Settings button under Remote Desktop section.
- Select user or group you want to allow remote connection.
- Click OK to save settings and close System Properties window.
