Virtual Network Computing (VNC) permits you to work on a computer far away from your home PC. You may access it from the same area or over the internet. Windows operating system has a Remote Desktop program. You can join a remote desktop with the help of various VNC applications. VNC permits you to set up and administer your server without a centralized system. It is accessible from every platform, but here we will tell you only about Windows operating system. So, follow this article to know about how to connect remote desktop through VNC.

Connecting Remote Desktop through VNC
- First, you have to set up a VNC server on the desktop that you wish to connect remotely. You can download Tight VNC from here – Download Tight VNC Server. And, download Ultra VNC from here – Download Ultra VNC Server. Choose the VNC server and proceed.
- After downloading, install it. Here, we are proceeding with Tight VNC. The application is set up as a system application. So, if your PC is launched, it will be launched in the background. You may immobilize it if you need it. Also, check that the firewall is not stopping it. Otherwise, you can not connect.
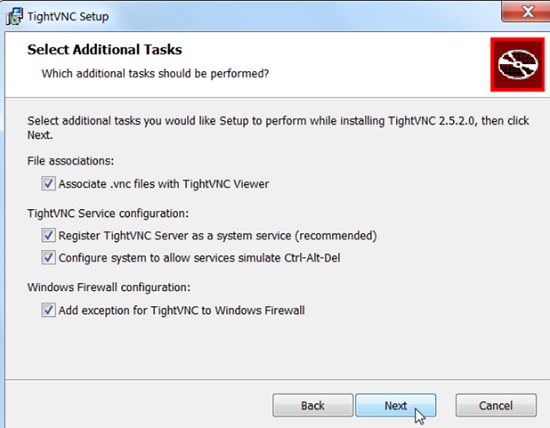
- Click on the downloaded app. Initiate the installation process. The “Tight VNC Setup” window will open. Select “Next”.
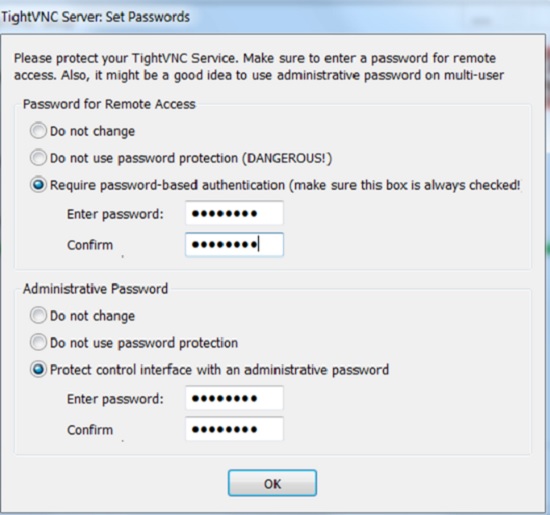
- Then, it will ask you to put a password to the server. Give a strong password, as the VNC server is made public.
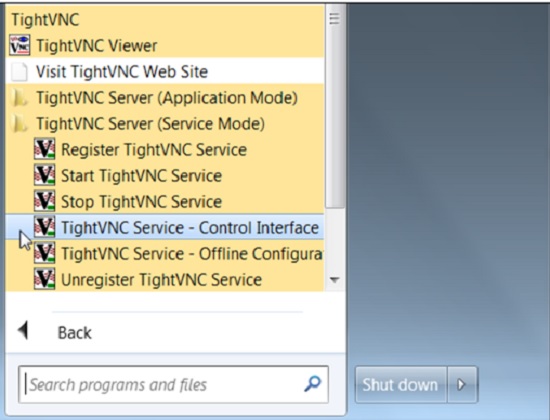
- After the installation process is finished, you can launch it from the “Start” menu. Locate the “TightVNC Service – Control Interface” program. Click on it to set up your server.
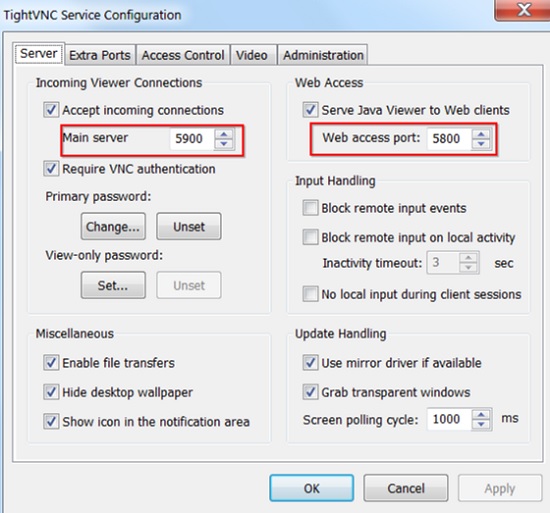
- Alter the ports of Tight VNC to secure your server. Modify the “Main server” and “Web access port”. You may also immobilize the web access completely. Select “OK” after finishing adjustments.
- Now, your PC is functioning as a VNC server. So you can connect remote desktop in the local area network through VNC effortlessly. However, if you wish to connect a remote desktop from a public network or internet, you have to configure some more settings.
- You have to send the VNC server’s port on your router. The method is distinct for each router. Learn more about forwarding ports from here – Forward Ports on Router.
- You have to construct a dynamic DNS hostname further. The IP address attached to your home network is sometimes modified. So, you can not join your PC if the IP address modifies. Learn more about setting up a DNS hostname from here – Access your Home Network.
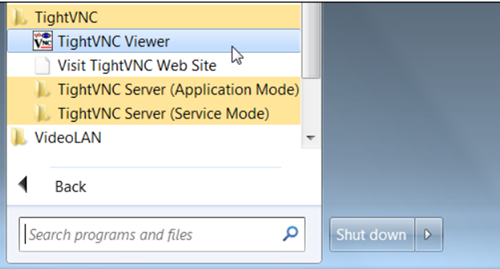
- So, now you can connect with another remote PC using the remote desktop access of Tight VNC. The other PC must have the Tight VNC installed too. For that, choose the “Tight VNC viewer” from the “Start” menu. Open it.
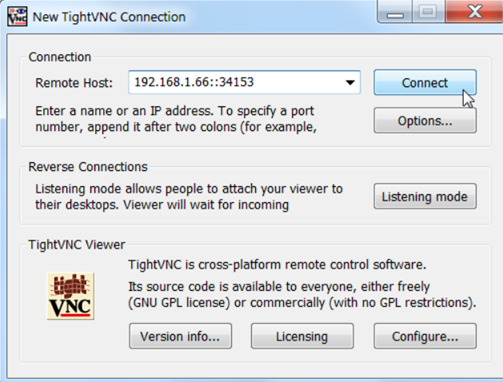
- Put the IP address of the PC that you wish to connect. You may apply the PC’s local IP address or public IP address. You may also connect with the help of your dynamic DNS. If you do not know how to get your local or public IP address, read this article – Access the Local and Public IP address of your PC.
- Apply a separate port for the VNC server. Then, select “Connect”. And, the remote desktop will automatically connect to your PC through VNC.
So, following these procedures, you can connect remote desktop through VNC.
Summary: Connect Remote Desktop through VNC
- Using a VNC viewer, you can connect to the remote desktop of your Raspberry Pi.
- Click Connect, and you'll be prompted to sign in to your RealVNC account.
- The default password is raspberry.
- When you click continue, the remote desktop should appear in a new window.