In this tutorial, I will teach you how to split audio in audacity. There are all different kinds of reasons why people want to split audio. Maybe you want to edit each song separately and make custom ring tones or maybe you want to keep the first half of a long song but not the rest. Whatever your reason is, it can be done!

If you're an Audacity user, you've probably come across with its split audio feature, a feature that shortens your verses and enhances your production to another level. And while Audacity is a fairly user-friendly program, it's not surprising if some users find it confusing to use, especially to new content creators.
Fortunately, this feature is not as complicated as you think. In this short and simple step-by-step guide, we’ll show you how to properly split your audio tracks to make your long recordings a lot more concise.
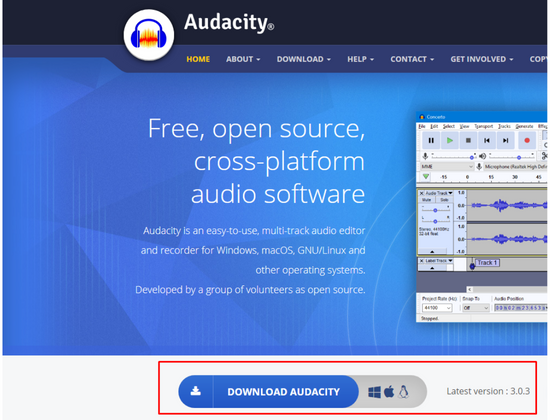
Step 1: Download and install Audacity
If you haven’t yet, visit the official website of Audacity and download their automatic installer here. Make sure to choose the right installer for your operating system. Once downloaded, click on the installer file, and it will automatically install itself.
Step 2: Upload your track or music file
Splitting audio using Audacity is very simple. First, you need to upload your track or music file into the program. To do this, navigate to the “File” tab on the top left corner and then click “Open”. Find where you stored your music file in your computer and open it by double clicking.
Step 3: Use the selection tool
Now, we need to use the Selection Tool. You can find the Selection Tool on the upper-left side of the toolbar in Audacity, refer to the screenshot below. Alternatively, you can press F1 to immediately equip the Selection Tool.
Step 4: Choose a part to split
Determine which part of the track you want to split and press left click to label the splitting point. A very thin line will highlight the area you’ve selected. If you really want to be precise in your splitting, you can use Ctrl + 1 to zoom in on the track. This will give you a more focused and larger view of the track to easily pick a specific track. Refer to the image below.
Step 5: Start splitting
Now that you’ve determined where you want to split the audio, navigate to the top left corner of the toolbar and select “Edit.” Next, select “Clip Boundaries” and then "Split.” Alternatively, you can use the shortcut Ctrl + I to quickly split your selection. You’ll know that the audio has been split when you notice a bolder line in the position that you selected in the previous step. Please refer to the screenshot below for a visualization.
Step 6: Drag the separated part
Once you’ve confirmed the split, you can now drag the separated audio apart. You can drag by using the “Time Shift Tool”. This tool is located just below the “Selection Tool” on the top menu toolbar. Refer to the image below for its location. Hold your left mouse button to freely drag the track apart. That’s it, you have successfully split your track.
Now you know how easy it is to split any recordings or tracks using Audacity’s audio splitting feature. This convenient and free program is a great starter software if you’re new to audio editing and are interested in honing the basic skills.
Summary: Split audio in audacity
- Open your Audacity software.
- Drag and drop your audio file into the Audacity window.
- Identify the point at which you want to split your track.
- Using your mouse, click and drag to select the entire portion of your track that you want to separate.
- Right-click inside the highlighted section, and select "Split." This will split your original track into two separate tracks at that location.
- If you are happy with how the tracks have been split, simply repeat this process for other sections of your audio file.
- If you have selected more than one track, then make sure that only one track is highlighted for splitting.
- To split multiple tracks simultaneously, select every track except one by clicking on each track number in the upper-left corner of each individual track. Then hold down "Shift" and select the last remaining track by clicking its number once. This will highlight all of the tracks you have selected.
