Do you want to know how to turn on WiFi direct password on Windows 10? So, if you're looking for a way to do this, then go to my method of turning on WiFi direct password. All in all, the process is super easy and you can do it with just one click.

WiFi Direct is an easier way to connect two devices directly, especially when one doesn’t have Bluetooth in it. However, like any wireless network, it can pose a serious threat among other devices that can connect with your device wirelessly via WiFi Direct and steal essential information from your computer.
Thus, a password is vital in keeping the direct wireless network secure. It lets you control who can directly connect with your devices, such as your laptop or desktop PC with WiFi Direct enabled. To help you set up the password for your Direct WiFi network, here are some steps to turn it on your Windows 10 PC.
A quick reminder before following these steps.
WiFi Direct works when your PC or laptop has enabled wireless connectivity chipset. If you’re on a desktop that doesn’t have any network driver for wireless connectivity, then you can use an alternative connection like Bluetooth or USB connector.
To check whether your Windows 10 PC has WiFi Direct compatibility, run Command Prompt (CMD) by right-clicking the Start icon and click on Run. You can also use the keyboard shortcut Win + R. Once Command Prompt is open, type ipconfig /all and hit Enter.

Once Command Prompt is open, type ipconfig /all and hit Enter.
If one of your wireless LAN adapters bears Microsoft WiFi Direct Virtual Adapter on its description, then your PC is capable of WiFi Direct.
Setting Up WiFi Direct Password on Windows 10
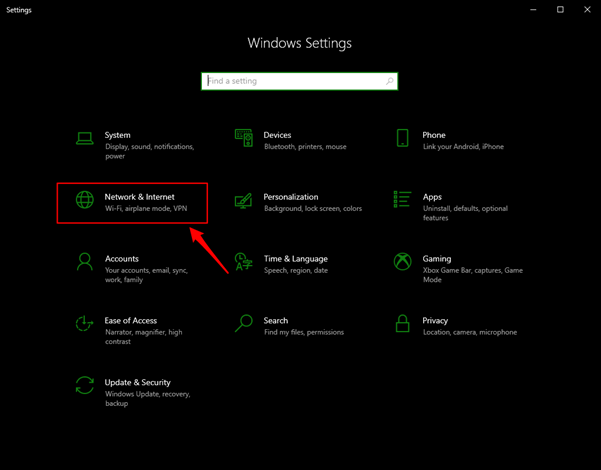
Step 1: Go to Settings > Network & Internet > Mobile Hotspot
On the latest version of Windows 10 (1909), the Mobile Hotspot setting allows you to transform your PC into a wireless router. It works like any WiFi router. You can set up a network name (SSID) and a password on it. It will limit the users who can connect to your PC hotspot.
Go to your Windows Settings. You can access it by clicking on the gear icon (?) on the Start panel or right-click on the Start logo and choose Settings.
Step 2: Enable Mobile Hotspot
All it takes is to tick Share my Internet Connection with other devices. This process will activate your virtual adapter to allow direct wireless connection from your devices. Right below it, you can choose whether you want it to provide internet connectivity from your current WiFi connection. If you’re not connected online, then this option will be grade out.
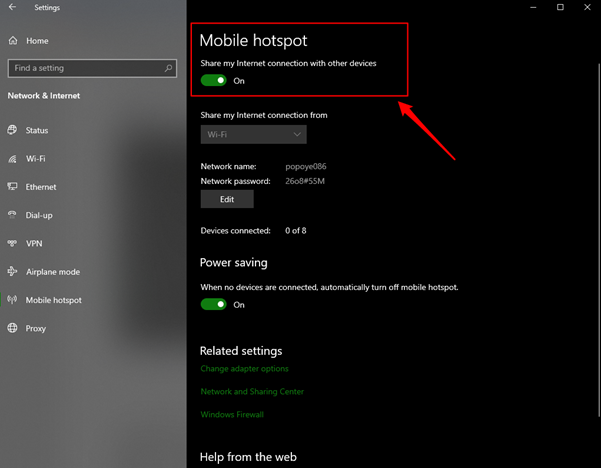
You can also see the network name (SSID) of your PC/Laptop and its password. To change the network password from your WiFi Direct Hotspot, click the Edit button. A pop-up bar will show you the current network name and password of your hotspot.
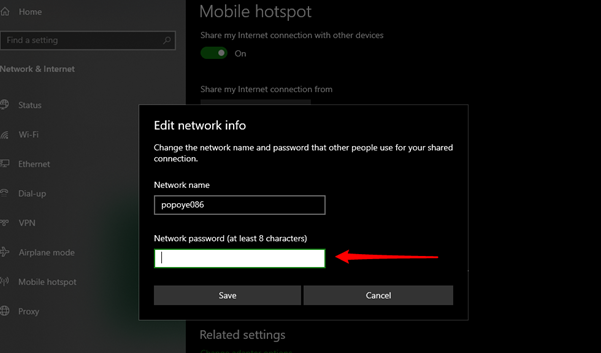
Step 3: Customize your network password and click Save once done
If you are setting your WiFi Direct on your PC for the first time, a default password combination is given. It is highly recommended to personalize your password for security purposes. You can customize your network name to make it easier to find on your devices. Once done, click on Save.
You can test the connection by using your smartphone, wireless printer, or other WiFi-enabled devices to connect to your PC or laptop using the set password. If it does, you can connect to your computer wirelessly and share data, internet connection, and other network- related activities. You can also use WiFi Direct to connect your wireless printers, casting devices, and other wireless network-enabled devices directly to your PC/laptop.
Summary: How to turn on WiFi direct password on Windows 10?
- Press “Windows+R” to open the Run dialogue box.
- Type in “gpedit.msc” in the dialogue box and press Enter to open the Local Group Policy Editor window.
- Navigate to “Computer Configuration > Administrative Templates > Network > Network Connections > Wi-Fi > Wireless Network (802.11) Policies” in the left pane of the window
- Select “Prohibited networks” from the list of options in the right pane of the window, double click on it and click on “Enabled” and then mark the checkbox next to “SSIDs,”
- Enter SSID name of your WiFi direct network, select all WiFi protocols which you wish to disable on your network, click on Apply and OK to save all your changes
- If you are using a Windows 10 PC at home or office and connect it to Wi-Fi direct network via a wireless network adapter then it can be extremely frustrating if you are using an older version of Windows 10 operating system such as build 10240, 10586 etc. This is because sometimes.
