If you want to use Apache Subversion on Windows 10 and you don't know how, you've come to the right place. This article will show you step by step how to install Apache Subversion on Windows 10 (and not only!).
The Apache Subversion or SVN is relatively easy to use, and its installation is straightforward. SVN makes it easy for developers to change specific files, allowing them to access said files from a central server.
In this article, you’ll learn how to use the Apache Subversion or SVN on a Windows 10 PC. However, you’ll need to install an SVN client before you can do so. For this, you can use the TortoiseSVN client, an open-source and free implementation of the Apache Subversion.
Moreover, you will also need to install an SVN server. For this, you can use the VisualSVN server, another open-source implementation of an Apache Subversion server. With that said, check out the steps below.
Installing VisualSVN Server
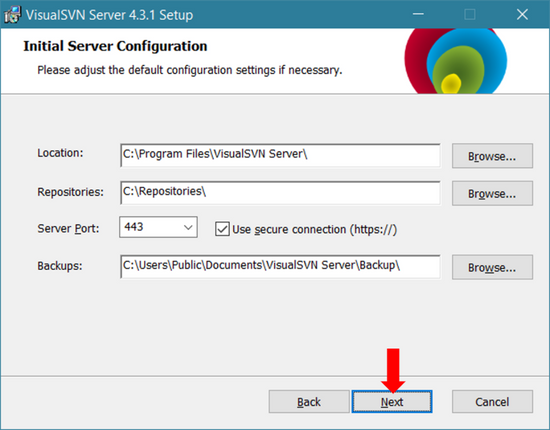
- To install the server, visit the VisualSVN Server download page at https://www.visualsvn.com/server/download/
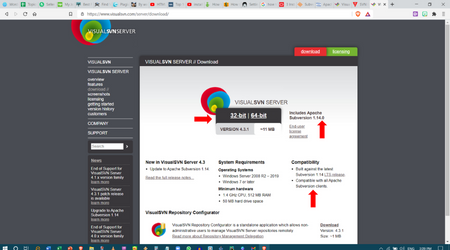 VisualSVN Server is available in 32-bit or 64-bit versions. Select the version, depending on whether your computer is 32-bit or 64-bit, and download.
 - Double-click on the installation file to start the installation.

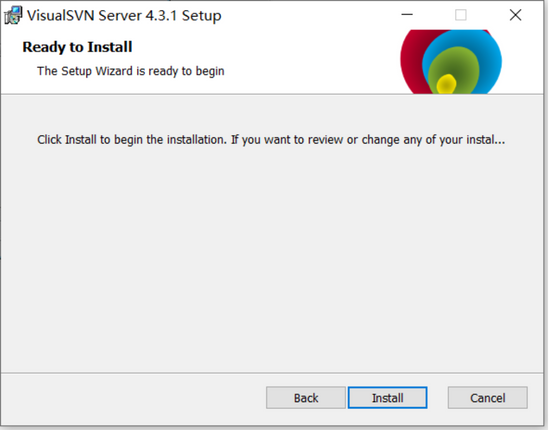
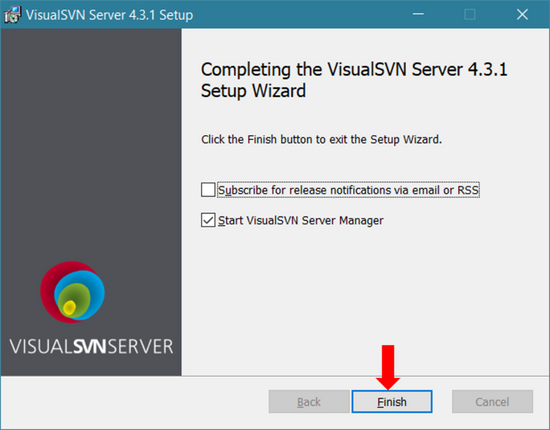
- The installation should start.

Installing the TortoiseSVN client
- To install the TortoiseSVN client, you need to go to the download page https://tortoisesvn.net/downloads.html
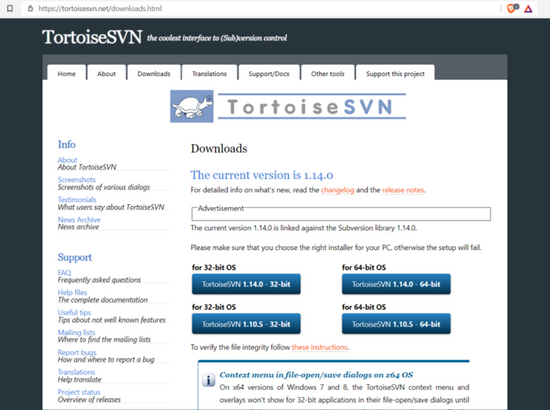 From here, you should select the version for the correct OS. Click on the appropriate button to download the SVN client of your choice.
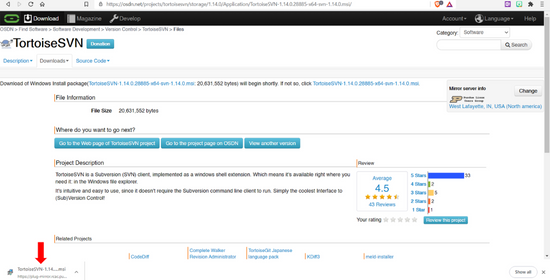
 - Double-click the downloaded file to start the installation.
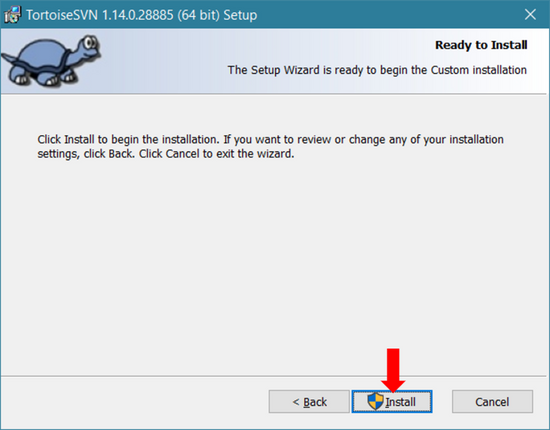
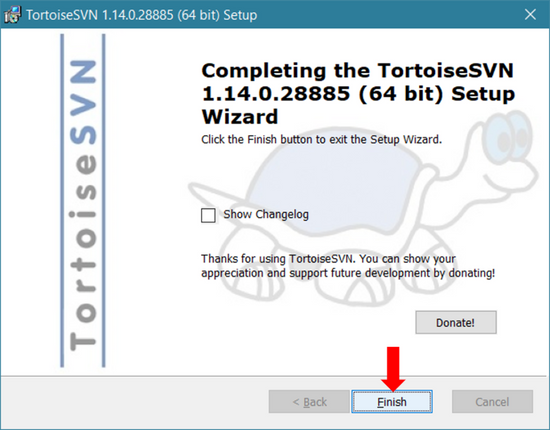
- Just follow the installation steps, unless you want to make changes to the default settings.

Creating Users
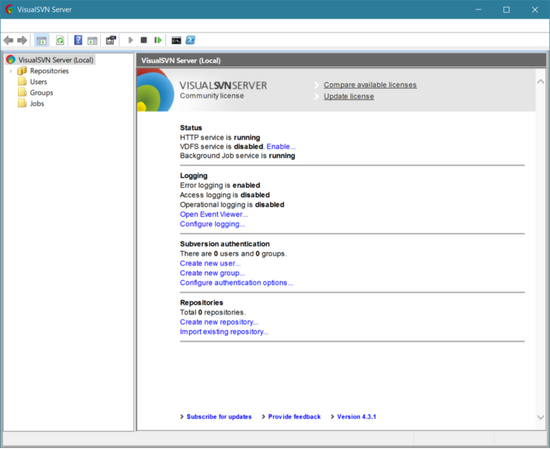
- Time to create some users. Start the Visual Server Manager. Click Start followed by VisualSVN and then VisualSVN Manager. You should see the following:
- Right-click on the Users folder to see the following.
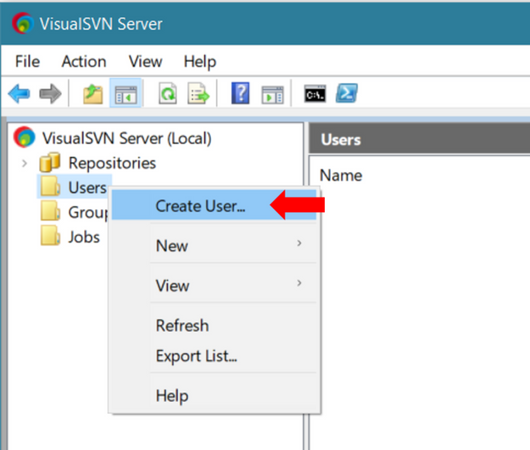
- Select Create User… to see the Create New User dialog.

Enter text in the User name, password, and Confirm password fields. Usernames and passwords are case sensitive. Usernames can only consist of letters, numbers, a dash, an underscore, or a dot.
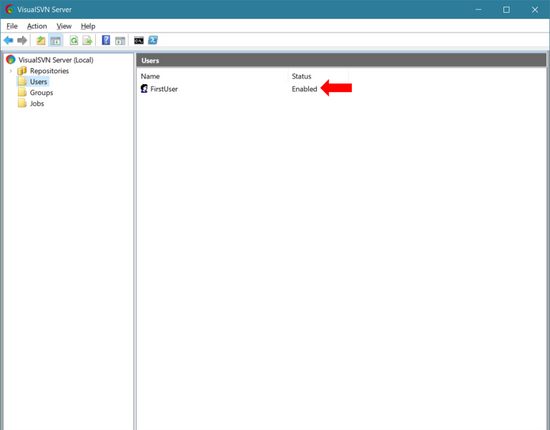
- You have created a User.
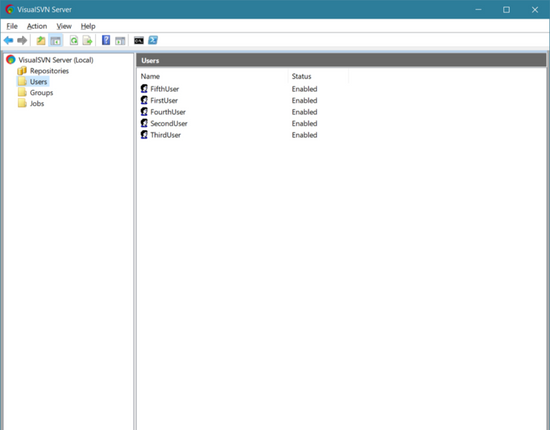
- You have added a few more users:
Managing Users
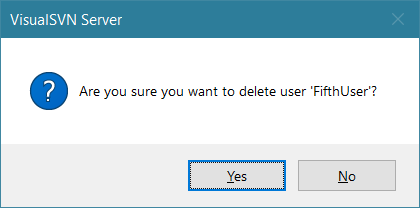
- Deleting a User. To delete a user, select the User from the list and press the Del/Delete key. Select Yes to delete the User or No to back out in the dialog that pops up.
- Suspending/Enabling a user and changing the password of a user. Right-click on a user to see.
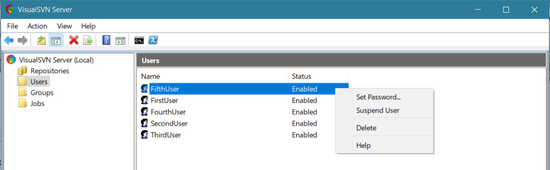
- The Set Password… option allows you to change a user’s password. Suspend/Enable User will enable you to toggle between suspending or enabling a user.
Managing Groups
You can create groups of users. A group can also contain another group. Groups can be created and managed the same way you create and manage users.
Creating Repositories and granting permissions
An SVN repository is a collection of folders and files that are a part of a database. You can create a repository from the command line via VisualSVN or TortoiseSVN. Let us create a repository from the VisualSVN Manager.
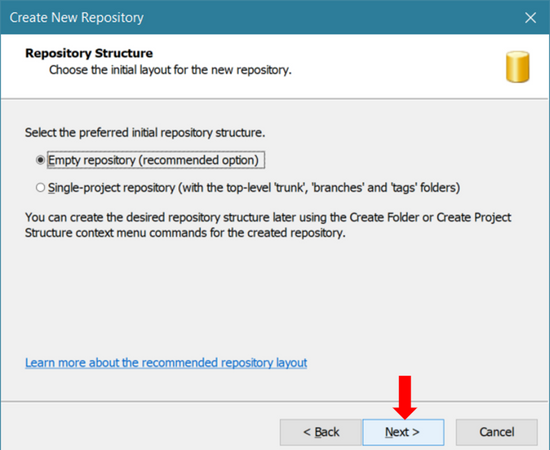
Creating a Repository via VisualSVN. In the VisualSVN Manager window, right-click on the Repositories label in the left-hand pane and select Create New Repository… to see
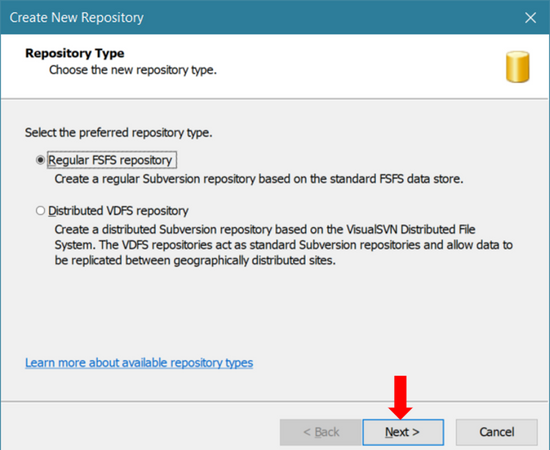

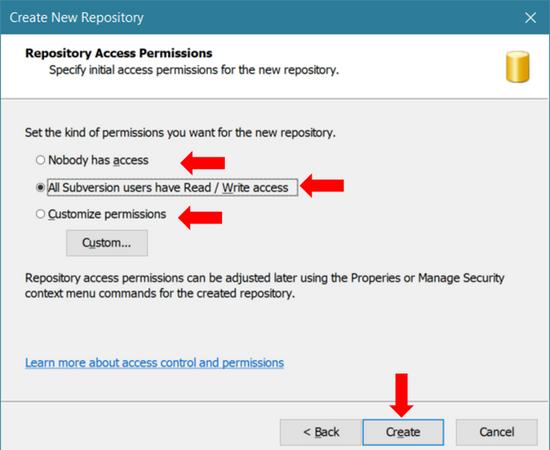
As you can see from the last screenshot above, the permissions you allot for the repository you are creating can be: Nobody has access, All Subversion users have Read/Write access, or Customize permissions. It does not matter what you select now. You can always change it later on. For now, click Create. And you have created your first repository.
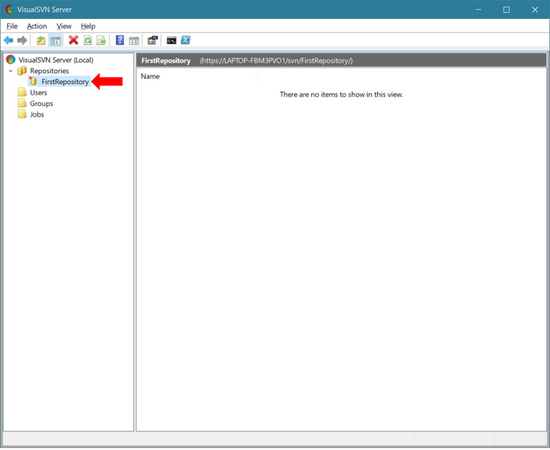
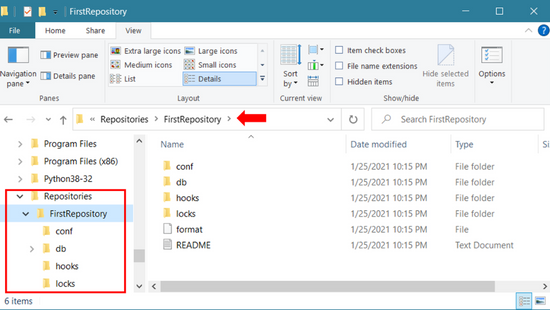
The last picture above shows that the repository folder has been created (with the name FirstRepository)
Granting Permissions to users
No matter how you have created the repositories, you can always modify users’ permissions from the VisualSVN Manager. Right-click on any repository and select properties.

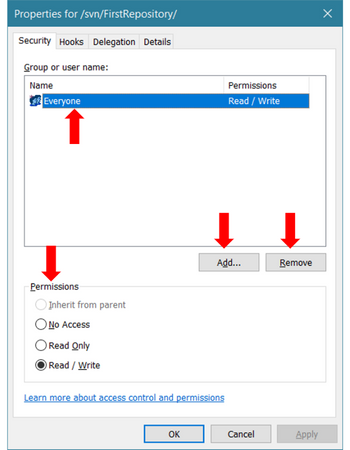
As you can see, Everyone has Read/Write Permissions. You can also give more people or groups permissions by using Add… and you can remove people/groups using Remove. Let us select Everyone and click Remove them. Now click on Add… to see
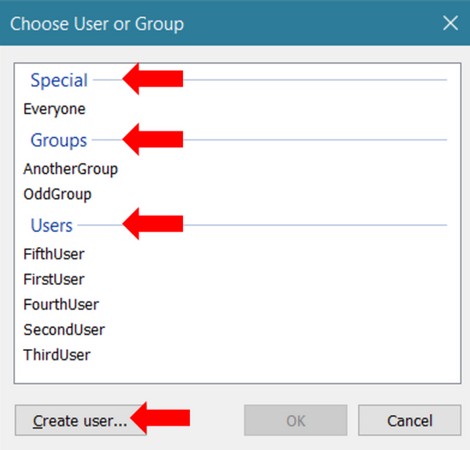
In the example above, you can select Everyone, or Groups (there are two groups in the example), or Users (the example has five users). You can even create new users by clicking Create User…. Each User you add can be given No Access, Read Only, or full Read/Write permission.
Summary: How to use Apache Subversion on Windows 10?
- Download Apache Subversion installer.
- Run the setup file.
- Click on Next button.
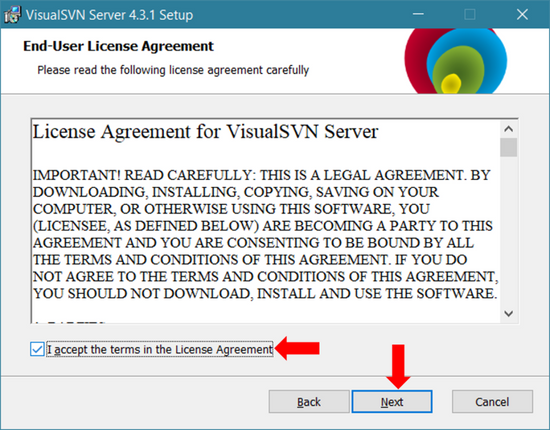
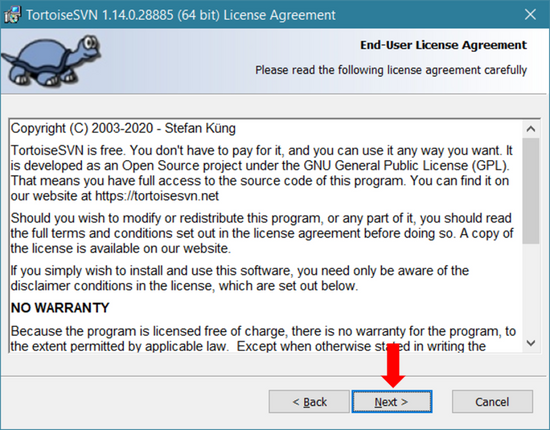
- Review the license agreement and click on I Agree button.
- Click on Next button to change the location of installation.
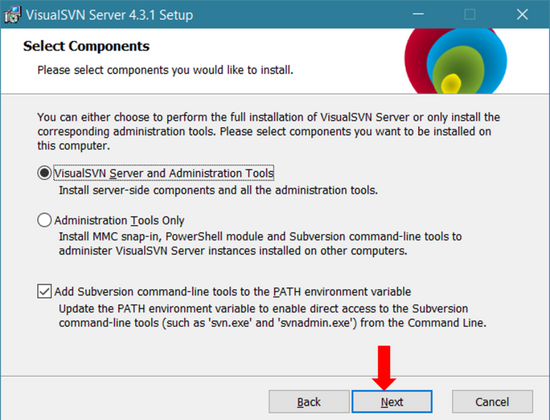
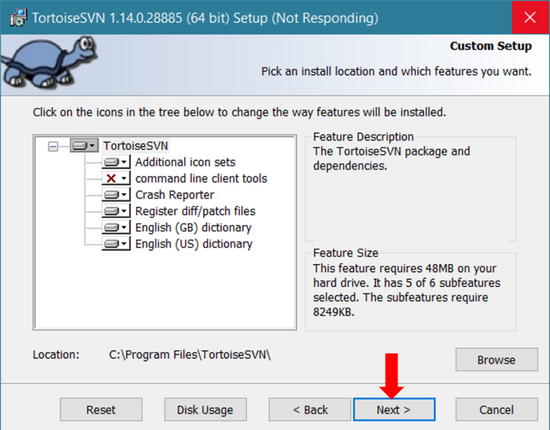
- Choose components to install. Here, I recommend that you should choose all components and click on Next button.
- Here, create a user account which will run as Subversion service in background. I would recommend you to not use your system username and password.
- Select Start Menu folder and click on Install button to begin installation process.
- Once the installation is finished, you will get a confirmation message. Click on Finish button to close the setup window.
- Now Apache Subversion is installed on your Windows 10 computer.
Conclusion
Hopefully, this article has given you a head start installing and using Apache SVN in Windows 10.
For information on VisualSVN Server, please visit: https://www.visualsvn.com/server
For more information on TortoiseSVN client: https://tortoisesvn.net
