Are you looking to assign a hostname to an IP address in Windows? To do so, you will be using the same tool that many network administrators use, namely the command prompt. In this post I will explain how to assign a hostname to an IP address in Windows 10, 8.1 as well as Windows 7.

Hosts files are computer-stored local file that converts hostnames to IP addresses. Windows, Linux, Mac all have some host files, and it’s a way to resolve a domain name without using DNS. You can assign any host or domain name to the IP addresses you want, and it will work only on your machine.
It’s an alternative mainly for web developers who don’t want to connect to a developing website yet. Occasionally, you will have to make changes to your device’s host file. Sometimes, as a result of an exploit or joke, other instances regulate network traffic access easily and freely.
Because Microsoft maintained the hosts file active in Windows computing, it doesn’t differ much whether it’s used on Windows, Linux, or macOS. Throughout all systems, the syntax is nearly the same. The first section is called the IP address, and the second section is called the domain or hostname. Today, I’ll explain how you can assign a hostname to IP addresses.
Assigning Hostname to IP Address in Windows
This method should work on Windows7, 8, or 10 as the host file is located in the exact location. Follow the instruction below to assign a hostname to IP addresses –
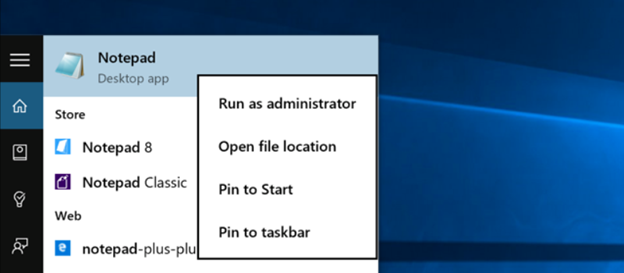
- Go to Start and type “notepad” in the search bar. Run the “Notepad” as administrator.
- Click on the “File” option and navigate to the “Open” button.
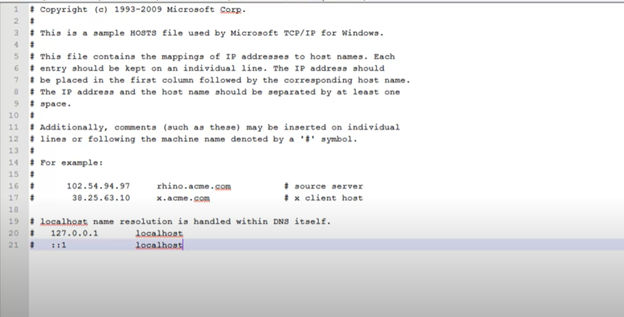
- In the “File Name” section, enter the host file location path, which is “C:Windowssystem32driveetchosts” to open the host file in notepad.
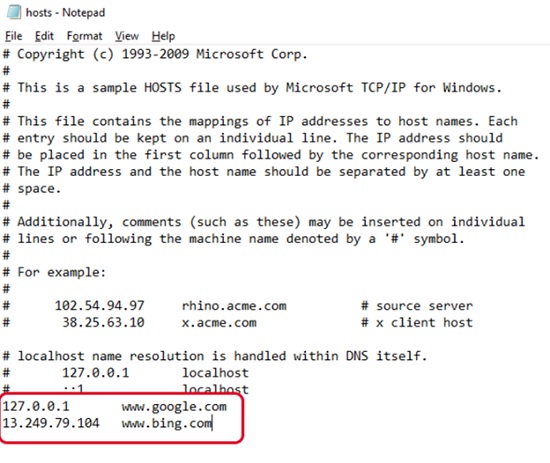
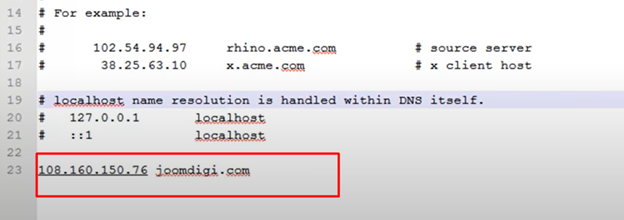
- Now, enter the IP address following the syntax. Give at least one space and type the hostname you want to assign to that IP address. You can see from the picture below, I’ve entered an IP address and gave it a hostname which is “joomdigi.com.” If I browse “joomdigi.com,” it will redirect me to that IP address. You can assign any hostname to different IP addresses.
- Press “Ctrl” + “S” on your keyboard to save the edited host file. Alternatively, click on the “File” option and select “Save” to save the changes. You can reverse this whole process by deleting the assigned IP address.
How do I Find the Hostname for an IP Address?
- Press the Windows button + R to open the “Run” program. Type “cmd” in the “Open” section to open the “Command Prompt.”
- Type “ipconfig /all” and press the “Enter” key.
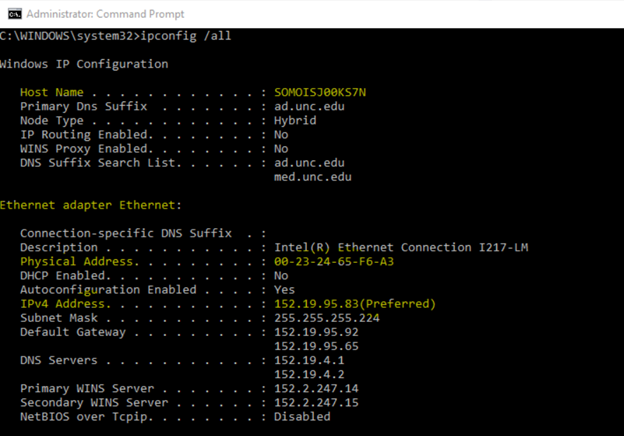
- You’ll find the hostname at the top and your IP address in the “Ipv4 Address” section.
How do I Set Up a Local DNS Server?
- In the windows search bar, type “control” and enter the “Control Panel” program.
- Enter the “Network and Security” option. Go to “Change Adapter Settings.”
- If you have an Ethernet connection, then click on its “Properties.” For a wireless connection, click on the Wi-Fi “Properties.” You might get asked for password confirmation there.
- Under the “Networking” tab, double-click on the “Internet Protocol Version 4.” Double-click on the “IPv6” option if you have IPv6 enabled. Now, under the “General” tab, uncheck the option for obtaining the DNS automatically. Check the second option for entering local DNS and address the Preferred and Alternate DNS server tabs. You can use the Google DNS server address, which is 8.8.8.8, 8.8.4.4 for IPv4, and IPv6 its 2001:4860:4860::8888, 2001:4860:4860::8844.
Summary: Assign Hostname to IP Address in Windows
- Open Control Panel from Start menu.
- From within Control Panel, click on Network & Sharing Center.
- Click on Change adapter settings option available on the left sidebar of the Network & Sharing Center.
- Right-click on your active network connection and select Properties.
- From the properties window, double-click on Internet Protocol Version 4 (TCP/IPv4) to open the properties window of TCP/IPv4.
- In the properties window of TCP/IPv4, select Use the following DNS server addresses: radio button and input your desired hostname in the text box available next to the Preferred DNS server option.
- Hit OK button to confirm changes and close all windows on your computer. It will take some time for changes to take effect, so you need to wait for a few minutes before trying out your new hostname.
