How To Change Google Drive File Conversion Settings
647 Views
The default Google Drive settings will convert images and documents so they can be easily shared on the internet, even if you don’t have the proper programs installed. But sometimes changing the default settings is necessary. Maybe your company needs to share documents across devices. Or maybe you just want to change the file conversion settings on your personal Google Drive account. Whatever your reason for wanting to change the default Google Drive conversion setting, here’s how you do it:
Google Drive is a cloud-based file hosting service launched in April 2012. You can use Google Drive to easily store and access files up to 15 gigabytes (15 GB) on the web. As long as you have an Internet connection, you can access your saved files from virtually any device, including computers and smartphones.
Another great thing about Google Drive is its capability to access and edit files that are uploaded from compatible software like Microsoft Word. Speaking of which, you can store the following two types of files:
- Files that you can modify, such as productivity software files (Microsoft Office, PDFs)
- Files that cannot be modified, including audio recordings, compressed archives (.ZIP files), and videos
After you have uploaded a file regardless of its extension or type, you can access, organize and share it from anywhere. If you have devices installed with the Google Drive app or software, you can enable its Sync feature. With Sync turned on, you will always see the latest version of a file.
Further, Google Drive lets you preview several different types of files aside from those mentioned in the previous section. For instance, even if you do not have Adobe Photoshop installed on your computer, you can still use Google Drive to simply preview a Photoshop file.
With such possibilities in mind, Google Drive is indeed capable of storing and converting files into supported formats. Before changing the Google Drive file conversion settings manually, though, you need to learn how a file conversion works on this cloud-based service.
Refer to the walkthroughs in the following section for uploading a file, converting a newly uploaded file to a format that Google Drive supports, and - most importantly - customize the file conversion settings.
Uploading a File to Google Drive
- Open your favorite Internet browser.
- Log on to drive.google.com and sign in to your Google Drive account to use the service.
After clicking on the Sign In button, you will be redirected to accounts.google.com as shown on the following screenshot.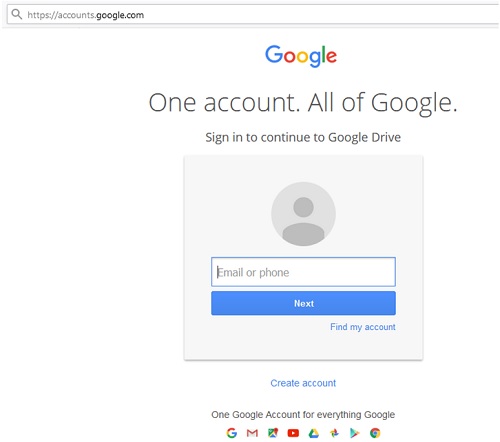
- From your Google Drive home page, hover your mouse over the New button.
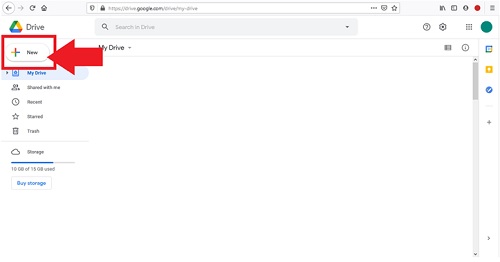
- Click on New and select the option File upload.
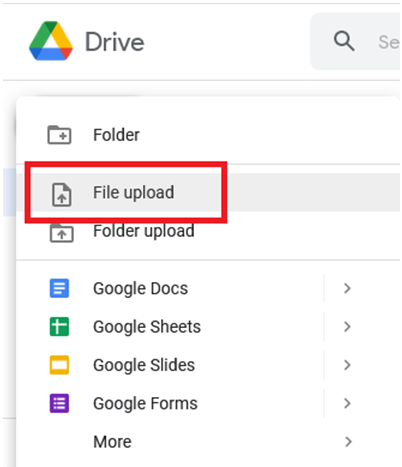
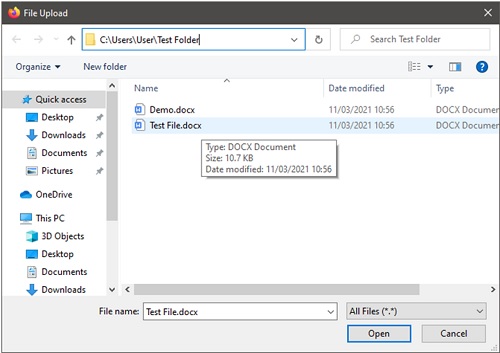
- Navigate to the folder that contains the file to be uploaded. Select that file and click Open.
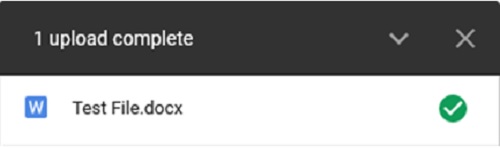
- On the lower-right of your Google Drive, you should see a notification that indicates a successful file upload.
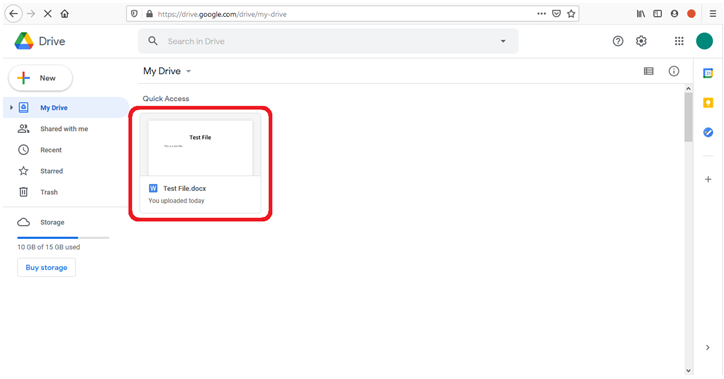
 You should also see the newly uploaded file on the main page of your Google Drive.
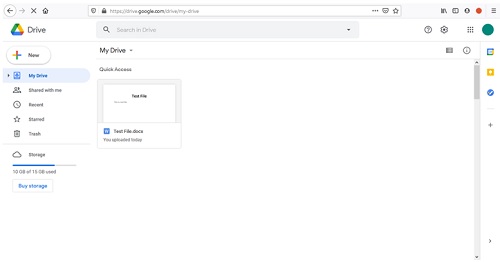
Moreover, you have the option to upload one or more selected files by clicking and dragging the item(s) from your computer to the Google Drive storage on your web browser. The availability of this feature, however, depends on the current configuration of your operating system and browser.
Converting a Newly Uploaded File to a Supported Format
If you upload specific types of files (including Microsoft Office and PDF files) to your Google Drive storage, you are given only the option to read or view such files. Whenever you want to edit such types of files, you have to convert them into a couple of formats compatible with Google Drive.
In the example walkthrough below, you will discover how to convert a recently uploaded .DOCX file into a Google Docs format. Files that end with the .DOCX extension are identified as Microsoft Word documents.
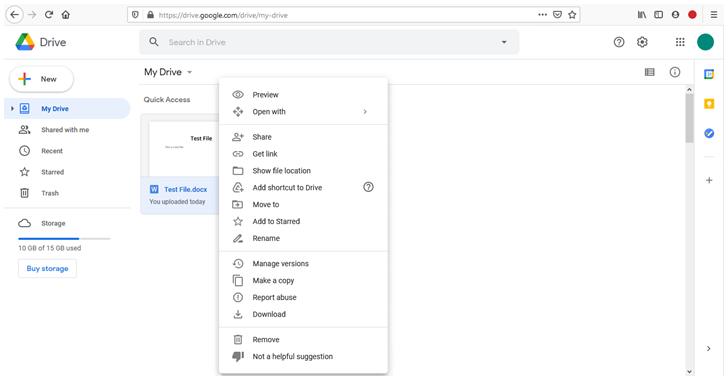
- From your Google Drive home page, navigate to the file that you want to edit.
 For this example, a Microsoft Word file will be converted into a Google Docs format.
 - Right-click on the selected file.
- Select Open With > Google Docs.
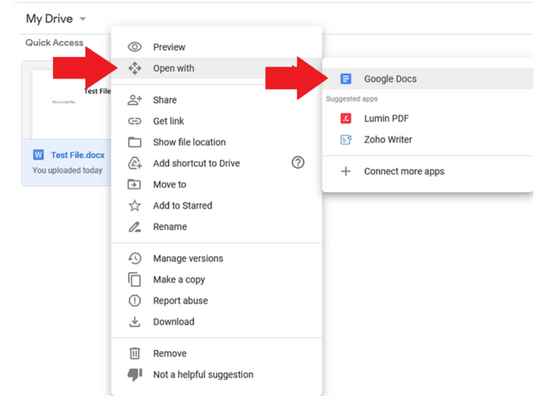
- A new browser tab for that file will open.
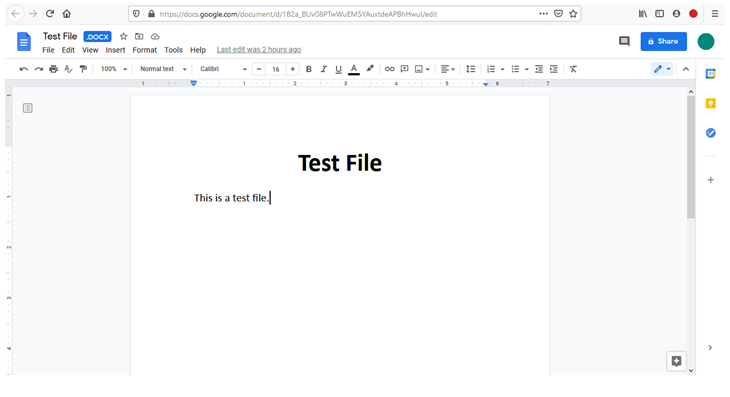 From there, you will be able to edit the .DOCX file and save it as a Google Docs file in your Google Drive.
 - Go to File > Save as Google Docs
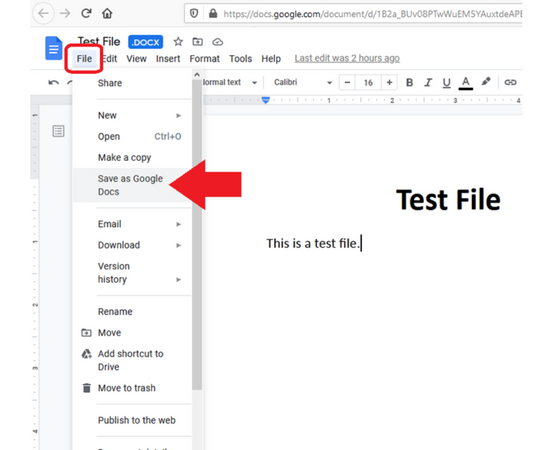
Another browser tab for that file will open, but this time, the file has been saved with the Google Docs format successfully.
Customizing the Settings for File Conversion
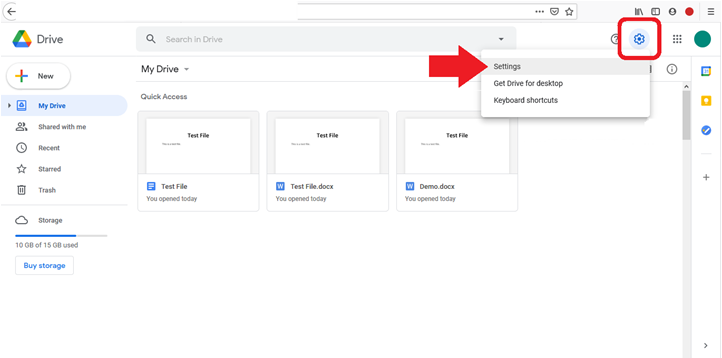
- From your Google Drive home page, move your mouse pointer to the Gear icon. This symbol is located on the upper-right part of your Google Drive.
- Click on the Gear icon and choose Settings.
- Make sure that the General tab on the left pane is selected by default. Afterward, locate the option Convert uploads.
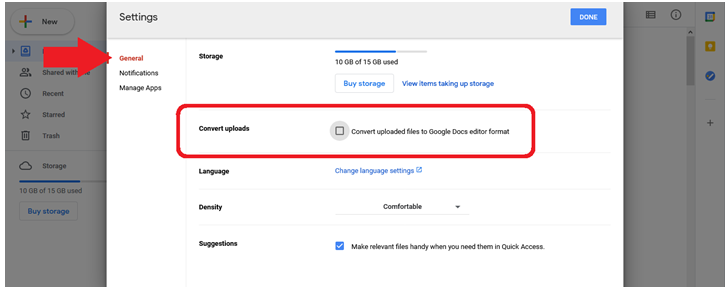
- Tick the check box beside Convert uploaded files to Google Docs editor format.
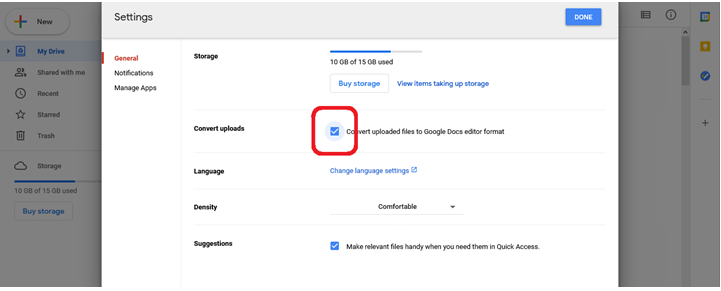
- Click DONE.
Summary: Change Google Drive File Conversion Settings
- Go to your Drive in Google Drive.
- Click on the gear icon at the top right for Settings.
- Select Settings from the dropdown menu.
- Scroll down to Convert Uploads section
- Check or uncheck box to Convert uploaded files to Google Docs editor format, then click Done.
