How to Compress a .Mov File on Mac? How to compress MOV file format on Mac? A video file format that is used in Apple’s QuickTime media player, QuickTime is actually a container and there’re many video file formats that can be used. With this article, I will show you the best way to compress a MOV file on a macOS computer.
Compressing a .mov file is very important for us. Sometimes the file size may be too big for you to keep in your drive. The only way to keep the file is to compress it to make it smaller. But it is not easy if you don’t know how to compress a .mov file on Mac.
So, today I will show you how to do this. I have used both the default app of Mac and another app that I have downloaded. You can use either of the apps according to your requirements.
Using the Default Mac App (QuickTime Player)
In this method, I will show how you can use the QuickTime player to compress a .mov file on Mac:
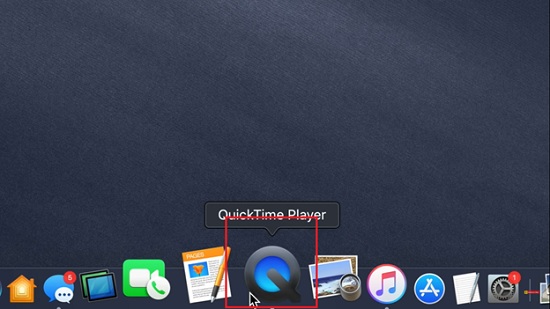
- Launch the QuickTime player on your computer. You can find it in the Applications folder if you haven't opened it before.
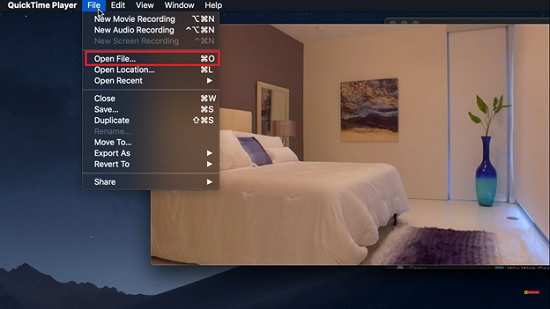
- On the top menu bar, click on the “File” button.
- Now click on the “Open File” button to open the .mov file that you want to compress. (Note: You have to navigate to the folder where you have kept your file.)
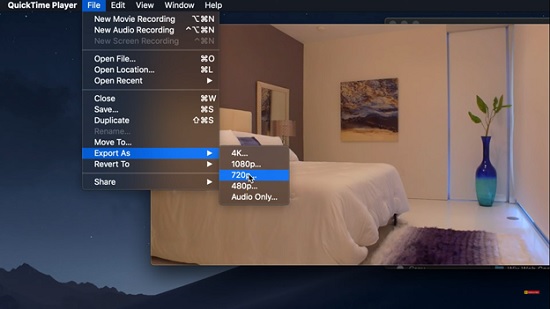
- When you have opened the .mov file, click on the “File” button again.
- Hover the mouse over to the “Export As” option to open a side pop-up menu.
- From there, choose the required resolution for the .mov file. (Note: Choose a resolution lower than what you already have.)
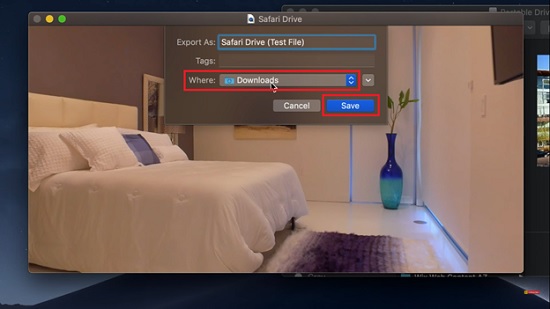
- When you click on a resolution, a new window will open and sow you a box named “Export As”.
- Enter any name if you want the file to be renamed. Otherwise, keep it as it is and click "Ok".
- In the new dialogue box, choose a destination folder.
- Now click the “Save” button to start exporting the file to the destination folder.
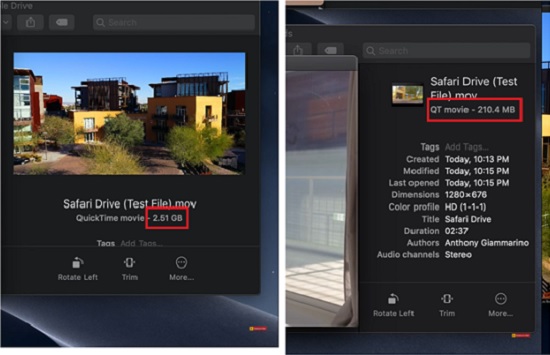
- After completing, you will see that the file size has been compressed.
Using Another App (HandBrake)
If you don’t want to use the default app and you are looking for some more options to explore, you can use an App called “HandBrake”:
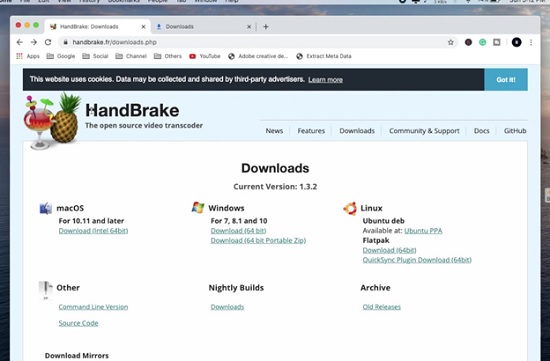
- Go to this link and download the app for macOS on your computer.
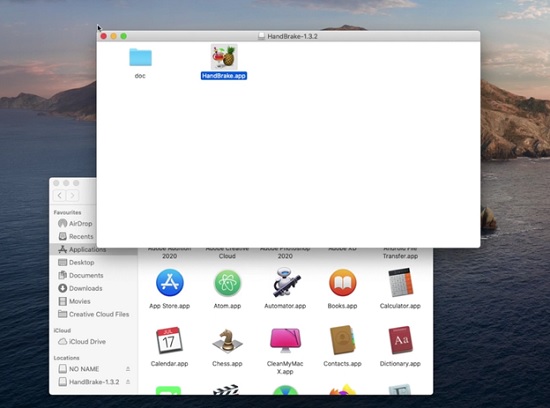
- Install the app using the standard procedure that you follow to install any other apps.
- Now drag and drop the app to the Applications folder.
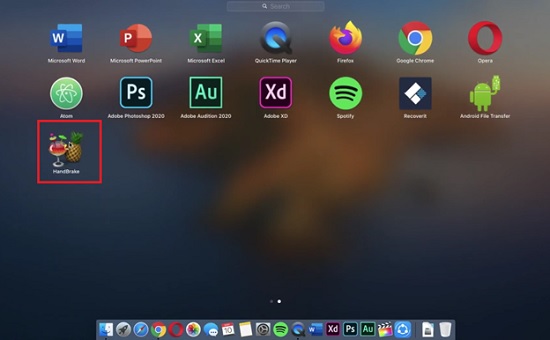
- Go to the launcher and then launch the “HandBrake” app.
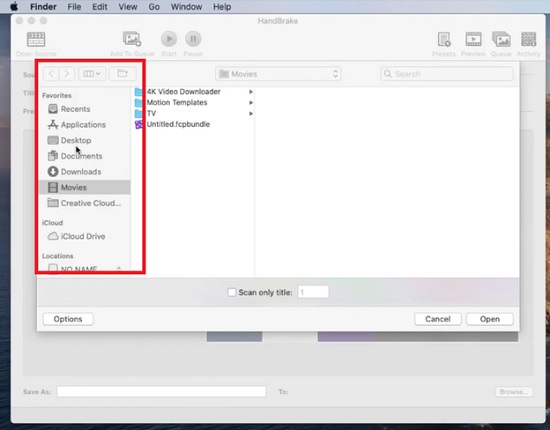
- When the app opens, use the left sidebar to choose the .mov file that you want to compress.
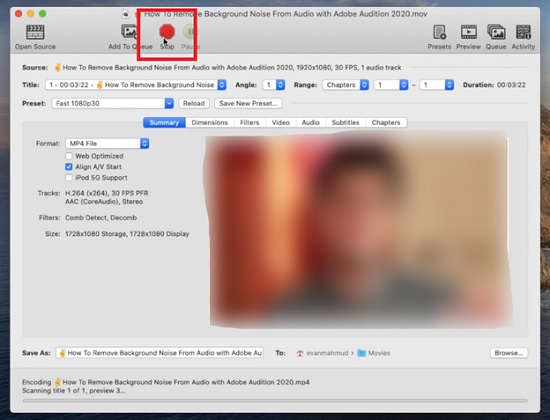
- After adding your .mov look for the option named “Preset” and click there.
- A drop-down menu will open.
- Choose your desired file size from the menu.

- Now click the “Start” button on the top to start converting the file to your desired resolution.
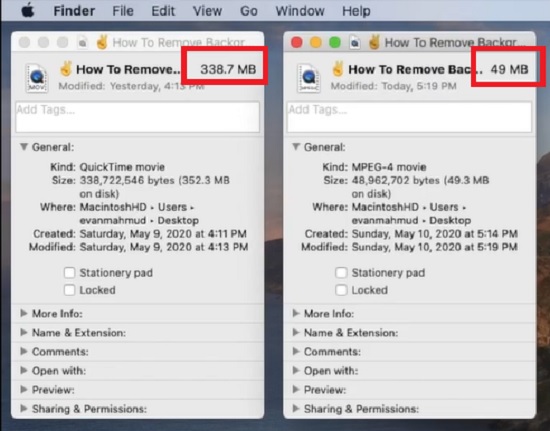
- When the conversion completes, you will see that your file size has been compressed.
Both apps used here are great for compressing .mov files on Mac. The difference between the two apps is that QuickTime player has only a few options. But it is faster than HandBrake. So you can follow either one of the methods you like.
Summary: Compress a .Mov File on Mac
- Launch the Video Convertor.
- Click on the "File" button and then choose "Load Media Files", then upload them to the application.
- Click on the "Format" bar and select an output format in the drop-down list. For example, if you want to shrink .mov files for iPad, iPhone, Android or others, you can choose the corresponding format for these devices.
- Now press the "Convert" button to start compressing .mov movies.
