Have you ever worried about how to delete photos from sandisk memory card? So does your Mac, as it won’t let you do that. There are a number of reasons why you may want to delete photos from your memory card. For instance, you might want to clear space on your memory card before taking more pictures or video clips on it. In addition, the device will be using up the memory earlier than expected. The good news is that there are ways for you to remove photos from sandisk memory card without deleting them from your camera or any computer. There are a couple of ways to go about this process. Let’s take a look at some of the options or methods that you can use right now.

Most of the Macbooks don’t come with a good amount of storage, and upgrading the SSD can be quite costly, so many MacBook users use memory cards to store their media files and others. You should always keep your memory card as free as possible and avoid leaving it loaded with unnecessary files.
Your photos might be a good place to start as we like to take photos, like a lot! And, often, we keep our memory cards full of unnecessary photos. In this article, We will show you how to delete photos from your SanDisk memory card.
How to mount an SD card?
Before you operate your SD card on your MacBook, first, you will have to format it properly. By default, most of the SD cards come in FAT32 format. But if it is in a different format, you should format it to FAT32 or exFAT to let your Mac recognize it properly. Then you will be able to store files or delete them more conveniently.
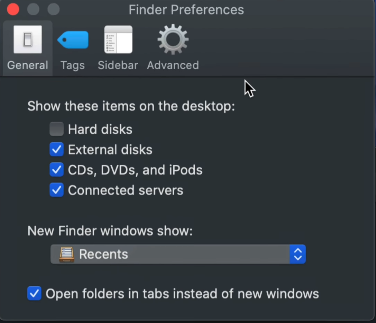
If your Mac is not showing SD card properly on the home screen, there is a little chance that the SD card showing option is not checked. You can enable it from “Finder Preferences”.
Deleting photos from the memory card
Below we have discussed the process step by step to delete photos from your SanDisk memory card.
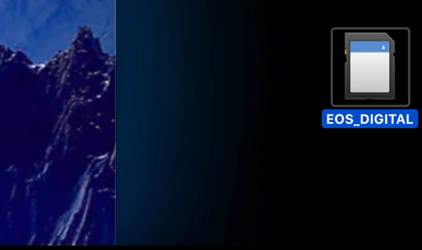
- First, we need to connect the memory card to the MacBook. A drive icon will show up along with its name. Suppose the name of you the name of your SD card is Sandisk; then it will show the name of the SanDisk SD card under the SD card drive icon.
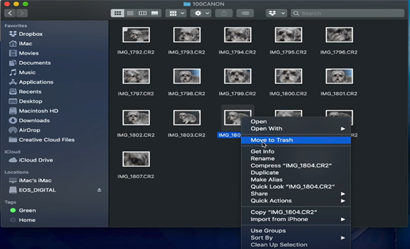
- Press twice on the SD card drive icon, and then you will be able to enter into the memory card. Here you will find files and folders located on your SD drive. You can delete a photo from this list if there is any. Just put your cursor on a photo and right-click on your mouse or tap with your two fingers to get a compact menu
- Here you will find the “Move to Trash” option. Select this, and your photo will be in the bin.
- Alternatively, you can also drag the item you want to delete to the trash bin directly.
- You can also select multiple items by selecting various photo files by following the above instructions.
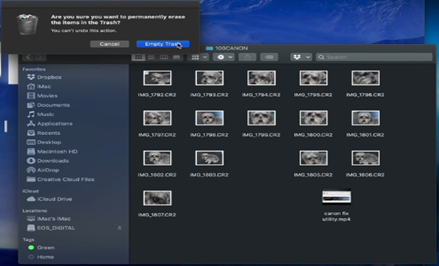
- Putting a file in a bin does not mean that your file is deleted. So, you will need to delete the file permanently from the trash bin. To do so, open the trash bin and select your desired file that you want to delete permanently from the trash bin. Press right-click or tap with two fingers, and here you will find an option “empty trash”. Select this option, and your file will get permanently deleted from both your card and MacBook trash bin.
SD cards are a smart and small device which can contain various important files in it. Though they are small in size, their usage is incredible. Storing photos on them is a common practice. But sometimes, you may need to delete them to make more space or to remove unnecessary items. To do so, you can follow the above steps to do your job more conveniently.
Summary: Delete photos from sandisk memory card on Mac
- Plug your Sandisk Memory Card into Mac.
- Open your Mac's File Manager.
- Navigate to the IMG folder on the card.
- Select all of the files you want to delete.
- Click on Delete
- Click Delete again
