The iPhone is the most popular phone available today. The design is sleek and modern looking while still being extremely functional. It is an object of desire for most people. Drawing a simple picture can be quite therapeutic, however drawing an iPhone is not as easy as it may seem. Here are some tips for drawing an iPhone like a pro!

Introduction
In this digital age, everything is fast and convenient. Now we can do many things from our phone conveniently, ranging from watching movies to transferring billions of dollars. However, with this smart moving generation, our lifestyle is getting hectic day by day. It demands fascinating ways of recreation. Are you fed up with attending yoga sessions and feel like reading books isn’t your cup of tea? Well, drawing your imagination on a canvas is one of the most productive things to relax your mind! Why not start invoking your creativity by recognizing the hidden artist in yourself and begin drawing an iPhone.
The first rule is to never expect yourself to deliver a masterpiece in the very beginning and your fundamental focus should be on improving overall creativity. Let’s dive into this quick tutorial on how to draw an iPhone!
Required things to draw an iPhone
According to various research, artistic skills significantly leverage the overall IQ of the brain. Here are the required things to draw an iPhone.
- A4 size drawing paper
- Sketch pencil
- Scale
- Eraser
- Semicircle.
Once you get these required things, proceed with the following lesson to learn to draw an iPhone.
How to draw an iPhone?
Drawing is an imminent exercise of improving creativity and expressing our inner conscious thoughts without using words. In this quick guide, we will learn “how to draw an iPhone.” So, pick up the required things and start reading the following steps to pump-up your self-confidence by drawing an aesthetic piece like the iPhone.
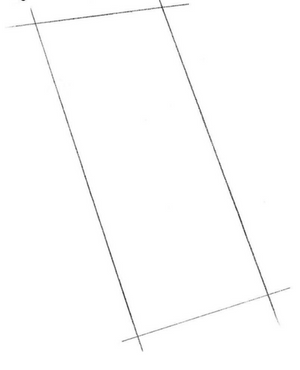
First, draw the shape of a rectangle that looks similar to the frame of the iPhone. Now, we will start drawing an iPhone with a slight slope.
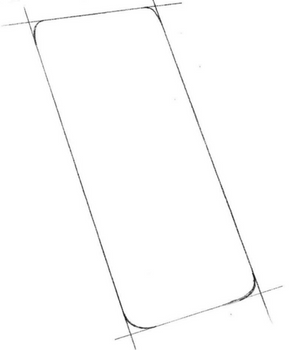
Now observe the above example and start making rounded corners. Make sure that every corner of the rectangle is rounded at the same angle.
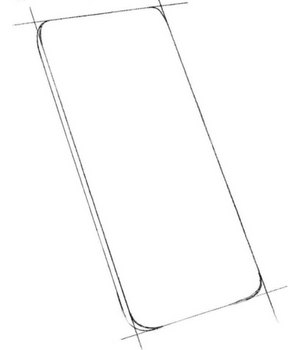
Form the left side of auxiliary lines, start drawing the left sidebar similarly, as illustrated in the given diagram and the structure of your iPhone drawing will be ready.
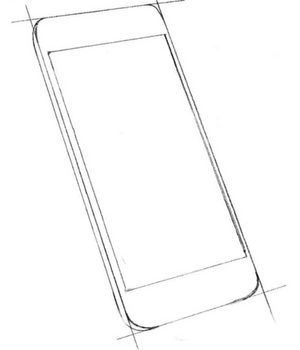
Observe the figure that you have drawn. If you don’t see any distortion in the drawing, let’s proceed with the next step.
Start drawing a rectangle in the center of the basic structure of the iPhone. Keep the rectangle lines very close to the device’s structure on the vertical side, but while moving on the horizontal side, maintain a considerable distance from the device’s contour.
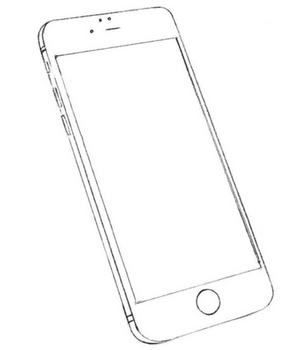
Now we will give a final touch to the contour of the iPhone. Start erasing every guideline used and then add the elements similar to those present on an original iPhone body. The essential elements will include the round bottom button, the primary speaker, and the keys on the left sidebar.
At last, you can also color the drawing with your desired colors to make it more appealing.
Summary: Draw an iPhone
- Draw a not so perfect rectangle.
- Pencil in the buttons on the bottom of the iPhone and sketch in the ear speaker at top letting.
- Shade in the back of the iPhone and add a reflection from the camera flash.
- Add small details such as reflections from the screen, and a small highlight to the top of the buttons.
Conclusion
You can also draw the other iPhone models using the same method you have used to draw this iPhone. Drawing is the best thing to relieve stress from our life; it leaves positive effects on our mental being and analytical skills. Please stay connected with us to learn more about drawing.