If you are using Windows 10 latest version, you may face the Taskbar showing a full-screen issue on your PC, where you cannot see other tasks on your screen.
The issue arises for various reasons and, therefore, cannot be resolved with a single solution.
Different techniques and methods can be applied to fix this error. These methods are discussed in detail below.
Restart your computer
The first thing you can do is to restart your computer. It may be a temporary glitch that can be resolved by restarting your PC. If the error is not fixed with rebooting your PC, move towards the second option.
Enable the Taskbar Settings
The error might occur because in Taskbar settings, the automatically hide the Taskbar in desktop mode is disabled. So, enable it in the settings.
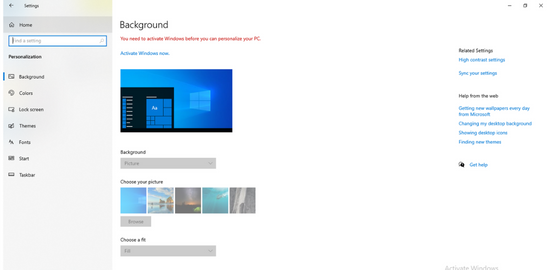
- Open Settings by pressing the Window key + I.
- Navigate to the Personalization option.
- In the left pane, locate Taskbar at the bottom and click on it.
- In the Taskbar section, search for “Automatically hide the Taskbar in desktop mode.” Slide its toggle to the right side to enable it.
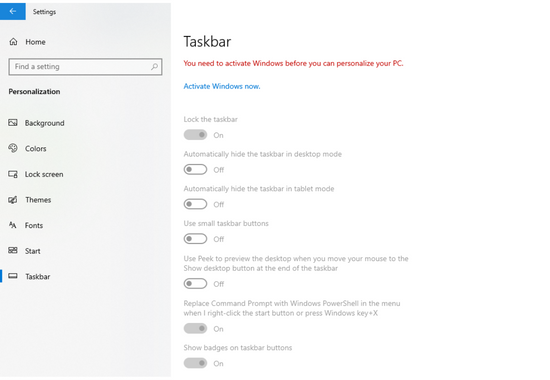
Check if the issue is resolved. If not, go for the third method.
Restart Window Explorer
You might be facing this error due to the Window explorer process. Restart it, and it may help to resolve the issue.
- Open Task Manager by pressing the combination of Ctrl + Shift + Esc keys.
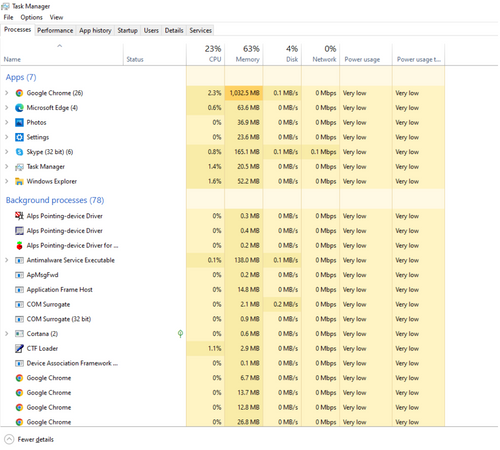
- Search for the More details option at the bottom of the Task Manager window and click on it.
- The processes section will appear. Locate Window Explorer in the Processes section and right-click on it. Then click on restart.
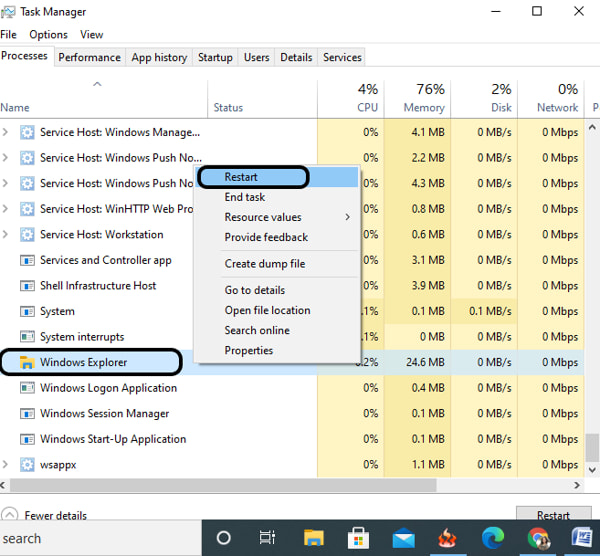
- The window explorer will be restarted, and the error Taskbar is Showing Full Screen will be resolved.
Disable Anti-virus for a while
If you have Anti-virus installed on your Window, it might be causing the error. Disable it for some time to check if it helped resolve the issue. You can see the Anti-virus tool option in your Taskbar. Right-click on it and then select Disable to disable it for the time being.
Later on, if the issue is resolved, the Anti-virus is not responsible for the error. You can enable it by the same procedure.
Go to Visual effects and Disable it.
Disabling the visual effects also helped some users to get this issue fixed. The below steps are required to disable visual effects on your Windows.
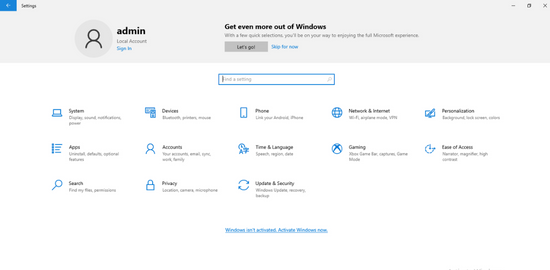
- Press Win key + I to open Settings.
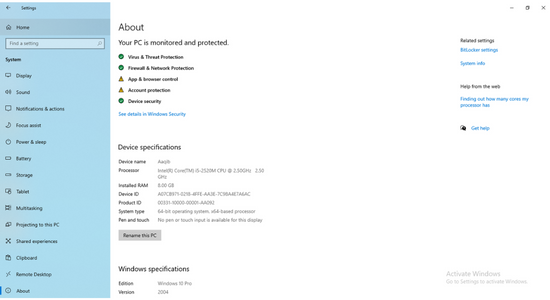
- Click on systems and choose the About option available at the bottom left side.
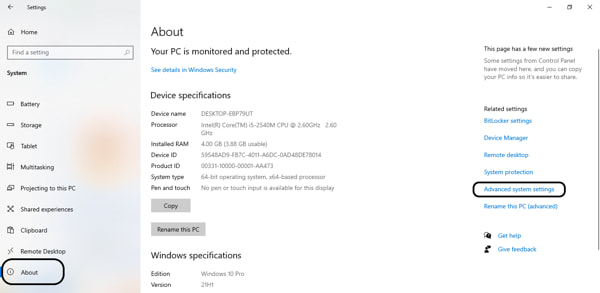
- Go to system info visible on the right side.
- In this newly opened Window, click on Advanced system settings
- New Window will open. Select setting under the performance section.

- Check-mark adjust for best performance option.
- Apply changes and click OK
Now, reboot the system, and you will see that the issue is resolved
Check Override High-DPI Scaling Behavior
Overriding the high-DPI scaling behavior in Google Chrome is another possible solution to fix this error. To do this, follow the steps below.
- Right-click on the icon of Google Chrome and click on Properties.
- Go to the Compatibility Tab.
- At the bottom of this section, locate change high DPI settings. Select it.
- Check-mark the high DPI scaling override and click on OK to save changes.
That's it. The problem will be resolved successfully.
Conclusion
Remember to follow the methods one by one and with great care. You are not required to perform all procedures simultaneously to solve the issue. Any one of these methods will be enough to resolve the problem. If one method fails to fix the error, move to the next solution.
