Sometimes you need to flip the picture horizontally or vertically in Google Docs. For example, Google Docs doesn't show images right side up in preview mode. You will see all the images upside down. In this tutorial I will show you how to flip an image in Google Documents. This will work with all Google's services, like Drive and Presentations. Let's get started!
Flipping an image in Google Docs is a bit more technical than it looks like. While you can easily rotate and adjust the image properties from the image menu, flipping will take a little more effort. So here’s how you do it.
Procedure 1: If you already have the image inserted
If you already inserted an image and want to flip it for another part of the document, follow these steps.
- Open your Google Doc file (if you haven’t already)
- Navigate to the image.
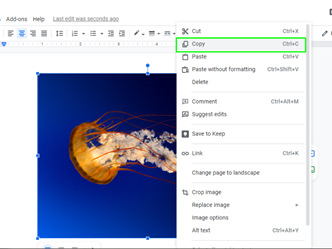
- Right-click & copy the image.
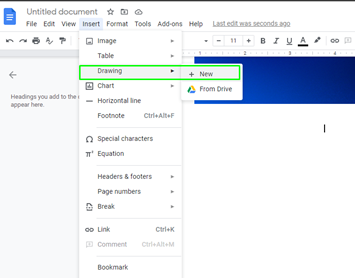
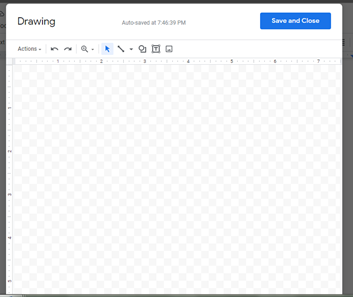
- Now go to Insert -> Drawing -> New.
- This (below) drawing tab will show up. You can insert additional images and clip arts through this feature.
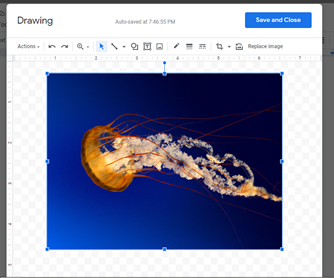
- Press Ctrl + V to paste the image into the drawing tool. For some reason, Google doesn’t let you paste an image from the options menu.
From here on, you can approach in two methods. You can either play with the margins to flip it horizontally or vertically. Or, you can flip the image from the actions menu. Let’s learn them one by one.
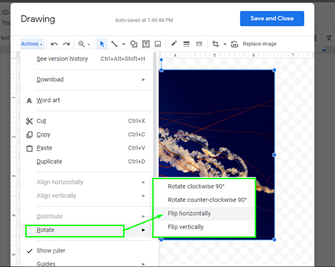
Via the Actions Menu
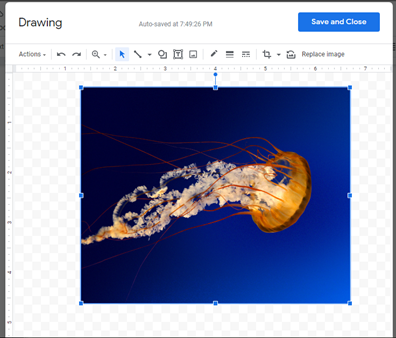
From the actions menu, you can directly flip the image horizontally or vertically. Go to Actions -> Rotate and select your flipping style. You can either flip horizontally or vertically. This method preserves the aspect ratio and it’s very simple.

Playing with the Margins
After pasting the image, you’ll have access to free-transformation. So just drag the right margin to the left and the left margin to the right for an instant horizontal flip. Do the same for the top and bottom margins for a vertical flip as well.
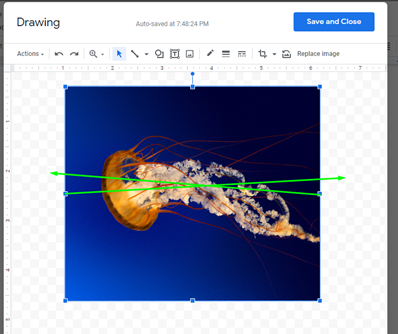
This method is fast and instantaneous. However, since it’s a free-transform process, it’ll be difficult to maintain the aspect ratio. So keep that in mind.
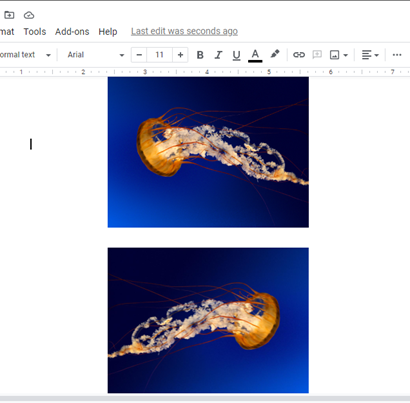
After attaining your favorite flipped position, simply click the “Save & Close” on the top right corner to insert the flipped image into your document.
Procedure 2: Starting from Scratch
If you’re only getting started with a blank doc, or you have yet to insert the image, follow this procedure.
- Do not insert the image yet.
- Go to Insert -> Drawing -> New as you did before.
- Once you’re on the drawing tab, click on the image icon.
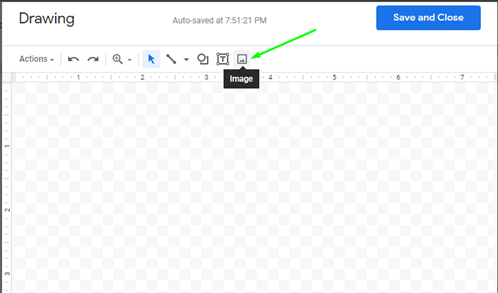
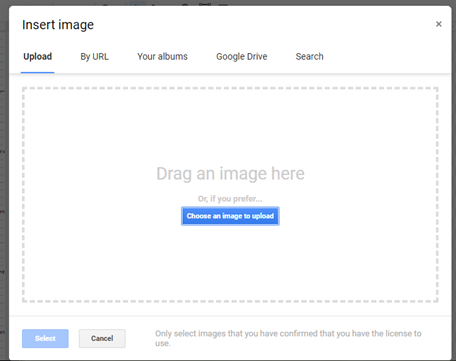
- Now add the image directly into the drawing tab.
From here on, you can follow the two methods mentioned earlier. Either flip your image through the actions menu or adjust the margins for free transformation. Happy flipping!
Why use the Drawing tab for flipping?
A commonly asked question is, why can’t we flip the image from the image properties?
Well, when you insert an image into a Google Doc file, it functions as an object. While on the drawing tab, it acts as a layer. You can freely transform and edit a layer, unlike an object. So unless Google decides to add a mirroring function, you have to rely on the Drawing tab for flipping.
Summary: Flip an image in Google Docs
- Open a document in Google Docs with an image in it.
- Click on the image that you want to flip.
- Select the Format option.
- Select Image options.
- The Image Options menu will display.
- Select Rotate 90 degrees until you have the image flipped the way you want it to be.
