Today we will talk about Google Docs, a widely used online service with its own set of unique features. We will show you how to rotate an image in Google Docs.
Google Docs is similar to Microsoft Word but with lesser functions. It is a freeware that can be accessed using Google-based applications. This application runs well since it has fewer features. Thus, it is possible to make simple documents that can be easily sent using other Google online services.
Other than creating a document, you can also insert and rotate an image on Google Docs. You will have full authority on how to manipulate the orientation of the image, either clockwise or counterclockwise.
How to Insert an Image?
- Before you proceed to rotating the images, you need to know how to insert an image. Let’s assume you have launched the Google Docs application.
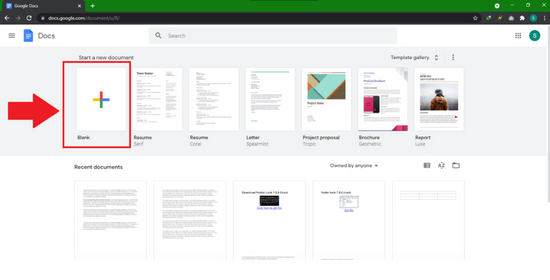
- Create a blank document by clicking on the portion indicated by the red arrow in the image below.
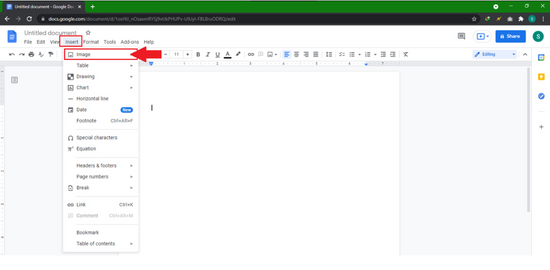
- Hover your mouse on the “Insert” tab. As the drop-down menu appears, click on “Image”.
- A window will open where you can drag the image to upload it so it can be used in the document.
- After uploading, the image will be displayed on the document. It will now be ready for any adjustments on the position and size.
How to Rotate an Image?
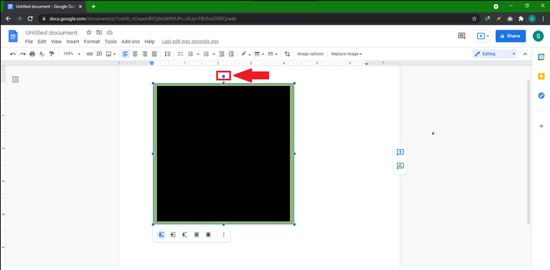
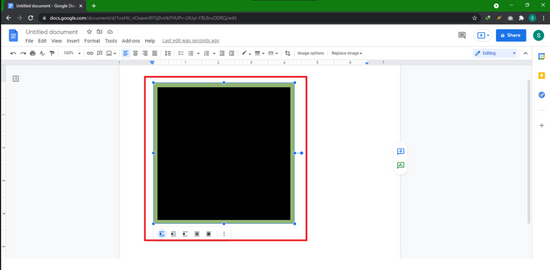
- To rotate a specific image, select it first. You will know the image is selected when there are borders and dots appearing at the outline of the image.
- As you have observed, there is a certain dot in the outline borders that is offset with the image. The purpose of this is to rotate the image.
- You can then rotate the image by dragging the offset dot either clockwise or counterclockwise. The precision of the angle might vary since it is dependent on the movement of the mouse pointer. The advantage is that you can do more variations with the image’s rotation angle.
Other Methods
If you want a rotation with 90-degree step, you can do so with the “Paint” application. To do this, you need to insert or paste the image to be modified there, select the image, and click on “Rotate”. There will be options available such as rotating 90 degrees left or right, a 180-degree rotation, and even inversions either vertically flipped or horizontally flipped.
After finishing the edit, save the image and upload it on Google Docs. Alternatively, you can copy the image and then paste it on your document.
If you have a Microsoft Word or OpenOffice, consider using similar methods. The advantage is that you have more features for modifications compared to Google Docs. After modifying through Microsoft Word or Open Office, you can now insert the image to the Google Docs.
Summary: Rotate an image in Google Docs
- Open up the Google Doc that contains the image you would like to rotate.
- Click on the image you want to rotate to select it.
- The image will have several handles around it. You can use these handles to do more than just resize your image. Click and hold on one of the corner handles.
- While still holding on, move your mouse in a circle to rotate your image in one direction or another. Keep going until the angle is where you want it to be.
- Release your mouse and the image will stay that way. This can be repeated as often as necessary until you get the angle just right for your document.
- Tips for Rotating Google Docs Images
Conclusion
Although Google Docs can be limiting, there is still enough features to perform basic word processing tasks such as rotating the image or adding a border to google docs and the like. However, please note that there are many image formats such as JPEG, Bitmap, GIF, and more. For easy modifications and safe image formatting, I would highly recommend using JPEG.
