Initially developed as a word processor tool, Google constantly adds additional features to google docs, making it a more versatile tool for creating documents, adding and editing images, etc. One of its features is to layer images in google docs. Now that this feature is available in google docs, you no longer require to install third-party software for this purpose.
Layer images in Google Docs
Two methods will be discussed to layer images in google docs.
- Layer images with the help of the drawing option
- Layer images with the use of the wrap text option
Let's start with the first method.
Layer images with the help of the drawing option
The methods used to layer images with google drawing include some steps, which will be discussed below.
- Sign in to your google docs account.

- Open the blank page and click on the insert option from the top menu bar.
- In the drop-down menu, choose drawing and then click on new.
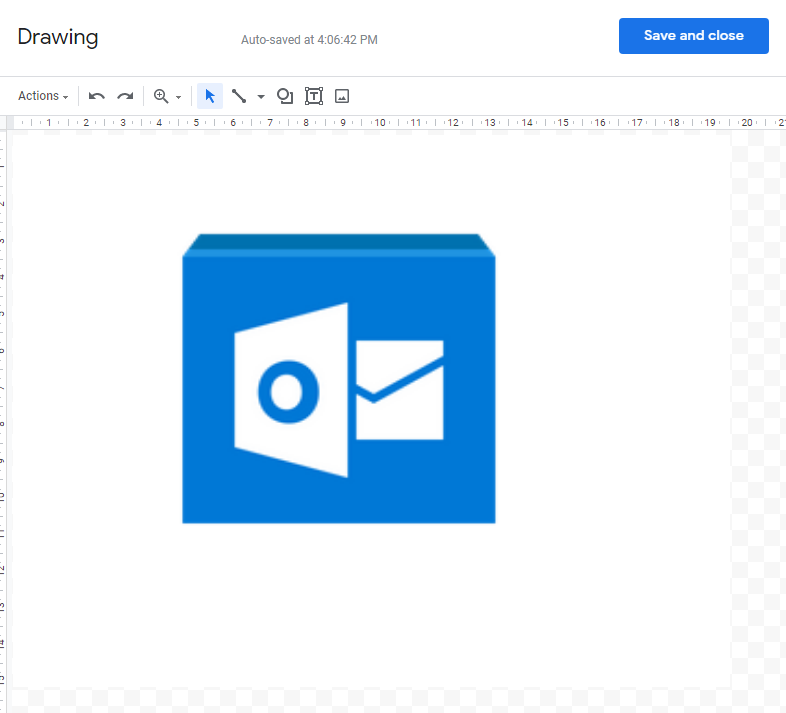
- It will pop up in a drawing window. Here, click on the insert image option from the top and insert your first image from your location of images.
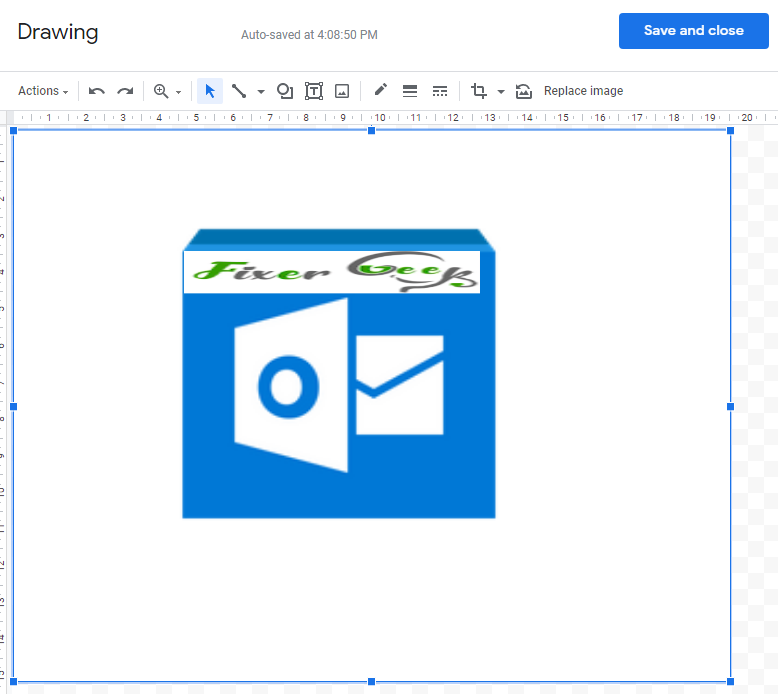
- Click on the insert image option and add a picture if you want to layer another image. If you're going to layer text on the first image, click on the text box option.
- Click on the insert image option and add another one for the second image.
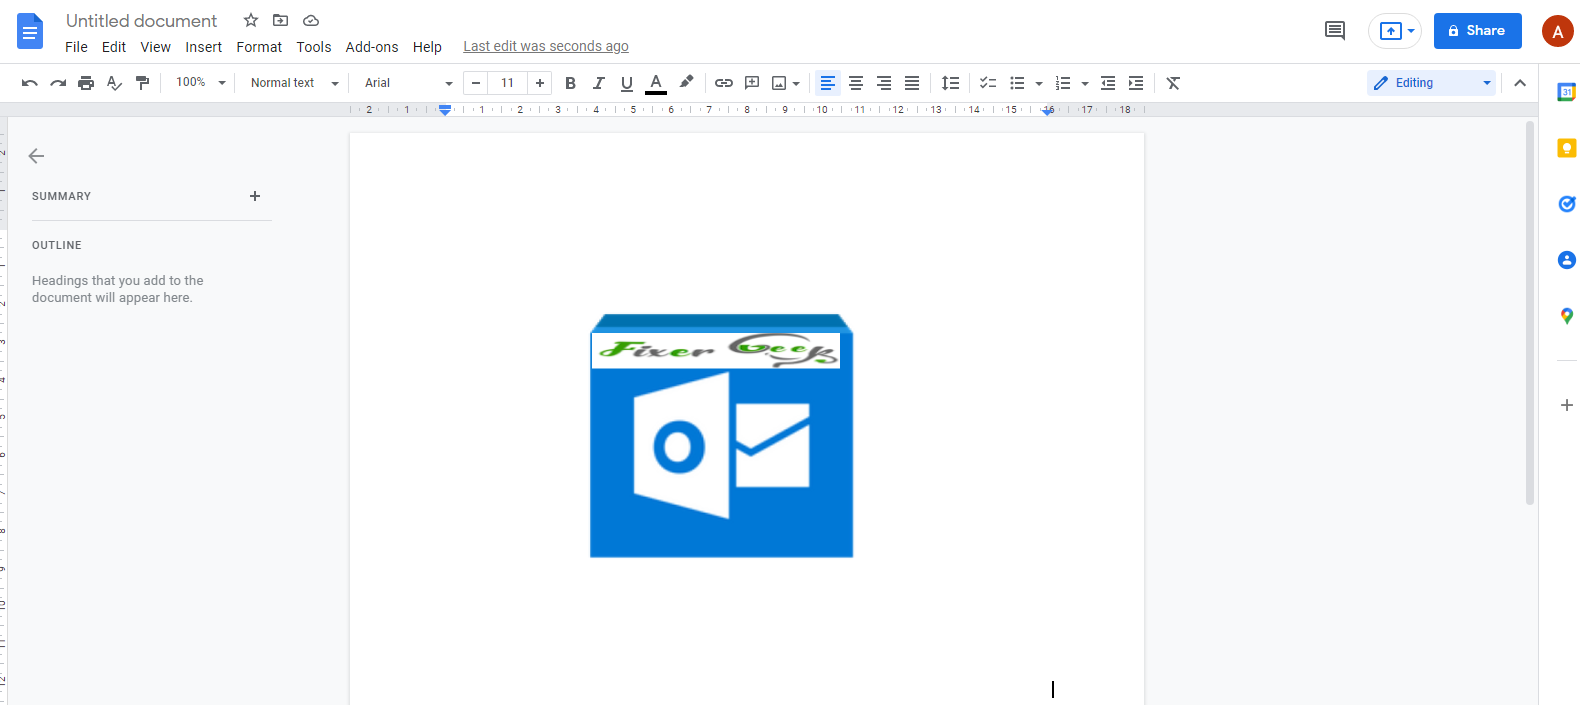
- Now, click on save and close to add it to your google docs document.
Layer images with the use of the wrap text option
The next option to layer images in google docs is to wrap text. The wrap text option allows you to move images over one another to overlap them. To do this, follow the below instructions.
- Open your document in google docs.
- Insert the first image. Click on the insert image option from the top menu bar and add or upload an image from your image's location.
- Click on the image and locate the wrap text option available at the bottom of the image. The wrap text option is the second option.
- Again, insert the second image, click on it and choose the wrap text option.
- Now, move the image and place them over one another.
This is how you will layer images in google docs.
Conclusion
This is all about how to layer images in google docs. The wrapping text method seems more straightforward than the drawing tool method but learning both of these steps is necessary, as each method has its own advantages.
