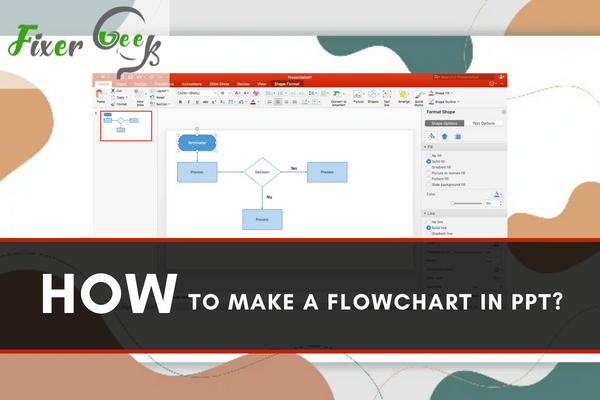
If you want to create a flowchart in PPT, here are some tips on how to do it effectively.
A simple visual is always preferable to a wall of text in PowerPoint. Whether you are working out a crucial decision or describing a complicated process, nothing is better than a well-made Flowchart. For many people, Microsoft PowerPoint is the go-to software as it is easy and resourceful. So, in this article, we will show you how to make a Flowchart in PPT.
Before You Get Started
Microsoft PowerPoint provides tools for arranging and creating various types of Flowcharts. There are two ways to make Flowcharts using PowerPoint: with SmartArt or with PowerPoint shapes library. This article will cover both approaches. Here are some pros and cons of both method:
- SmartArt graphics are a collection of pre-made shapes. Your options are limited in SmartArt but it is faster than PowerPoint shapes library. So this is an ideal option if you want a simple, quick diagram.
- If you want flexibility and looking for a traditional Flowchart, then the PowerPoint shapes library is the ideal choice for you. It is slower than SmartArt but your options are not limited.
So, choose what is comfortable for you.
Making a Flowchart with SmartArt
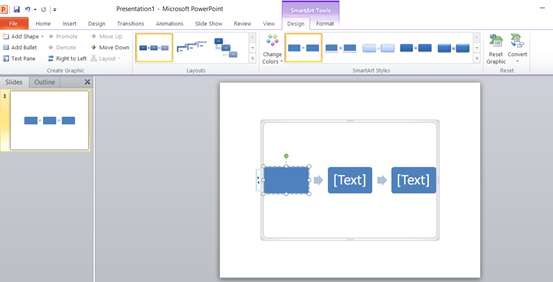
- First, open the MS PowerPoint and open a new slide. Click “Insert” and you will see the SmartArt option.
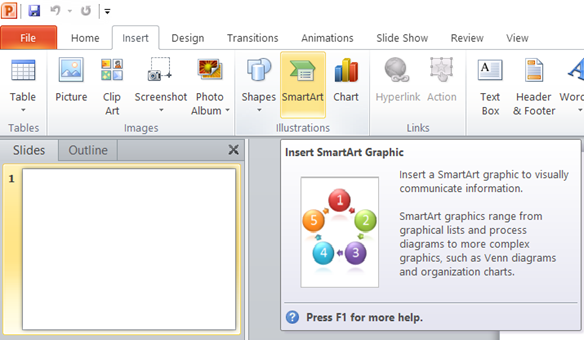
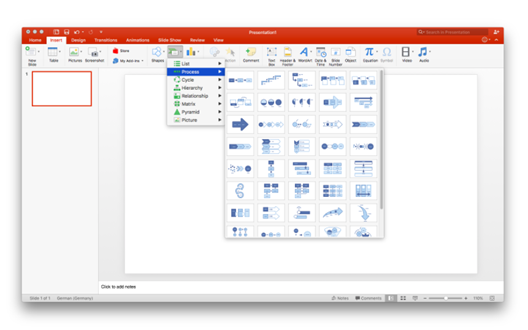
- Click “SmartArt” to open a list of diagram types. Click on “Process” to see the different Flowchart options. Click on any of those diagrams to insert it.
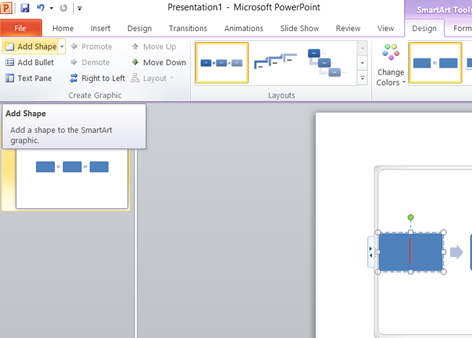
- Next, add shapes and text to your Flowchart. Click on the center of the shape to edit and add text. Click on the “Add Shape” option to add shapes.
- If you want to move shapes around, click and drag them. The connecting arrows will automatically adjust.
- When you choose SmartArt tools, there are two tabs on the toolbar: “Design” and “Format”. You can change diagram types, add shapes, and choose from various preset color schemes in the Design tab. On the other hand, you can make more specific customization such as individual text color, font, and shape color in the Format tab.
Making a Flowchart with the PowerPoint shape library
- First, open a new slide in MS PowerPoint. Click “Insert” and you will see the Shapes option.
- Click “Shapes” to open the menu of PowerPoint shapes libraries. Scroll down to find the Flowchart section. You can find the necessary shapes in there for creating a Flowchart.
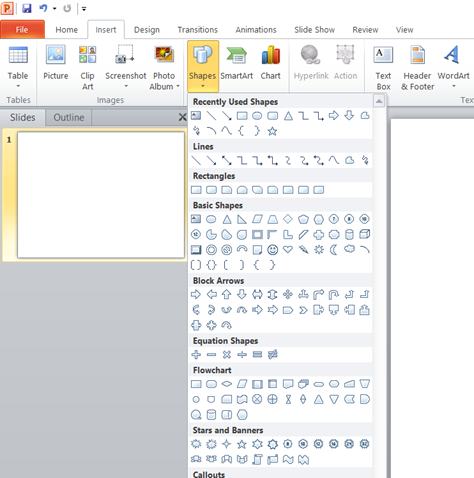
- If you don’t know which shapes do what, hover your mouse over it. Its function will appear in a small label.

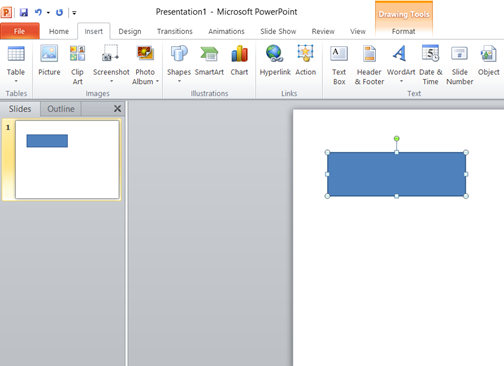
- Then, Click and drag your selected shape on the slide to draw it. Add more shapes by repeating this process.
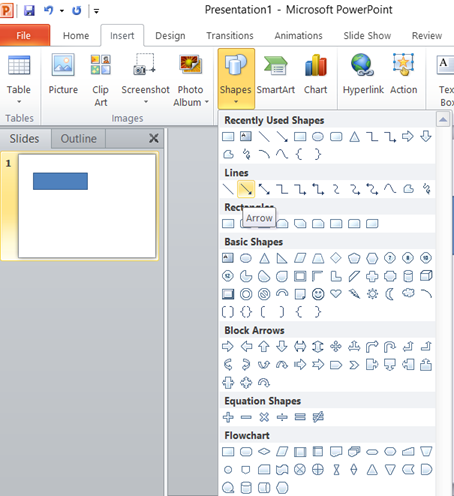
- You can connect shapes using arrows. Again click on “Insert”, then “Shapes”. You can find the arrows in the Lines section. Click and drag your selected line from one shape to another to connect them.
- If you want to add text to an existing shape, select the shape and start typing. You can also label any connecting lines using text boxes. Click on the option “Text Box”. Then draw the text box by clicking and dragging your mouse and type to add text.
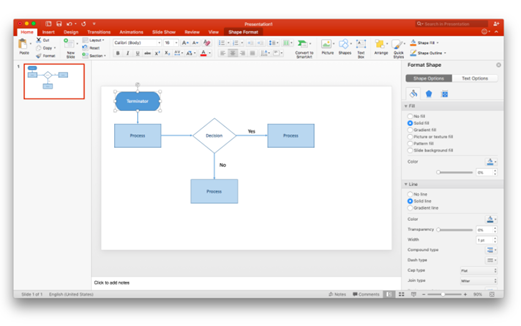
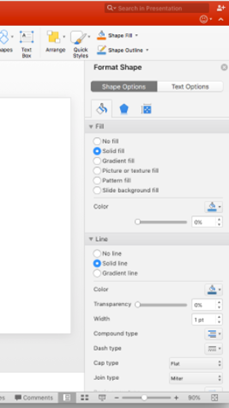
- You can also modify shapes in your diagram using the Format Shape panel.
So, following these, you can easily make a Flowchart in PPT.
Summary: Make a Flowchart in PPT
- Open a New Slide
- Add Shapes and Connectors
- Add Text to Your Shapes
- Fine tune your shapes, text, connectors and layout.
