Roof is an important part of every house in Minecraft. It protects the house from rain and other effects that can harm you. That's why knowing how to make roof will help you complete your house fast and better as well. The aim of this post is to help you learn how to make roof in Minecraft.

If we are going to talk about a game that has really put the world in awe even to this very day, Minecraft will always be on the top of the list. That’s hardly a surprise considering that it’s a fun and enjoyable game that’s also filled with surprises that people of all ages, both young and the young-at-heart, will surely love to play.
However, playing the game isn’t as easy as it seems. That’s because Minecraft is a game of strategy too. Therefore, for the beginners out there, this article a good place to start.
If you’re a beginner, one of the most important things you should consider building is a house. Building a house in Minecraft involves laying blocks over blocks to create a foundation. But what about when it comes to building a roof?
If you’re struggling with that, then here are some tips to help you:
Things you need
- A stack of oak wood stairs
- 2 to 3 stacks of oakwood planks
- Fences (optional)
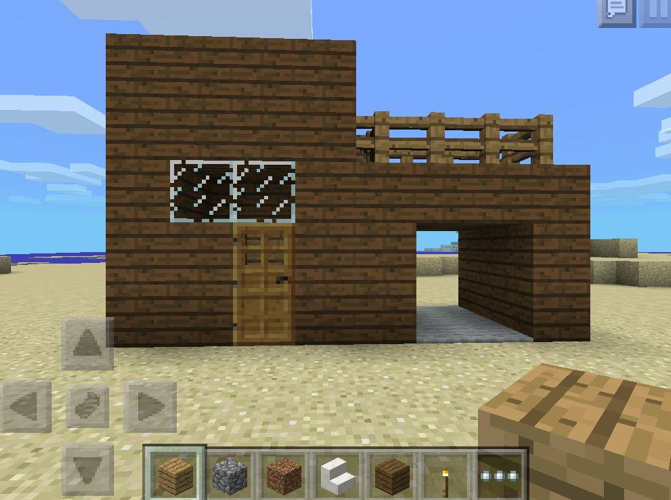
1). Build your base first. As much as possible, go for a higher ground level. Most players highly recommend building an 11x5 base. Utilize slabs as they are cheaper and flame-resistant. Next, start putting the walls, leaving some space to make them look more appealing. Slabs should be positioned outside your base. You can use them as a long staircase along with fences as your roof’s support.
On top of that, craft your windows accordingly so you’ll know if mobs are approaching. Place them on all sides.
2). Start building your walls. You will need walls so you can place your roof. Moreover, they provide stability and division for interior spaces. To start building walls, collect woods from trees. You may create an ax first to speed up the gathering process. You’ll need two sticks and three cobblestones to make this tool.

3). Now, put these woods in your crafting table. By doing so, you can convert the woods to wooden planks. Keep in mind that 1 wood is equivalent to 4 wooden planks. Use these wooden planks to craft an outline of your house. Then, start stacking blocks right on the top of your wireframe. Do it until your wall is done.
4). Now, it’s time to build the ceiling. Just a piece of advice when building your ceiling: use the same wooden planks you used for your walls. Also, don’t forget that your ceiling should be 3 blocks high. To do that, first put one block in your front and then jump on it. Jump once more and put another block under yourself. This will allow you to make a strong platform so you can reach the topmost part of your walls.
5). Continue doing that until you reach the top. Once done, start building from one wall to another by placing blocks right on the side of your blocks which will make up your wall. Additionally, you can apply your creativity by designing your roofs. You may opt for flat block sheets then stack them strategically at a certain angle. If not, you may also use stairs to achieve the conventional sloped look. Don’t be afraid to modify it to your heart’s content.
Pro-tip: Always place torches inside and outside the house to lessen the chance of being suddenly attacked by monsters. Keep those monsters away!
Summary: Make roof in Minecraft
- Get wood blocks.
- Get a crafting table.
- Open the crafting table.
- Add the crafting table to your inventory.
- Select a wooden plank type.
- Choose an area for your roof.
- Craft your wooden slabs.
- Place one slab on top of another to create a double-slab block.
- Repeat to cover more of the area for your roof.
Conclusion
There you have it— steps on how you can make a roof for your house in Minecraft. Hopefully, reading this article gave you useful insights and tricks on how to play Minecraft with ease. There are more techniques out there to make your house look better. Be sure to check them out!