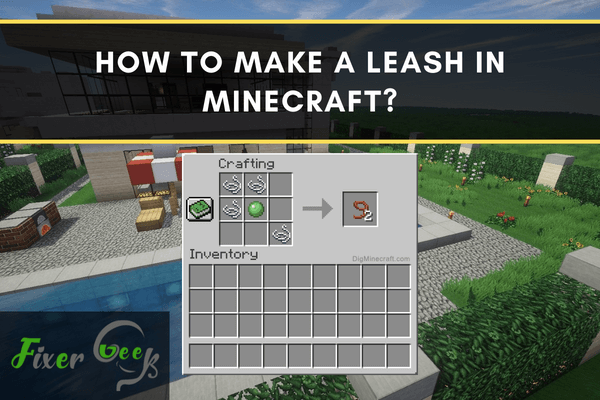
Minecraft is a great game for both kids and adults with no blood so it is REALLY safe for little ones. There are many mini-games within the original game that can provide years of fun. Of course, you need some way to be able to keep yourself alive, this is why we will show you how to make a leash or leash in Minecraft, something that you probably never heard!
A leash or a lead refers to an item used in Minecraft to tie mobs to a fence post. A leash is made by crafting a slimeball and four strings together in crafting boxes. Leads are primarily used in gaming to tie horses or donkeys to the fence to restrain them.
In Minecraft, gamers make leashes and use them as handy tools for restraining the mobs from running away by tying them to a fence post.
Leashes are supported in Minecraft versions of Windows 10 Edition, Xbox 360, PS4, Xbox One, PS3, Wii U, Java Edition (Mac/PC), Nintendo Switch, Pocket Edition (PE), Education Edition among others. However, for some of these platforms, only the latest updated versions support Minecraft.
What Do Leashes Do?
Leashes allow passive mobs to be controlled by the players. The gamer is only required to right-click on a mob while holding a leash. The leash will, then, tie the player and the mob together. Then, the gamer can attach the mob to a fence by right-clicking on a fence, thus restricting the mob.
Here is a comprehensive guide on how to make a leash in Minecraft in the survival mode. This tutorial gives a step-by-step explanation of the entire process, and the reader’s understanding is enhanced by the use of screenshots.
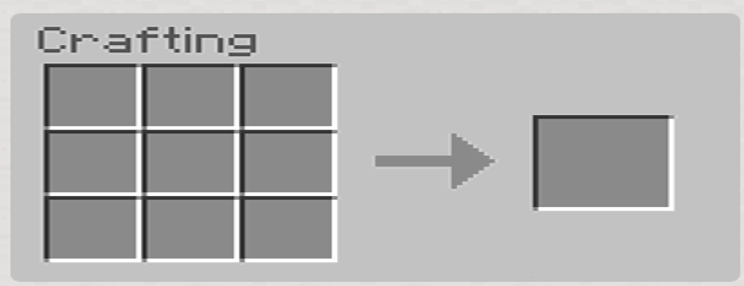
Step 1: Opening the crafting menu
The first step is to open the crafting table to have a 3X3 grid, as shown below.
Step 2: Add the items to make the leash
Add 1 slimeball and 4 strings to the 3X3 grid crafting area. The combination of the two items in the crafting area will result in a leash (lead).
However, it is important to follow the right pattern when adding the ingredient items to the crafting boxes. You should the exact pattern as shown below without any alterations.
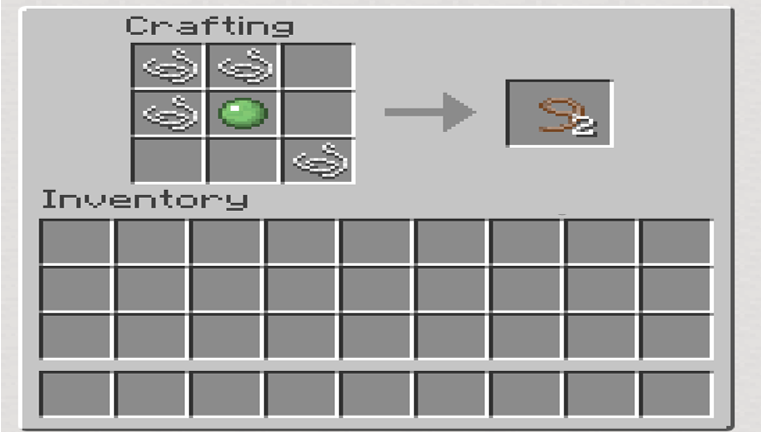
There should be only 1 string in the first and second boxes in the first row. The second row should have only 1 string in the first box, and the slimeball should be in the second box. The third row should have only 1 string placed in the third box. All the other boxers in the three rows should be empty as shown.
This is the right procedure for crafting a leash (lead). After filling the crafting area with the right pattern, you will see two leashes that will appear in the box on the right side. This means that one set of ingredient items produces two leashes after combination.
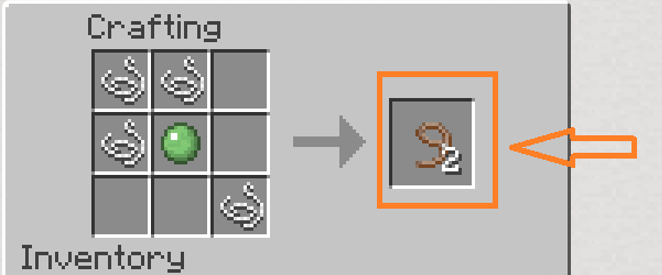
Step 3: Move the leash to the inventory
After you craft the leashes, you need to move them to the player’s inventory.
Final Thoughts
Leashes or leads in Minecraft are created to help players tether and restrain passive mobs while playing. The items can be created easily by combining four strings and a slimeball in the crafting area.For every set of ingredient items, you will produce two leashes after crafting. You should strictly follow the above pattern when adding the items in the crafting boxes.
Summary: Make a leash in Minecraft
- Open the crafting menu and add the items to the crafting area.
- Put two string in the top box on the left. Then put another string on top of them.
- Put a Slime Ball in the center box.
- Move the lead to your inventory.
